This post contains affiliate links. As an Amazon Associate I earn from qualifying purchases.
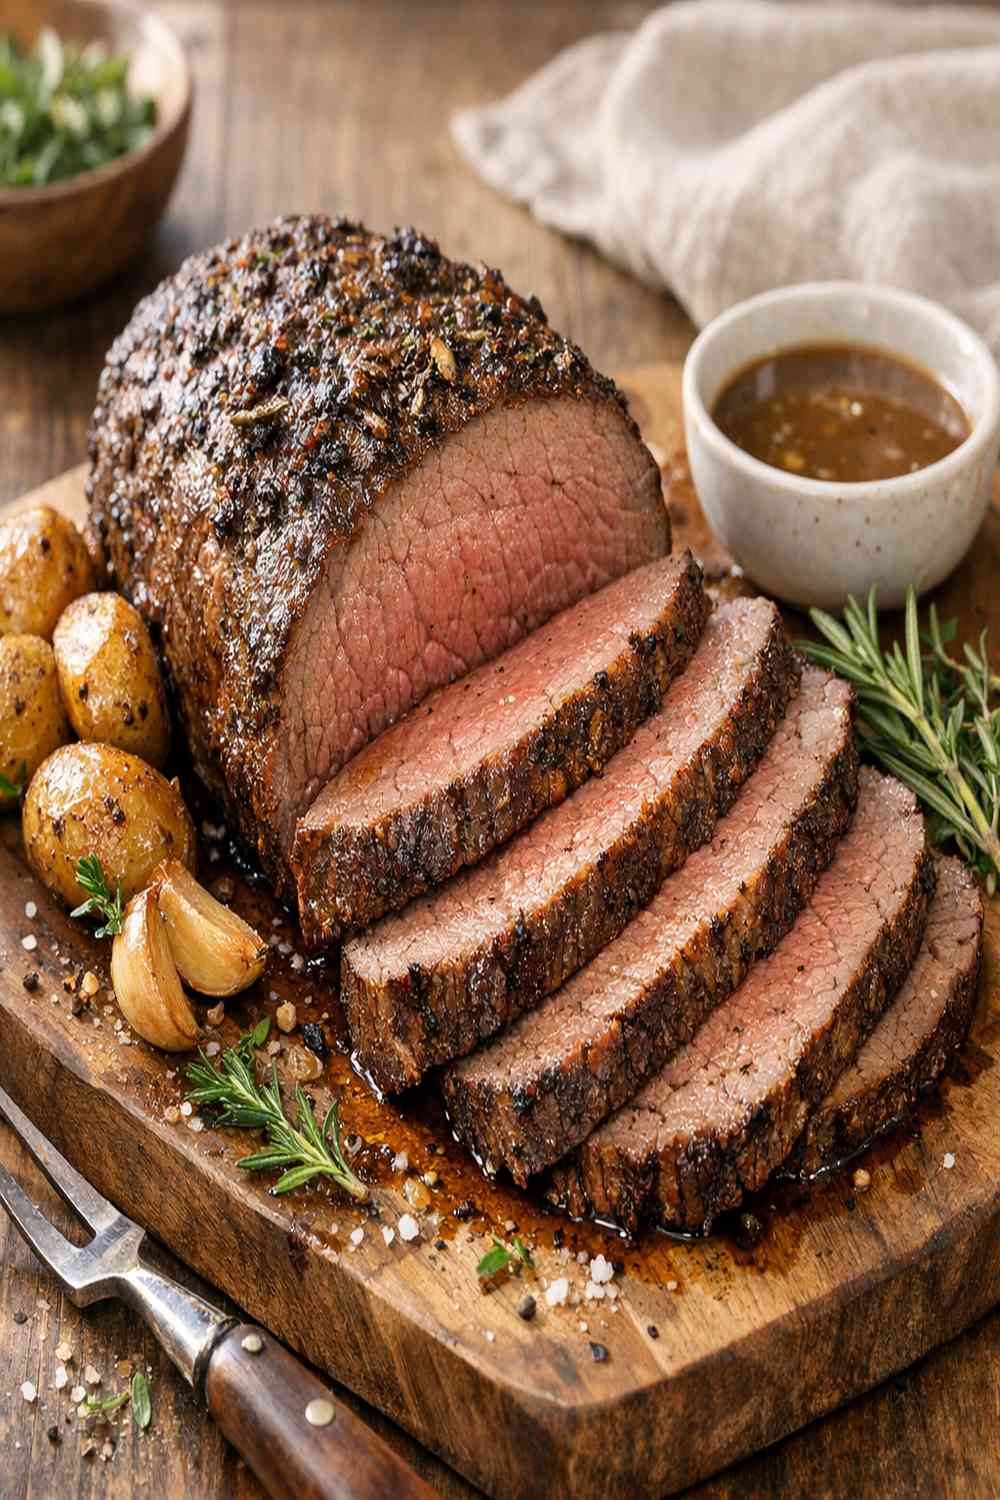
There’s something sacred about a perfectly roasted beef that fills your kitchen with warmth and brings everyone to the table hungry. I grew up watching my grandmother pull a golden roast from the oven, the meat so tender it practically melted on your fork, while my mother mashed potatoes and I helped set the table. That’s the meal I’m sharing with you today—the one that taught me that feeding people well isn’t about complicated techniques, it’s about respect for good ingredients and a little bit of patience. This beef roast tip recipe is a total game-changer for weeknight dinners or feeding a crowd, and I’ve tweaked it with my nutrition background to make sure it’s as nourishing as it is delicious.
The Ultimate Beef Roast Tip Recipe for Sunday Dinners (Two Hours, One Pan, Pure Comfort)
I’m going to be honest with you: this is the only roast recipe you’ll ever need. It’s foolproof, it’s forgiving, and it delivers restaurant-quality results in your own oven. The secret isn’t fancy spices or complicated steps—it’s understanding how heat works and respecting the meat enough to let it rest. My mother taught me that last part, and I’ve never looked back.
Why You’ll Love This Recipe
- Total hands-on time of just 15 minutes – Mix your seasonings, sear the meat, and let your oven do the heavy lifting for 90 minutes while you prep sides or spend time with family
- Just 6 simple pantry ingredients – No exotic spices or specialty items needed; this uses what you likely already have in your kitchen
- Meat so tender it practically shreds – The low-and-slow roasting method breaks down collagen into gelatin, creating that fall-apart texture that makes everyone ask for the recipe
- Builds a rich sauce foundation – Those drippings become the base for gravy or can be frozen for soups and stews, so nothing goes to waste and every drop counts
What You Need
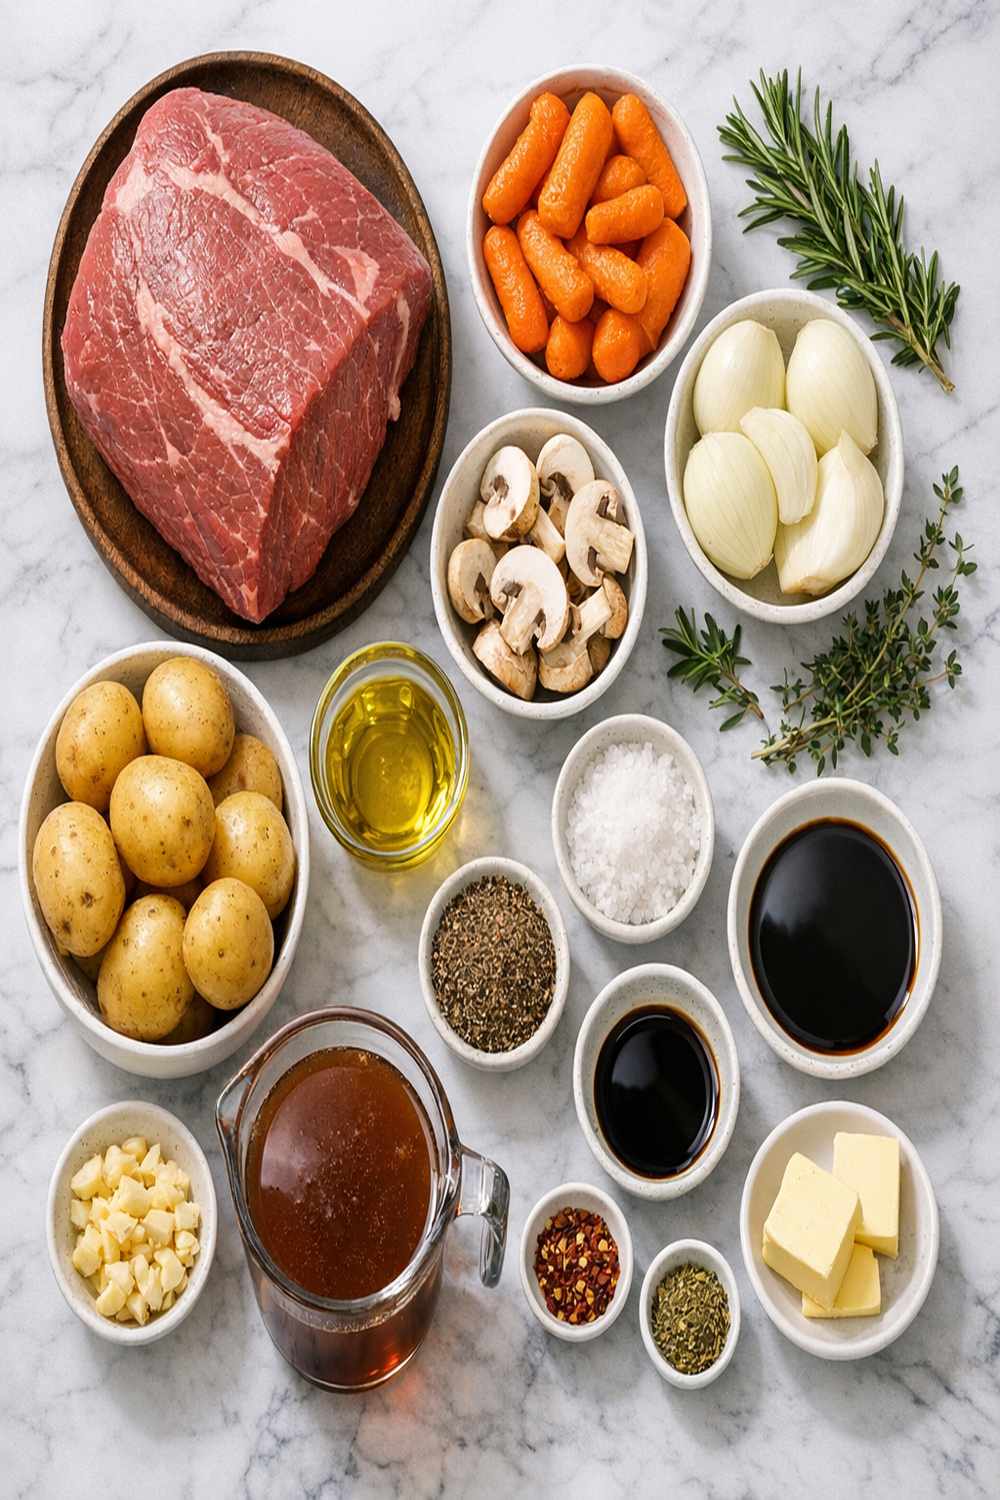
Just six simple ingredients, plus a couple of extras that take this from good to unforgettable:
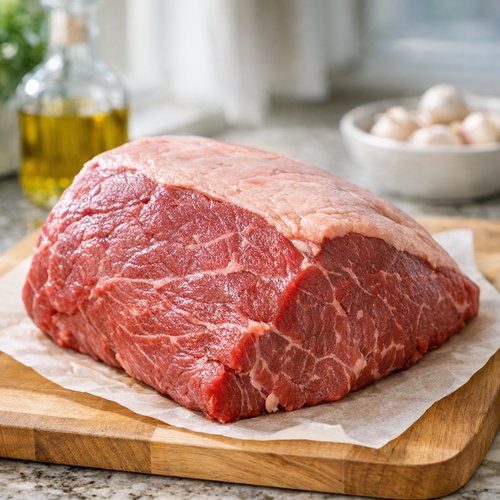
- 1 sirloin tip roast, about 4 to 5 pounds (choose one with good marbling for moisture)
- 2 tablespoons extra-virgin olive oil (good quality makes a real difference here)
- 2 teaspoons kosher salt (adjust to your taste preference, more for a 5-pound roast)
- 1 teaspoon freshly ground black pepper (never pre-ground; crack it fresh)
- 1 teaspoon dried rosemary (or fresh if you have it growing on your porch)
- 1 teaspoon garlic powder (not garlic salt, which throws off your salt balance)
- 1 large yellow onion (sliced into thick, sturdy rings that won’t collapse during cooking)
- ½ cup low-sodium beef broth (optional but helpful for moisture)
How to Make Beef Roast Tip Recipe in 5 Easy Steps
Here’s exactly how to do it, step by step:
Step 1: Plan Ahead and Let Your Roast Breathe
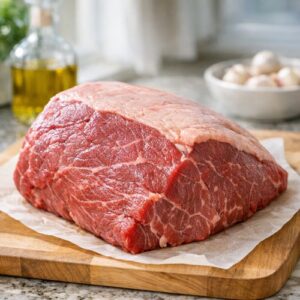
Remove your roast from the refrigerator 45 to 60 minutes before cooking. This is not optional—it’s the difference between uneven cooking and perfectly tender meat. A cold roast will have a cold center that takes forever to cook through, and you’ll end up overcooking the outside. I learned this the hard way at a family dinner when I was rushed. Cold meat cooks unevenly, period.
Step 2: Preheat and Prepare Your Pan
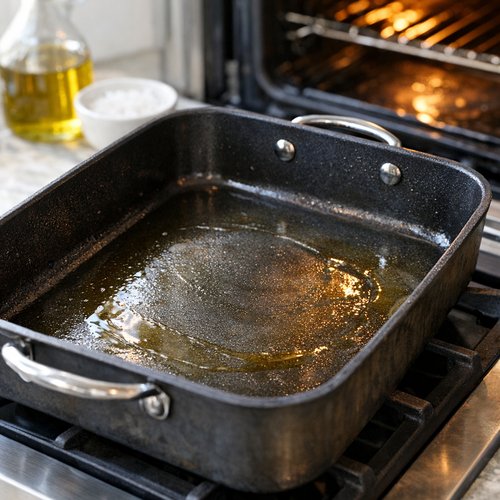
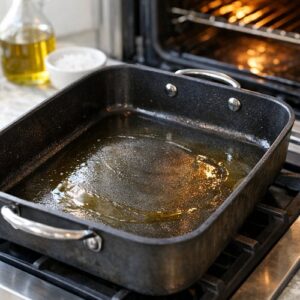
Set your oven to 450°F and get a dark roasting pan ready. Dark pans conduct heat better than light ones, which matters for getting that beautiful golden crust. While the oven preheats, slice your onion into thick rings—keep them stacked as rings, don’t separate them. These become your roast’s bed and create a flavor base that keeps the meat from sticking while also preventing the onions from burning.
Step 3: Season and Sear Your Meat
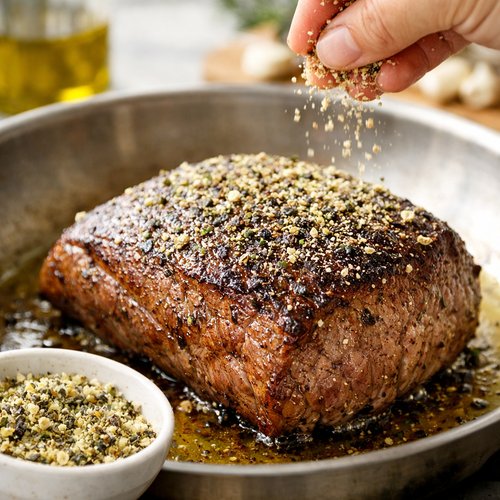
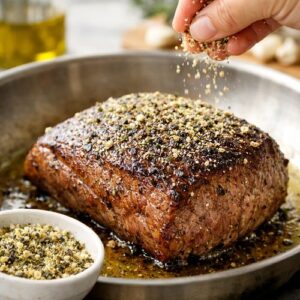
Pat your roast dry with paper towels, then rub all over with olive oil. In a small bowl, combine your salt, pepper, rosemary, and garlic powder. Sprinkle this seasoning blend all over the roast, getting the sides and ends covered. Don’t be shy—this is where all your flavor lives. Lay your onion rings in the bottom of your roasting pan, and place the seasoned roast directly on top, making sure the onions support the meat so it’s not sitting in its own juices.
Step 4: High Heat Sear, Then Low and Slow
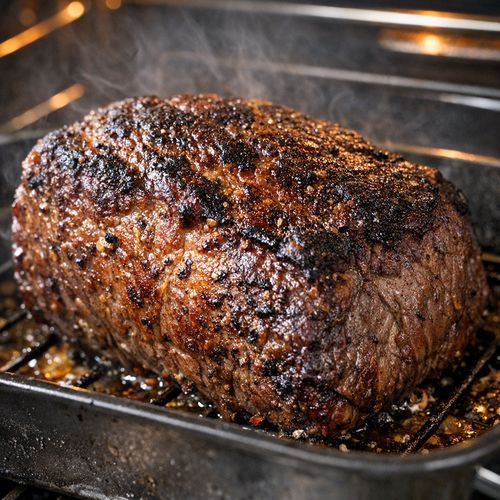
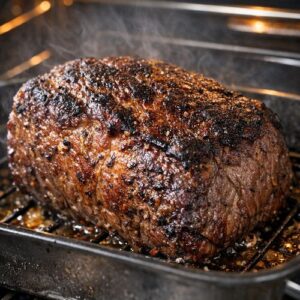
Roast at 450°F for exactly 15 minutes to develop a beautiful crust. This high heat creates what cooks call the Maillard reaction—basically, the browning that builds deep, savory flavor. After 15 minutes, reduce your oven to 300°F and continue roasting for 75 to 90 minutes more, depending on your roast’s size and how you like your beef cooked. Use a meat thermometer inserted into the thickest part (not touching bone): aim for 135°F for medium-rare or 145°F for medium.
Step 5: Rest and Reserve the Gold
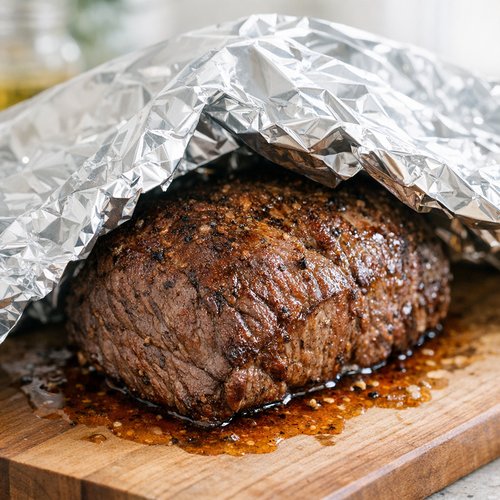
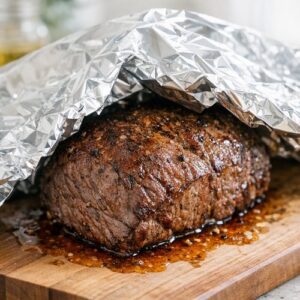
Remove your roast from the oven a few degrees before it hits your target temperature. I pull mine at 142°F and loosely tent it with foil. Let it rest for at least 20 minutes—this is when the juices redistribute throughout the meat, keeping everything moist when you slice. During this resting time, carefully pour off those pan drippings into a container. You’ve just created liquid gold: save it for gravy, or freeze it in ice cube trays to add to soups and stews for weeks to come.
Expert’s Nutritional Insight
As a registered dietitian, I want you to know that beef roast is a powerhouse of bioavailable iron, B12, and zinc—nutrients your body actually needs for energy and immune function. The slow cooking method I’m sharing preserves these nutrients better than high-heat cooking. One 3-ounce serving delivers about 25 grams of protein and only 180 calories, making this a nutritionally dense centerpiece for any meal. The fat content supports nutrient absorption, so don’t be afraid of it—it’s actually working for you.
5 Ways to Customize This Recipe
- Tex-Mex Roast – Replace the rosemary with cumin and chili powder, add a splash of salsa to your pan, and serve with warm tortillas and cilantro for something completely different
- Italian-Inspired Version – Use Italian herbs (oregano, thyme, basil), add tomato paste to your pan liquid, and finish with a balsamic reduction over the top
- Garlic Lover’s Roast – Increase garlic powder to 2 teaspoons and add 4 to 5 whole garlic cloves nestled around the roast; they’ll roast alongside and become mild and sweet
- Root Vegetable Medley – In the last 45 minutes of cooking, add chunky carrot pieces and potato wedges to the pan, letting them roast in those incredible drippings
- Coffee-Crusted Roast – Add 1 teaspoon of instant coffee powder to your dry rub; it deepens the savory flavors without making the meat taste like coffee
Make It Ahead and Meal Prep Tips
- Season the night before – Prepare your roast 12 to 24 hours ahead by seasoning it well and letting it sit uncovered in the fridge. This allows the salt to penetrate deeper, creating more flavorful, evenly seasoned meat. Pull it out an hour before cooking, just like the main recipe says
- Shred it for multiple meals – Cook your roast, let it cool, then shred it into a container. You’ve now got the base for roast beef sandwiches, tacos, salads, grain bowls, and soups for the next three to four days. This single recipe becomes five different weeknight dinners
- Make gravy in batches – Those pan drippings freeze beautifully in ice cube trays for up to three months. Pop out what you need, thaw, and whisk with a flour-butter roux for instant gravy anytime
Quick Substitutions
- Sirloin tip roast -> Chuck roast or bottom round if your store doesn’t have sirloin tip; both will work beautifully with this method (chuck may take 10-15 minutes longer)
- Olive oil -> Avocado oil or melted butter if you prefer, though olive oil’s lower smoke point works perfectly for this slow-roast method
- Dried rosemary -> Fresh thyme or oregano in equal measure; fresh herbs are milder, so use a bit more if you go that route
- Kosher salt -> Sea salt or table salt, but reduce the amount slightly since table salt is denser and saltier by volume
Common Mistakes to Avoid
- Skipping the rest period – I know you’re hungry, but cutting into that roast before 20 minutes of resting will make it dry. The meat continues cooking and the juices redistribute during this time. Your patience pays off in tenderness
- Cooking straight from the fridge – A cold roast has a cold center that cooks unevenly. That golden exterior masks a gray, overcooked middle. Always let it come to room temperature first
- Not using a meat thermometer – Guessing by time alone leads to either rare centers or dried-out edges. A $15 instant-read thermometer is the best investment you’ll make. Trust the temperature, not the clock
- Separating the onion rings – When you separate them, they burn in the pan. Keep them stacked; they insulate the bottom of the roast and stay moist
Seasonal Variations
- Spring – Add fresh lemon zest to your dry rub and nestle fresh asparagus around the roast in the last 30 minutes of cooking for bright, seasonal flavors
- Summer – Reduce the oven temperature slightly (325°F after searing) and cook earlier in the day to keep your kitchen cool; serve with fresh salads instead of heavy sides
- Fall – Add 1 teaspoon of smoked paprika to your rub and roast apple slices alongside for a hint of sweetness that complements the meat beautifully
- Winter – This is when that root vegetable variation really shines; roast carrots, parsnips, and potatoes with the meat for a complete one-pan dinner
How to Store and Reheat
Refrigerator: 3 to 4 days in an airtight container with any pan juices. Freezer: 2 to 3 months wrapped tightly in plastic wrap and then foil, or in a freezer bag with the air pressed out. Reheat sliced roast gently in a 325°F oven for 15 to 20 minutes with a splash of broth to restore moisture, or reheat shredded roast in a skillet over medium-low heat with a bit of beef broth, stirring occasionally until warm through. Never microwave roast if you can help it—it dries it out.
Nutrition at a Glance
Per 3-ounce serving (based on USDA data): 180 calories, 25 grams protein, 8 grams fat, zero carbs, 55 milligrams iron (30% of daily value), 2.4 micrograms B12 (40% of daily value), and 5 milligrams zinc (45% of daily value). This is a nutrient-dense, satiating centerpiece that keeps you full and supports energy production. The protein-to-calorie ratio makes this an excellent choice for anyone watching their intake.
Serve It With
I love pairing this roast with sides that let it shine without competing. Creamy mashed potatoes soak up those drippings beautifully, roasted vegetables add color and nutrition, and fresh greens brighten the plate. For something different, try serving shredded roast with almond flour tortillas for a lower-carb option, or alongside sheet pan roasted carrots for a vegetable that becomes almost sweet as it caramelizes.
- Creamy mashed potatoes – The classic pairing that absorbs pan drippings like a dream
- Roasted root vegetables – Carrots, parsnips, and Brussels sprouts cooked alongside or after the roast
- Simple green salad – Fresh greens with vinaigrette cut through the richness beautifully
- Horseradish cream – A traditional condiment that adds a sharp, bright contrast to the meat
- Yorkshire pudding – If you’re feeling ambitious, that pan drippings fat is perfect for this

Beef Roast Tip Recipe
Ingredients
Method
- Remove your roast from the refrigerator 45 to 60 minutes before cooking. This is not optional—it's the difference between uneven cooking and perfectly tender meat. A cold roast will have a cold center that takes forever to cook through, and you'll end up overcooking the outside. I learned this the hard way at a family dinner when I was rushed. Cold meat cooks unevenly, period.
- Set your oven to 450°F and get a dark roasting pan ready. Dark pans conduct heat better than light ones, which matters for getting that beautiful golden crust. While the oven preheats, slice your onion into thick rings—keep them stacked as rings, don't separate them. These become your roast's bed and create a flavor base that keeps the meat from sticking while also preventing the onions from burning.
- Pat your roast dry with paper towels, then rub all over with olive oil. In a small bowl, combine your salt, pepper, rosemary, and garlic powder. Sprinkle this seasoning blend all over the roast, getting the sides and ends covered. Don't be shy—this is where all your flavor lives. Lay your onion rings in the bottom of your roasting pan, and place the seasoned roast directly on top, making sure the onions support the meat so it's not sitting in its own juices.
- Roast at 450°F for exactly 15 minutes to develop a beautiful crust. This high heat creates what cooks call the Maillard reaction—basically, the browning that builds deep, savory flavor. After 15 minutes, reduce your oven to 300°F and continue roasting for 75 to 90 minutes more, depending on your roast's size and how you like your beef cooked. Use a meat thermometer inserted into the thickest part (not touching bone): aim for 135°F for medium-rare or 145°F for medium.
- Remove your roast from the oven a few degrees before it hits your target temperature. I pull mine at 142°F and loosely tent it with foil. Let it rest for at least 20 minutes—this is when the juices redistribute throughout the meat, keeping everything moist when you slice. During this resting time, carefully pour off those pan drippings into a container. You've just created liquid gold: save it for gravy, or freeze it in ice cube trays to add to soups and stews for weeks to come.
Notes
FAQs
Can I cook this roast in a slow cooker instead?
You can, though you’ll lose that beautiful seared crust. If you go the slow cooker route, sear the roast in a skillet first (5 minutes per side in hot oil), then transfer to the slow cooker on low for 6 to 8 hours. Add your onions and about ½ cup of broth to prevent it from drying out.
What temperature should the roast be when I pull it from the oven?
Pull it at 135°F for medium-rare or 145°F for medium. Remember, it will continue cooking as it rests, so remove it a few degrees before your target. Overcooked roast is nearly impossible to fix.
Can I make this recipe with a smaller roast?
Absolutely. A 2 to 3-pound roast will cook in about 45 to 60 minutes total (15 minutes at 450°F, then 30-45 minutes at 300°F). Check your temperature frequently since smaller roasts can overcook quickly. It’ll feed 4 to 6 people generously.
My roast came out dry. What went wrong?
Most likely, you either cooked it past medium or didn’t let it rest. Both pull moisture away. Next time, use a thermometer and respect that 20-minute rest period. Also, choose a roast with visible marbling (white fat running through the meat) for better moisture retention.
Can I use this same method for other roasts?
Yes! Chuck roast, bottom round, and even rib roasts work beautifully with this exact method. Cooking times vary by size and cut, but the basic process—sear at high heat, then low-and-slow at 300°F—works across the board. Adjust your final temperature based on the cut and your preference.
What’s the best way to slice the roast?
Always slice against the grain (perpendicular to the muscle fibers), which makes every bite more tender. Let the meat cool for about 5 minutes after resting, then use a sharp carving knife with smooth, long strokes rather than sawing motions.
More Quick Recipes You’ll Love
- Airfryer Steak Recipe – When you want beef but in 10 minutes instead of two hours
- Air Fry Rib Recipe – Another fantastic beef option with completely different flavor and texture
- my holiday turkey guide – For when you want roasted protein with that same golden crust
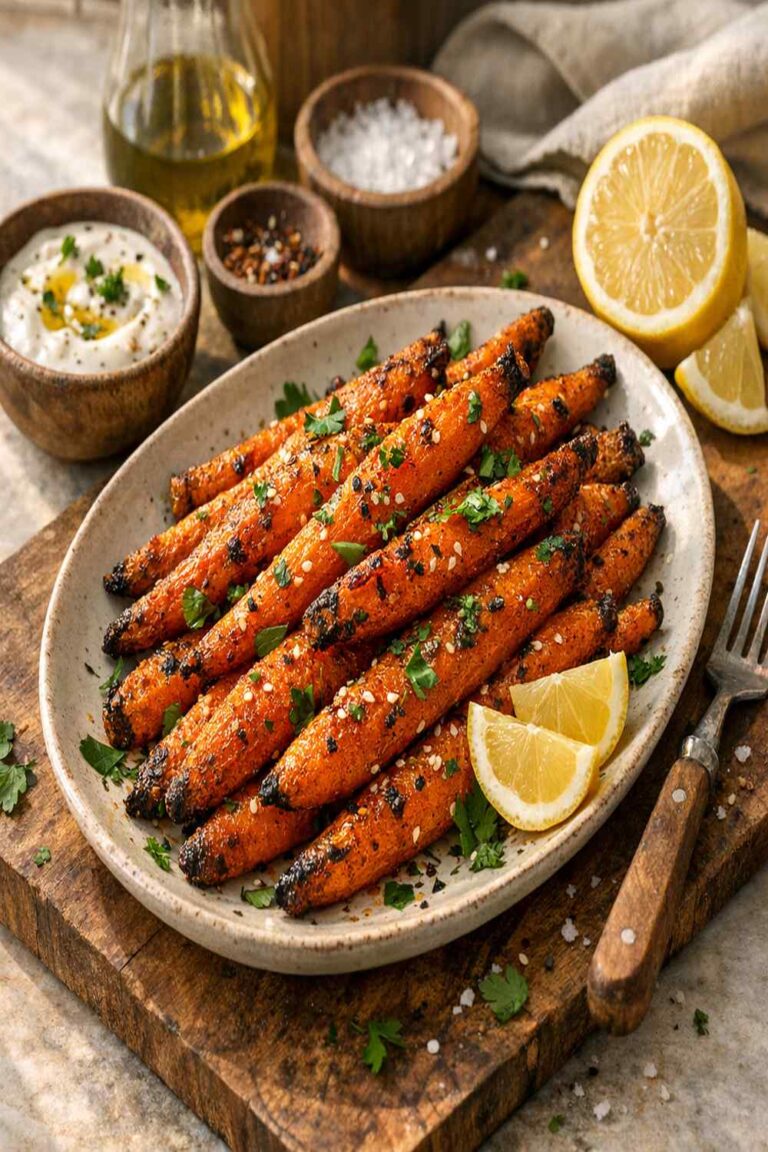
- Air Fry Carrots Recipe – The perfect vegetable side if you’re short on oven space
This beef roast tip recipe is the one I’ve made hundreds of times—for Sunday dinners when my whole family gathers, for potlucks where I need to feed a crowd, and for those nights when I just need something that feels like home. It’s foolproof, it’s nourishing, and it creates that beautiful moment when everyone sits down hungry and satisfied. Try it this week, and I promise you’ll understand why my mother and grandmother made this their signature dish. Enjoy your cooking journey!