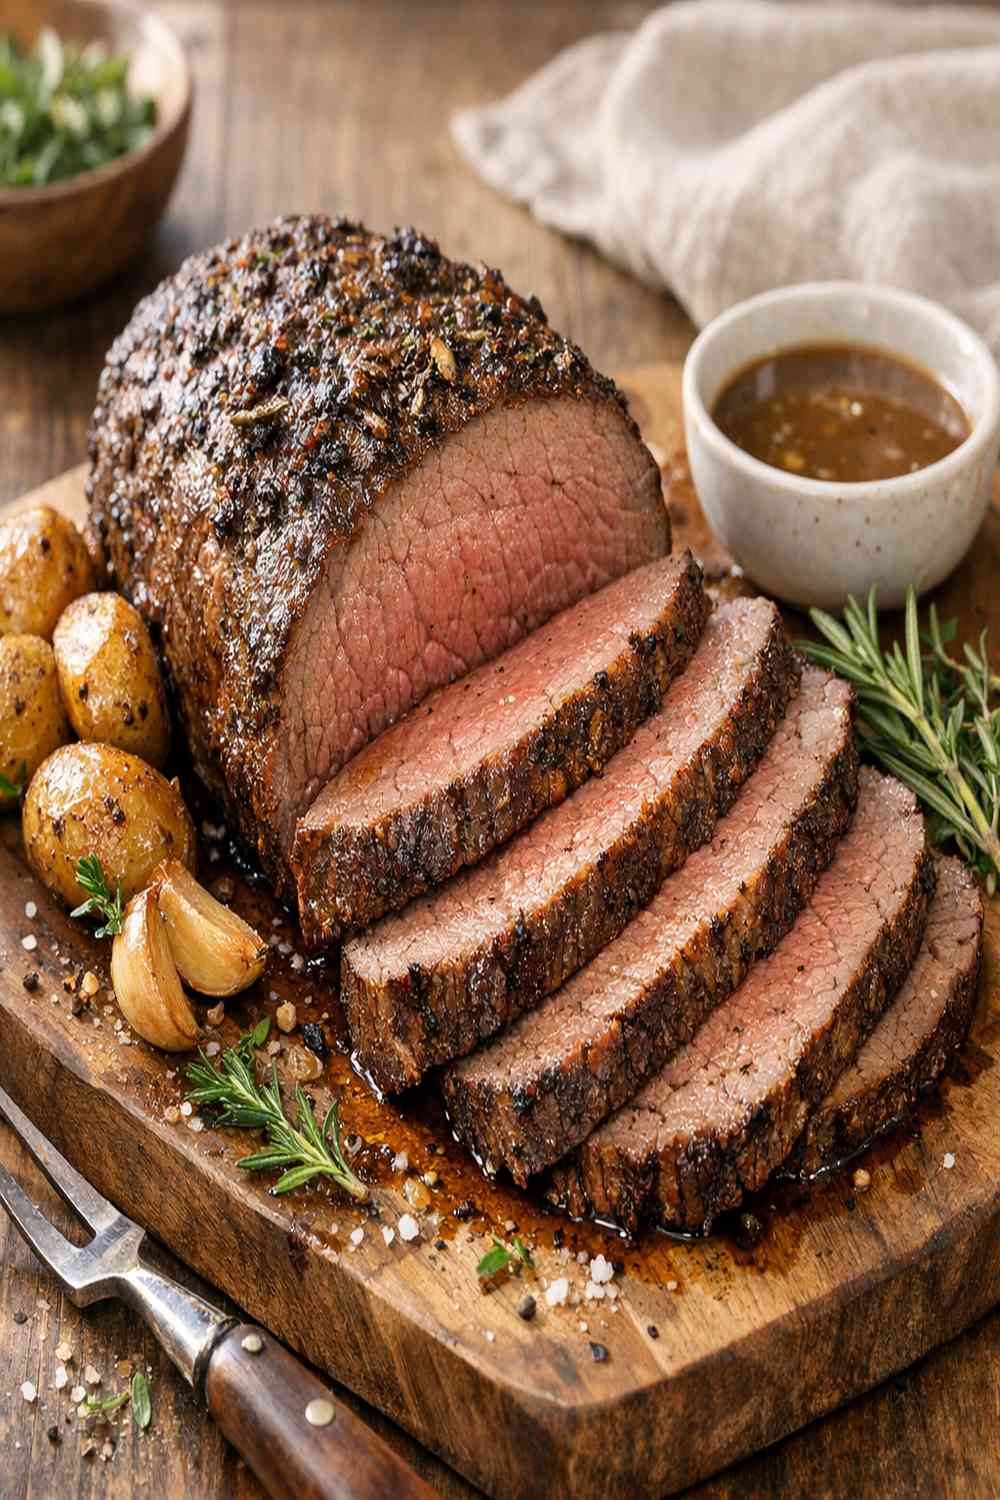

Ingredients
Method
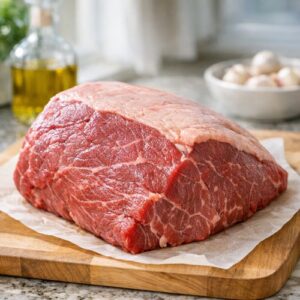
Step 1: Plan Ahead and Let Your Roast Breathe
- Remove your roast from the refrigerator 45 to 60 minutes before cooking. This is not optional—it's the difference between uneven cooking and perfectly tender meat. A cold roast will have a cold center that takes forever to cook through, and you'll end up overcooking the outside. I learned this the hard way at a family dinner when I was rushed. Cold meat cooks unevenly, period.
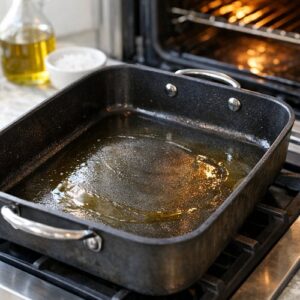
Step 2: Preheat and Prepare Your Pan
- Set your oven to 450°F and get a dark roasting pan ready. Dark pans conduct heat better than light ones, which matters for getting that beautiful golden crust. While the oven preheats, slice your onion into thick rings—keep them stacked as rings, don't separate them. These become your roast's bed and create a flavor base that keeps the meat from sticking while also preventing the onions from burning.
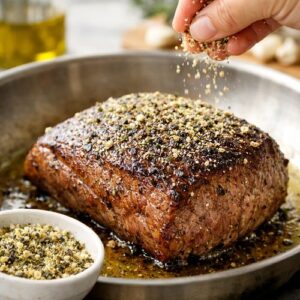
Step 3: Season and Sear Your Meat
- Pat your roast dry with paper towels, then rub all over with olive oil. In a small bowl, combine your salt, pepper, rosemary, and garlic powder. Sprinkle this seasoning blend all over the roast, getting the sides and ends covered. Don't be shy—this is where all your flavor lives. Lay your onion rings in the bottom of your roasting pan, and place the seasoned roast directly on top, making sure the onions support the meat so it's not sitting in its own juices.
Step 4: High Heat Sear, Then Low and Slow
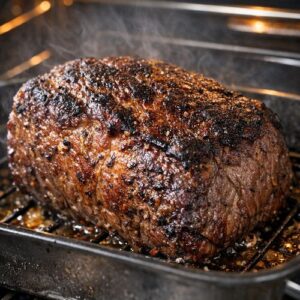
- Roast at 450°F for exactly 15 minutes to develop a beautiful crust. This high heat creates what cooks call the Maillard reaction—basically, the browning that builds deep, savory flavor. After 15 minutes, reduce your oven to 300°F and continue roasting for 75 to 90 minutes more, depending on your roast's size and how you like your beef cooked. Use a meat thermometer inserted into the thickest part (not touching bone): aim for 135°F for medium-rare or 145°F for medium.
Step 5: Rest and Reserve the Gold
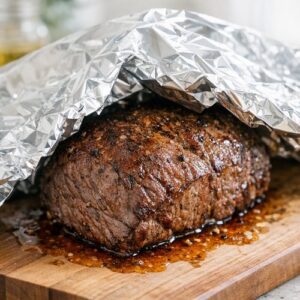
- Remove your roast from the oven a few degrees before it hits your target temperature. I pull mine at 142°F and loosely tent it with foil. Let it rest for at least 20 minutes—this is when the juices redistribute throughout the meat, keeping everything moist when you slice. During this resting time, carefully pour off those pan drippings into a container. You've just created liquid gold: save it for gravy, or freeze it in ice cube trays to add to soups and stews for weeks to come.
Notes
- Season the night before - Prepare your roast 12 to 24 hours ahead by seasoning it well and letting it sit uncovered in the fridge. This allows the salt to penetrate deeper, creating more flavorful, evenly seasoned meat. Pull it out an hour before cooking, just like the main recipe says
- Shred it for multiple meals - Cook your roast, let it cool, then shred it into a container. You've now got the base for roast beef sandwiches, tacos, salads, grain bowls, and soups for the next three to four days. This single recipe becomes five different weeknight dinners
- Make gravy in batches - Those pan drippings freeze beautifully in ice cube trays for up to three months. Pop out what you need, thaw, and whisk with a flour-butter roux for instant gravy anytime