This post contains affiliate links. As an Amazon Associate I earn from qualifying purchases.
Getting kids to eat avocado ice cream feels impossible—until you try this approach. I remember watching my niece turn her nose up at anything green, and her mama felt defeated. Then I whipped up this frozen treat at a family gathering, and something magical happened. The minute she saw that creamy, pale green scoop hitting her bowl, her curiosity took over. She didn’t see “healthy avocado.” She saw dessert. She tasted something cool, naturally sweet, and absolutely indulgent. That’s when I realized: sometimes the best nutrition sneaks in when nobody’s looking. This recipe combines the creamy richness of avocado with tropical coconut and bright citrus notes—it’s the kind of dish that makes family gatherings feel like celebrations. If you’re looking for other make-ahead desserts your family will devour, check out our Almond Joy Recipe for more sweet inspiration.
Avocado Ice Cream Recipe the Whole Family Will Actually Eat (Picky Eaters Included)
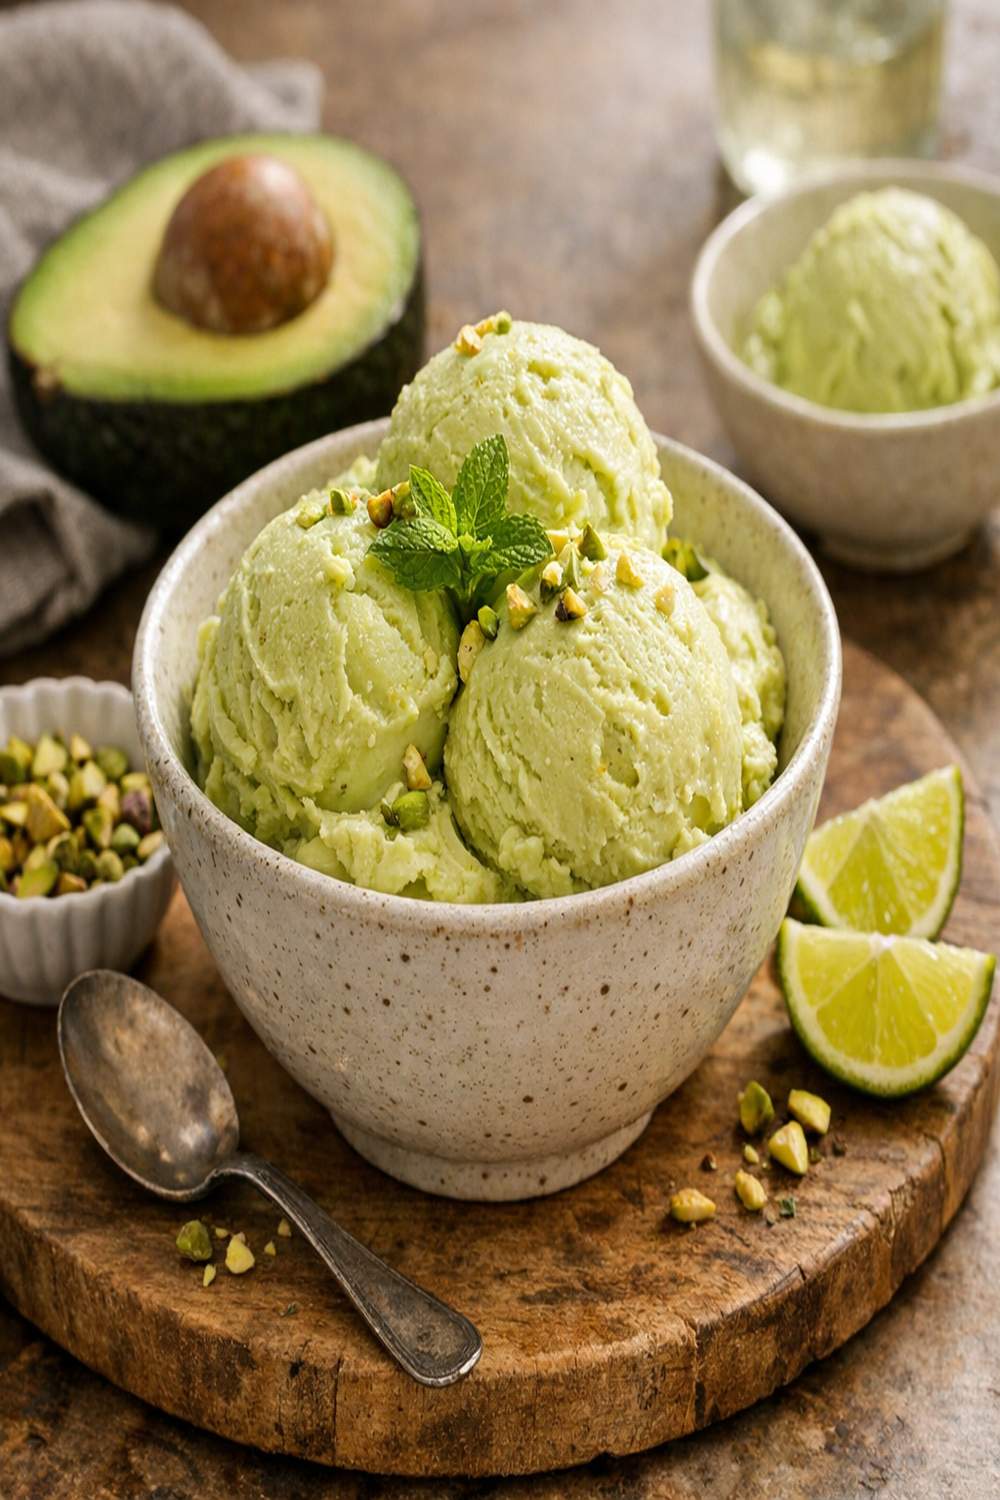
My grandmother taught me that the secret to feeding a crowd isn’t forcing certain foods—it’s presenting them in a way that invites curiosity. This avocado ice cream does exactly that. There’s something about serving it as a frozen dessert that makes even the most skeptical eaters lean in. I’ve watched kids who refuse guacamole happily ask for seconds of this creamy treat. The texture is silky smooth, the flavor is subtly sweet with hints of mint and lemon, and there’s absolutely no “health food” taste that triggers the automatic “no thanks” from little ones.
Why Kids Love This Version
After years of working with families in my dietitian practice, I’ve learned that kids respond to certain things: texture matters, presentation matters, and feeling like they have some control over what they’re eating absolutely matters. This recipe checks all those boxes. It’s frozen, which automatically makes it feel special. It’s naturally sweet without being cloyingly sugary. And when you involve them in the making process, they become invested in actually tasting it.
- Creamy, dreamy texture – frozen avocado creates that rich ice cream mouthfeel without dairy, which actually helps kids with sensitivity to milk while still feeling indulgent
- Subtle, approachable flavor – the avocado acts as a blank canvas for sweet coconut and bright citrus notes, so it tastes like dessert, not vegetables
- Visual appeal – pale green scoops look beautiful in a bowl, and kids eat with their eyes first
- Natural sweetness – maple syrup provides real flavor depth without the crash that comes from refined sugar
How to Get Kids Involved in Making This
Cooking together builds confidence and creates food memories that last a lifetime. I learned this watching my mother work with me in her kitchen, and I’ve seen it transform picky eaters into curious food adventurers. Here’s how to involve each age group:
- Ages 3-5: The fruit inspectors – Let them wash the avocados, hold them (carefully!), and tear mint leaves off the stem. Young kids love feeling like they’re contributing, and tearing herbs is perfect fine motor practice.
- Ages 6-9: The prep crew – They can cut the banana (with supervision and a butter knife if needed), measure the maple syrup and lemon juice, and help pour ingredients into the blender. This is where they start understanding measurements and sequences.
- Ages 10+: The real deal – Older kids can halve and pit the avocados with proper knife skills, operate the blender (with your hands guiding initially), and pour the mixture into the loaf pan themselves.
The Ingredients – Hidden Nutrition, Visible Deliciousness
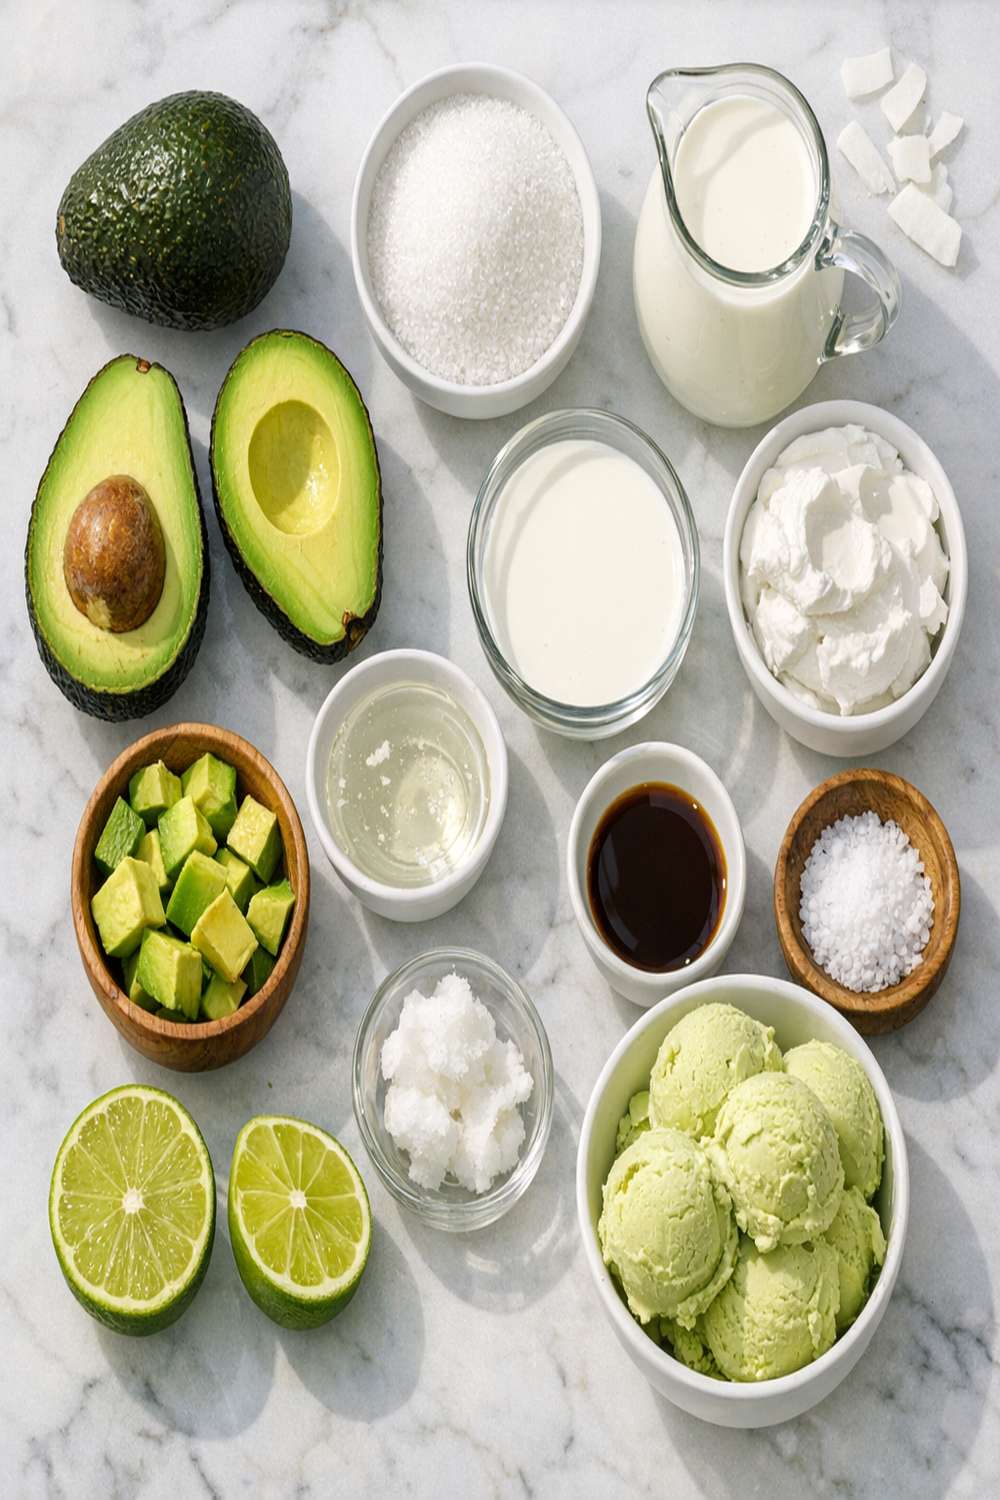
Every ingredient in this recipe earns its place. The coconut milk creates that luxurious texture while providing healthy fats that support brain development and nutrient absorption. The avocado delivers potassium, fiber, and those monounsaturated fats that are so important for growing bodies. The banana adds natural sweetness and resistant starch that feeds good gut bacteria. And those fresh mint leaves? They’re not just pretty—they aid digestion and add refreshing brightness that makes this feel less like “eating healthy” and more like treating yourself.
- 1 can (14 ounces) full-fat coconut milk, chilled overnight in the refrigerator (the fat separates and becomes creamy, giving you the best ice cream base)
- ¼ teaspoon fine sea salt (a pinch enhances sweetness and balances flavors)
- 4 to 5 fresh mint leaves, gently torn (fresh mint aids digestion and adds a cooling effect that makes ice cream taste more like ice cream)
- 1 ripe banana, peeled and cut into chunks, then frozen for at least 2 hours (frozen banana prevents the mixture from being too soft and adds natural sweetness)
- 3 tablespoons pure maple syrup, the darker the better (darker grades have more mineral content and deeper flavor)
- 2 tablespoons fresh lemon juice (bottled works, but fresh brightens the flavor considerably)
- 2 ripe avocados, halved and pitted (choose avocados that yield slightly to gentle pressure for perfect ripeness)
Makes: 4 to 6 servings, depending on portion size
How to Make Avocado Ice Cream Recipe for the Whole Family
This is where the magic happens, mama. I love that you can do most of the work the day before and just serve it when you’re ready. It’s the kind of recipe that feels impressive but honestly, it’s hard to mess up. Let’s walk through this together.
Step 1: Chill Your Loaf Pan
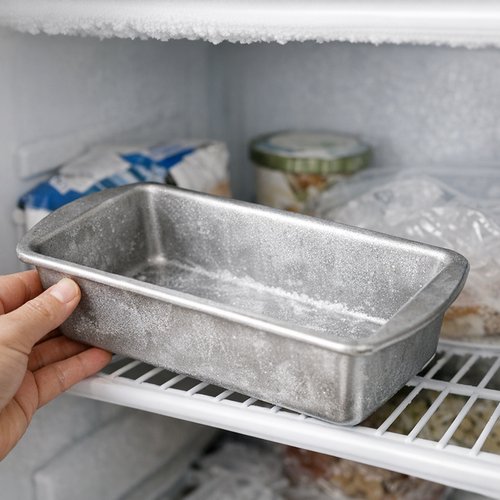
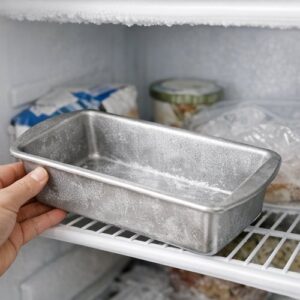
Here’s a pro tip from my years of recipe testing: a cold pan keeps your mixture from melting too quickly once you pour it in. Pop your loaf pan into the freezer for at least 30 minutes. If you’re doing this the night before—which I absolutely recommend—chill it overnight. Make sure your freezer is at 0°F or below for food safety. Kids can help by choosing which loaf pan to use and decorating the outside of the freezer to remind everyone it’s chilling.
Step 2: Separate the Creamy Coconut Milk
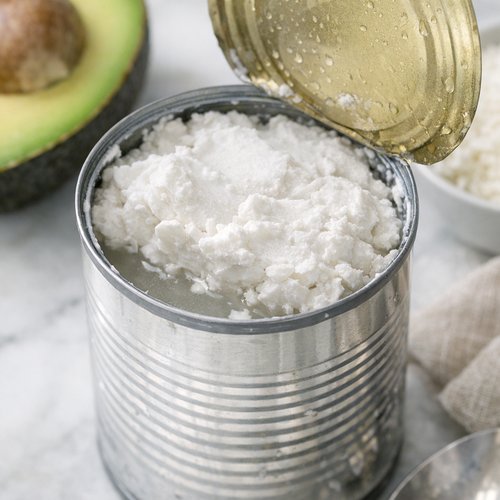
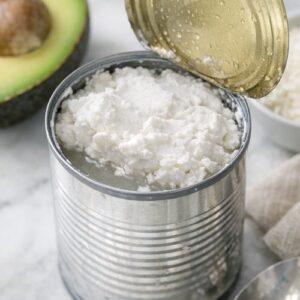
Open your can of coconut milk (remember, it needs to have been in the fridge overnight). You’ll notice the thick, creamy part has separated from the liquid. Gently scoop out that solid coconut cream and place it in your high-speed blender. Save that liquid for smoothies or coffee—nothing goes to waste in our kitchen. This separation is exactly what you want for the richest ice cream texture. School-age kids can help with the scooping while you keep the can steady.
Step 3: Add Your Avocados
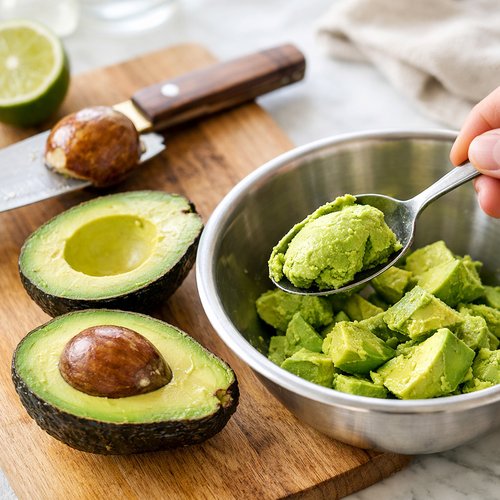
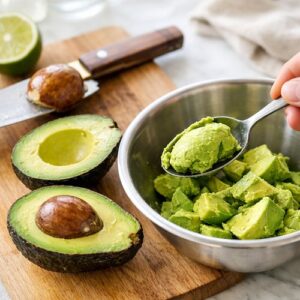
Halve your avocados lengthwise around the pit. Pop out the pit by tapping the blade of a knife into it, then twisting gently. Scoop the avocado flesh directly into your blender with a spoon. You want to work quickly here so the avocado doesn’t oxidize and brown. Keep all knife work away from little hands—this is a perfect job for adults or supervised older kids only. The pale green you see is exactly what your final ice cream will look like, so don’t worry if it seems simple right now.
Step 4: Add the Frozen Banana and Seasonings
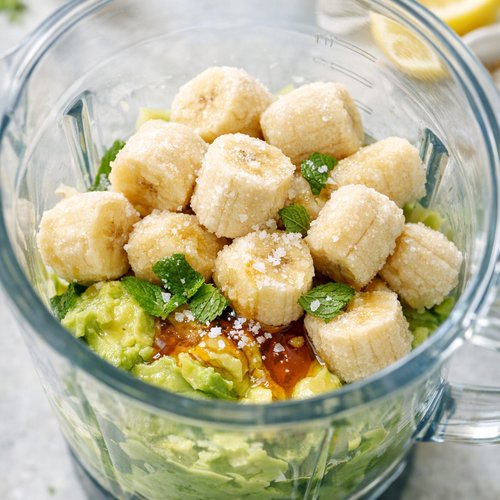
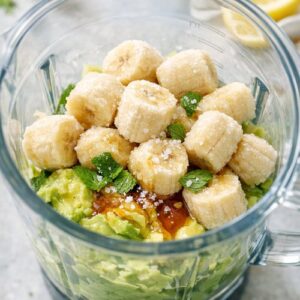
Add those frozen banana chunks to the blender along with the maple syrup, fresh lemon juice, and torn mint leaves. That pinch of sea salt goes in now too. This is the moment where everything starts to look like actual ice cream base. Younger kids love dropping frozen banana chunks in—it feels like they’re doing something real. Older kids can measure and pour the liquids with minimal supervision.
Step 5: Blend Until Silky Smooth
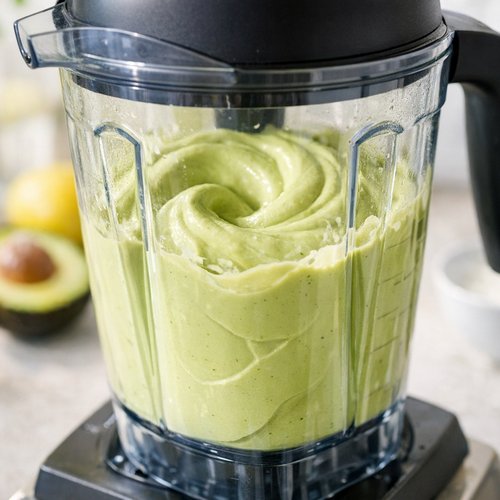
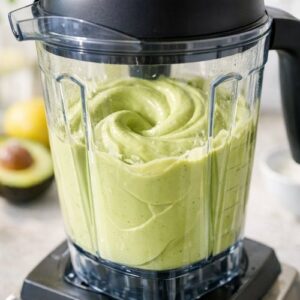
This is crucial: you want everything blended until there are absolutely no chunks. High-speed blenders work best here—we’re talking Vitamix or Ninja level. The avocado, when fully blended with the cold ingredients, creates this incredible silky texture that actually tastes like premium ice cream. Supervise all blender operation closely with children. Blend for about 90 seconds total, stopping once to scrape down the sides if needed. You’ll know it’s ready when you can’t see any avocado streaks.
Step 6: Pour into Your Chilled Pan
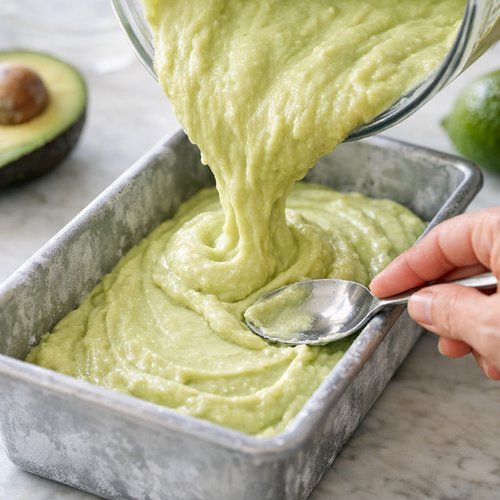
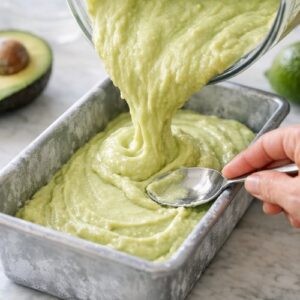
Working quickly now, pour that creamy mixture into your freezing-cold loaf pan. Use the back of a spoon to spread it evenly into all the corners. This helps it freeze more uniformly. Kids can do the spreading under your watchful eye—it builds fine motor skills and keeps them connected to the cooking process. If the mixture starts to melt, pop the pan back in the freezer for 5 minutes before continuing.
Step 7: Freeze Until Firm
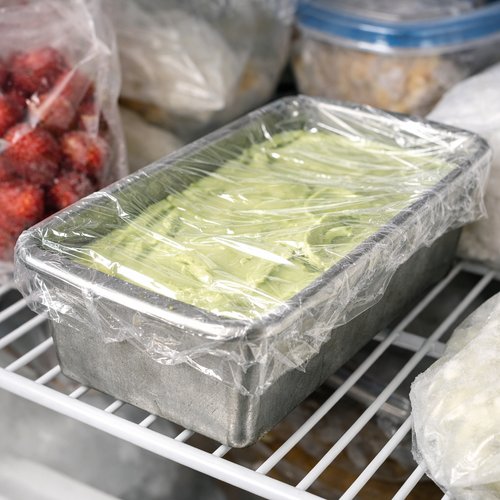
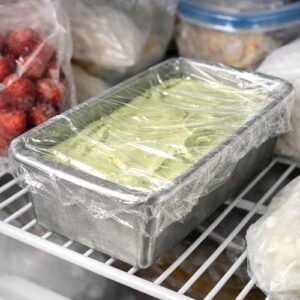
Cover the loaf pan with plastic wrap or foil and place it in your freezer. You need at least 4 hours for it to freeze solid, but overnight is honestly perfect. I always make this in the morning or afternoon so it’s ready by dessert time. This is where the magic of make-ahead cooking comes in—you’re essentially done and just waiting.
Step 8: Soften Before Serving
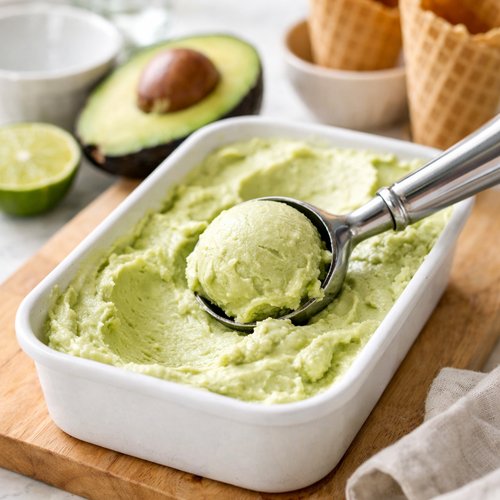
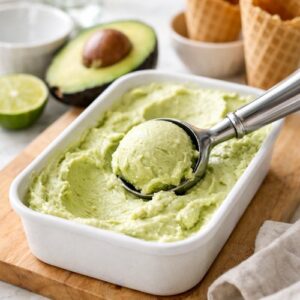
Here’s what separates homemade ice cream from grocery store ice cream: texture. Remove your ice cream from the freezer about 10 to 15 minutes before serving. This gives it time to soften slightly so your scoops are actually achievable. A warm ice cream scoop dipped in hot water helps too. Once softened, scoop into bowls and serve immediately. Everyone will think you worked way harder than you actually did.
Expert’s Nutritional Tip
As a registered dietitian, I get asked about fats and kids constantly. Here’s what the research shows: avocados contain lutein and zeaxanthin, two compounds essential for eye development in children. These fats are also crucial for absorbing fat-soluble vitamins like A, D, E, and K. When you serve this ice cream after a meal with those nutrients, you’re actually helping your child’s body use them more effectively. Plus, that coconut fat in the base provides medium-chain triglycerides (MCTs) that your child’s brain loves for energy and cognitive function. This isn’t indulgent despite being delicious—it’s actually smart nutrition.
Make-Ahead Guide: Your Secret to Stress-Free Dessert
I built this recipe around the reality of busy families. You don’t have time to make complicated desserts on a Tuesday night, but you deserve to serve something beautiful. Here’s exactly how to work ahead:
- Day 1 (or up to 3 days before) – Buy your avocados and let them ripen on your counter. Buy your banana and freeze it whole in a freezer bag. Get that coconut milk in the fridge overnight.
- Morning of serving – Chill your loaf pan, prepare all ingredients, blend, and freeze. Total active time: 10 minutes. Then you’re done until dessert time.
- Up to 24 hours before serving – Make the complete recipe and freeze. Your ice cream keeps beautifully for up to 2 weeks in a covered loaf pan. You can transfer it to a freezer-safe container after it’s frozen if you need the loaf pan.
- Serving day tip – If it’s been in the freezer longer than 24 hours, let it soften 15 to 20 minutes instead of 10 to 15, as it may be harder than freshly made.
Common Mistakes to Avoid
In my years of recipe testing and working with families, I’ve seen certain things trip people up. Let me save you some frustration:
- Skipping the overnight coconut milk chill – If that coconut milk isn’t cold enough, the fat won’t separate properly and your ice cream will be too soft or icy. This is non-negotiable. Put it in the fridge the night before.
- Using under-ripe or over-ripe avocados – Under-ripe avocados are bitter and grainy; over-ripe ones turn brown and taste off. You want avocados that give just slightly when you squeeze them gently. If you buy them hard, let them sit on the counter for a few days.
- Skipping the frozen banana – Some people think it’s an extra step. It’s actually essential. Frozen banana prevents the whole mixture from being too soft and adds natural sweetness. If you use fresh banana, your ice cream will be more like soft-serve and won’t scoop properly.
- Not blending long enough – You want absolutely smooth texture. Any chunks of avocado will be grainy in the frozen product. Blend for the full 90 seconds and don’t be afraid to scrape and blend again.
Customization Station: Let Everyone Build Their Own
This is where picky eaters become invested eaters. I learned this from watching families at gatherings—when kids feel like they’re choosing their own toppings and variations, they suddenly care about eating what they made. Set up a little station with options and let everyone customize their bowl.
- Topping choices – Fresh mint leaves, a sprinkle of lime zest, crushed pistachios, coconut flakes, or a drizzle of honey. Let kids choose one or two and sprinkle them on their own scoop.
- Mix-in options – Before freezing, some people love adding a tablespoon of unsweetened cocoa powder for chocolate avocado, or swirling in a tablespoon of natural almond butter for richness. You can make a base batch and customize portions before the final freeze.
- Flavor boosters – A tiny pinch of cayenne pepper sounds wild but brings out the sweetness beautifully. Fresh ginger adds zing. A touch of vanilla extract makes it feel more traditional.
Scaling for Different Family Sizes
This recipe as written makes 4 to 6 servings perfectly. But maybe you’re cooking for a small household or you’re feeding a crowd. Here’s how to adjust:
- For 2 people – Use half of everything: ½ can coconut milk (measure out about 7 ounces), 1 avocado, ½ banana, 1.5 tablespoons maple syrup, 1 tablespoon lemon juice, and 2 to 3 mint leaves. Use a small loaf pan or even a 4-cup container. Freeze time stays the same.
- For 8 to 10 people – Double the recipe completely. Use 2 cans coconut milk (chilled separately), 4 avocados, 1 large banana or 2 small, 6 tablespoons maple syrup, 4 tablespoons lemon juice, and 8 to 10 mint leaves. You’ll need 2 loaf pans or one large freezer container. Freeze time stays the same.
- For feeding a large gathering – Triple it and use a 9×13-inch baking pan instead of loaf pans. Cut into squares for serving. Everything else stays proportional.
Can I Store Avocado Ice Cream Recipe?
Yes, and this is honestly one of the best parts about this recipe. It stores beautifully, which makes it perfect for meal prepping or making ahead for busy weeks.
- In the freezer: up to 2 weeks – Keep it covered with plastic wrap or in an airtight freezer container. The longer it sits, the harder it gets, which is actually fine—just soften it a few extra minutes before scooping.
- For lunchboxes – Pack it in a small freezer container with an ice pack the morning of. By lunch, it’ll be perfectly soft. Kids absolutely love this as an afternoon surprise.
- Prevent freezer burn – Use good plastic wrap or transfer to a labeled freezer container after the first 24 hours when it’s fully frozen. This keeps ice crystals from forming on top.
- Once scooped – Any remaining ice cream in the pan keeps for 2 weeks. Once you scoop and serve, eat within a few hours as it melts at room temperature (no stabilizers in this homemade version).
Nutrition Information
Per serving (based on 6 servings): approximately 185 calories, 14 grams fat, 16 grams carbohydrate, 4 grams fiber, 2 grams protein, and 380 milligrams potassium. According to USDA data, one serving provides about 22% of daily potassium needs for a child, which supports healthy heart function and muscle development. The healthy fats from avocado and coconut milk provide essential fatty acids crucial for brain development and hormone regulation in growing children.
This isn’t a low-calorie indulgence—it’s a nutrient-dense treat. The fat content is actually the point. These are the kinds of fats that support satiety, meaning kids feel satisfied and don’t reach for more sugary snacks after. The fiber content helps maintain stable blood sugar, preventing energy crashes. This is the kind of dessert that works with your child’s body instead of against it.
What to Serve Alongside for a Complete Family Meal
While this is absolutely a stand-alone dessert, I love pairing it with simple, wholesome sides that make the whole experience feel like a celebration. Consider serving it at the end of a meal with these complementary options, or pair it with breakfast items if you’re feeling fun about it:
- Crispy almond flour tortillas – Sound unexpected? Try one with a small scoop of ice cream inside for a sweet-savory moment. Check out our Almond Flour Tortillas Recipe for something that feels both special and aligned with your nutritional goals.
- Fresh berries on the side – Raspberries, strawberries, or blackberries add tartness that contrasts beautifully with the creamy ice cream. Plus, you’re sneaking more fruit into the meal.
- A small cookie – Just one simple butter cookie or shortbread alongside makes it feel like a fancy dessert experience without going overboard.
- Mexican hot chocolate – Serve warm while the ice cream is cold. The temperature contrast is absolutely delicious and feels indulgent.
Seasonal Variations
This base recipe is year-round magic, but you can play with seasonal flavors to keep it fresh:
- Summer – Add fresh lime juice instead of lemon, swap mint for basil, and add a tiny pinch of chili powder for a sophisticated adult version while the kids enjoy the regular version.
- Fall – Reduce mint to 2 leaves and add ¼ teaspoon of cinnamon and a small pinch of nutmeg. It becomes almost dessert-like and pairs beautifully with apple crisp.
- Winter – Skip the mint and add ½ teaspoon of pure vanilla extract and a tiny pinch of cardamom for something warming and cozy.
- Spring – Increase the mint to 6 to 8 leaves and add a tablespoon of fresh strawberry puree for delicate berry flavor without overwhelming the base.

Avocado Ice Cream Recipe
Ingredients
Method
- Here's a pro tip from my years of recipe testing: a cold pan keeps your mixture from melting too quickly once you pour it in. Pop your loaf pan into the freezer for at least 30 minutes. If you're doing this the night before—which I absolutely recommend—chill it overnight. Make sure your freezer is at 0°F or below for food safety. Kids can help by choosing which loaf pan to use and decorating the outside of the freezer to remind everyone it's chilling.
- Open your can of coconut milk (remember, it needs to have been in the fridge overnight). You'll notice the thick, creamy part has separated from the liquid. Gently scoop out that solid coconut cream and place it in your high-speed blender. Save that liquid for smoothies or coffee—nothing goes to waste in our kitchen. This separation is exactly what you want for the richest ice cream texture. School-age kids can help with the scooping while you keep the can steady.
- Halve your avocados lengthwise around the pit. Pop out the pit by tapping the blade of a knife into it, then twisting gently. Scoop the avocado flesh directly into your blender with a spoon. You want to work quickly here so the avocado doesn't oxidize and brown. Keep all knife work away from little hands—this is a perfect job for adults or supervised older kids only. The pale green you see is exactly what your final ice cream will look like, so don't worry if it seems simple right now.
- Add those frozen banana chunks to the blender along with the maple syrup, fresh lemon juice, and torn mint leaves. That pinch of sea salt goes in now too. This is the moment where everything starts to look like actual ice cream base. Younger kids love dropping frozen banana chunks in—it feels like they're doing something real. Older kids can measure and pour the liquids with minimal supervision.
- This is crucial: you want everything blended until there are absolutely no chunks. High-speed blenders work best here—we're talking Vitamix or Ninja level. The avocado, when fully blended with the cold ingredients, creates this incredible silky texture that actually tastes like premium ice cream. Supervise all blender operation closely with children. Blend for about 90 seconds total, stopping once to scrape down the sides if needed. You'll know it's ready when you can't see any avocado streaks.
- Working quickly now, pour that creamy mixture into your freezing-cold loaf pan. Use the back of a spoon to spread it evenly into all the corners. This helps it freeze more uniformly. Kids can do the spreading under your watchful eye—it builds fine motor skills and keeps them connected to the cooking process. If the mixture starts to melt, pop the pan back in the freezer for 5 minutes before continuing.
- Cover the loaf pan with plastic wrap or foil and place it in your freezer. You need at least 4 hours for it to freeze solid, but overnight is honestly perfect. I always make this in the morning or afternoon so it's ready by dessert time. This is where the magic of make-ahead cooking comes in—you're essentially done and just waiting.
- Here's what separates homemade ice cream from grocery store ice cream: texture. Remove your ice cream from the freezer about 10 to 15 minutes before serving. This gives it time to soften slightly so your scoops are actually achievable. A warm ice cream scoop dipped in hot water helps too. Once softened, scoop into bowls and serve immediately. Everyone will think you worked way harder than you actually did.
Notes
FAQs
What if I don’t have a high-speed blender?
A regular blender will work, but you might need to blend longer—maybe 2 to 3 minutes total—and you might notice a slightly less smooth texture. You can also mash everything together with a fork in a bowl for a more chunky ice cream texture, which honestly, some kids prefer because they can feel the ingredients. Food processor works too, though it tends to be grainier than a blender.
Can I use fresh banana instead of frozen?
Technically yes, but your ice cream will be softer and less scoopable. The frozen banana adds body and prevents the whole mixture from becoming too soft. If you only have fresh banana, freeze the completed mixture for an extra 2 hours, and it’ll work just fine.
My avocado turned brown—is it ruined?
Not ruined, but the flavor will be slightly off and the color won’t be as pretty. Prevention is key: buy avocados that need 2 to 3 days to ripen, prepare your recipe the day you want to eat it, and work quickly once you’ve cut the avocados. If you’re prepping ahead, store halved avocados with the pit in, wrap tightly in plastic wrap, and refrigerate—they last about 24 hours this way.
Can I make this without coconut milk?
You need some kind of fat base to get that creamy texture. Heavy cream works beautifully (use ¾ cup), as does full-fat Greek yogurt (use ¾ cup), or even cashew cream if someone in your family is allergic to coconut. Each creates a slightly different texture, but all are delicious. The flavor will change slightly, so taste and adjust your sweetener as needed.
How do I know if my avocados are ripe enough?
Gently squeeze the avocado in your palm. You want it to yield slightly to pressure but not feel mushy. If it’s hard, it needs another day or two on the counter. If it’s soft and feels like it might fall apart, it’s ready today. Check the color too—look for deep green, not bright green. And here’s a secret: check under the stem. If it’s brown under there, the avocado is past its prime.
More Family-Friendly Recipes
- Almond Flour Banana Nut Bread Recipe – A wholesome breakfast or snack option that feels indulgent but packs real nutrition
- Almond Joy Recipe – Another coconut-based treat that kids go crazy for, with that same tropical flavor profile
There’s something sacred about cooking with the people you love. My grandmother understood this deeply, and I watched her teach my mother, who’s now teaching me how to pass it forward. This avocado ice cream recipe is more than just frozen dessert—it’s an invitation to slow down, involve your people, and create something nourishing together. It’s proof that feeding your family well doesn’t have to feel complicated or time-consuming. Some of the most memorable meals happen in our kitchens when we stop trying to be perfect and just start being present. So make this. Make it messy if you need to. Let your kids help, taste-test, and maybe smear a little avocado on their face. These are the moments that build not just strong bodies, but strong families. Enjoy your cooking journey!