
Ingredients
Method
Step 1: Create Your Cookie Crumb Base
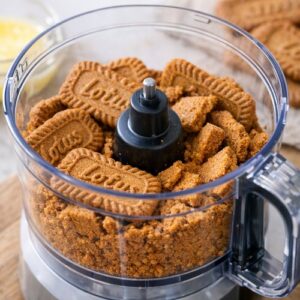
- Start by placing about 200 grams of Biscoff cookies into a food processor. Pulse until you have fine crumbs—not dust, but definitely not chunky. This texture matters because it needs to pack together without turning into paste. If you don't have a food processor, put them in a sealed bag and crush them with a rolling pin or the bottom of a measuring cup. It's actually meditative, and you get the same result. Pour your melted butter into the cookie crumbs and stir until every bit of crumb is coated. The mixture should resemble damp sand. Press this firmly into the bottom of a 9-inch springform pan, using the bottom of a measuring cup to make sure it's compact and even. Don't skip the packing step—a loose base will crumble when you slice. Pop the base into the refrigerator while you make the filling. This gives the butter time to set and keeps everything stable when you add the wet filling on top. This is one of those small moves that separates beautiful slices from crumbly disasters.
Step 2: Whip Your Cream Cheese Mixture to Perfection
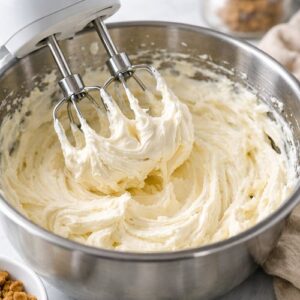
- This step is where everything changes. Make sure your cream cheese is at room temperature—take it out about 30 minutes before you start. Cold cream cheese will fight you every step of the way. Pour your cold heavy cream into a large mixing bowl and use an electric mixer on medium-high speed. Whip until you have soft peaks that hold their shape but still have a little soft curl at the tip. This takes about 2-3 minutes with an electric mixer. If you're whipping by hand, it'll take about 10 minutes and your shoulders will get a workout, but it absolutely works. In a separate bowl, combine your room-temperature cream cheese with 200 grams of Biscoff spread and your vanilla extract. Use the mixer to beat these together until completely smooth—about 2 minutes. There should be zero lumps. If you see any graininess, keep mixing because the cream cheese needs to be fully incorporated for that silky texture. Now here's the critical part: fold your whipped cream into the Biscoff mixture in two additions. Use a rubber spatula and fold gently—you're trying to maintain those air pockets you just created in the whipped cream. Overmixing deflates them, and you lose that mousse-like quality. The filling should look light, fluffy, and pale caramel-colored.
Step 3: Layer Your Filling Into the Base
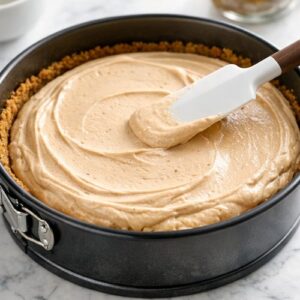
- Remove your chilled base from the refrigerator. Pour the whipped Biscoff filling directly onto it and use a spatula to smooth the top into an even layer. Don't press down—let the filling sit gently on top of the base. Take your time smoothing the surface because this is what people will see. Cover the pan loosely with plastic wrap and refrigerate for at least 3 hours. Honestly? Overnight is even better if you have the time. This chilling period is where the magic happens—the flavors deepen, the texture sets properly, and everything melds into something greater than the individual parts.
Step 4: Add the Final Biscoff Layer
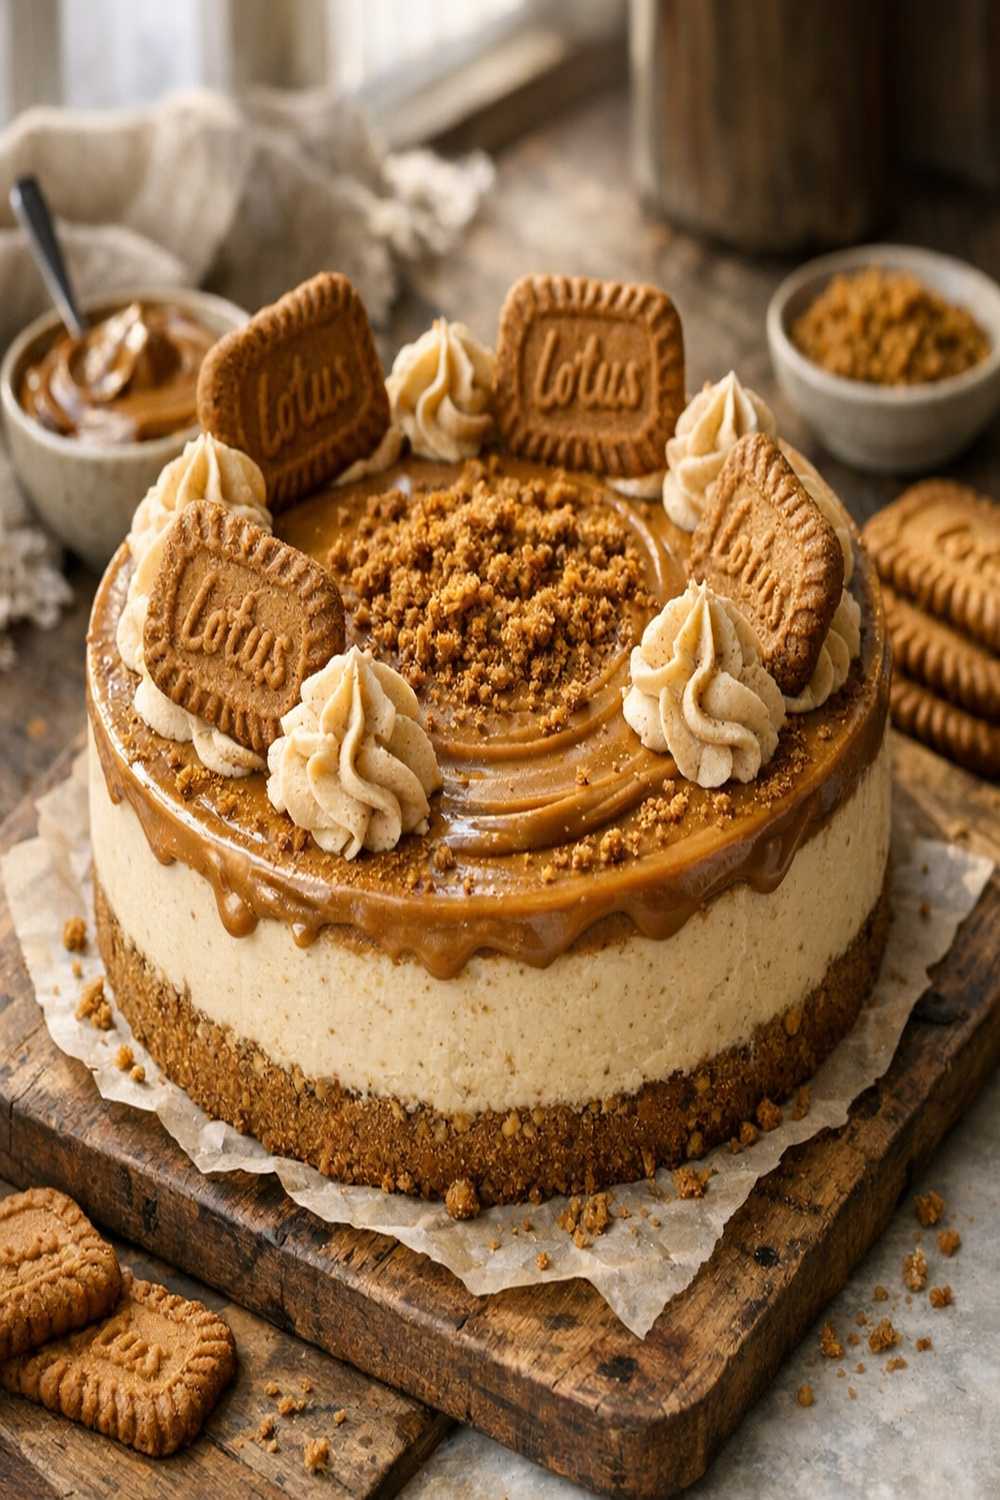
- About an hour before serving, remove your cheesecake from the refrigerator. Place 150 grams of Biscoff spread into a small saucepan over very low heat. You want to warm it just enough to become pourable—never let it bubble or get hot. Stir gently until it's smooth and flows easily. Pour this warm Biscoff spread directly onto the center of your chilled cheesecake. Using the back of a warm spoon (run it under hot water and dry it), gently spread the caramel layer across the top in one smooth motion. Work slowly and don't dig into the filling underneath. Sprinkle your reserved 50 grams of crushed Biscoff cookies around the outer edge while the caramel layer is still slightly soft. This adds both visual appeal and little bursts of cookie texture in every bite. Return to the refrigerator for at least one more hour so the top layer sets. You can technically cut it sooner, but the slices won't be as neat and clean. Patience with this final hour means the difference between beautiful presentation and messy scoops.

Step 5: Slice and Serve With Intention
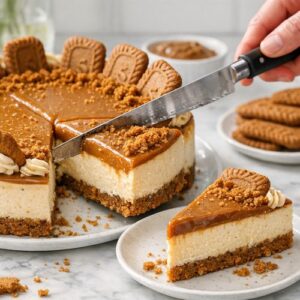
- When you're ready to serve, use a long, thin-bladed knife dipped in hot water and wiped dry between cuts. This prevents the layers from dragging and keeps your slices looking pristine. Wipe your knife between each slice—this one small step makes an enormous difference in presentation. Serve directly from the springform pan or, if you're showing off, carefully run a warm offset spatula around the edges and gently release the springform to reveal those perfect layers.