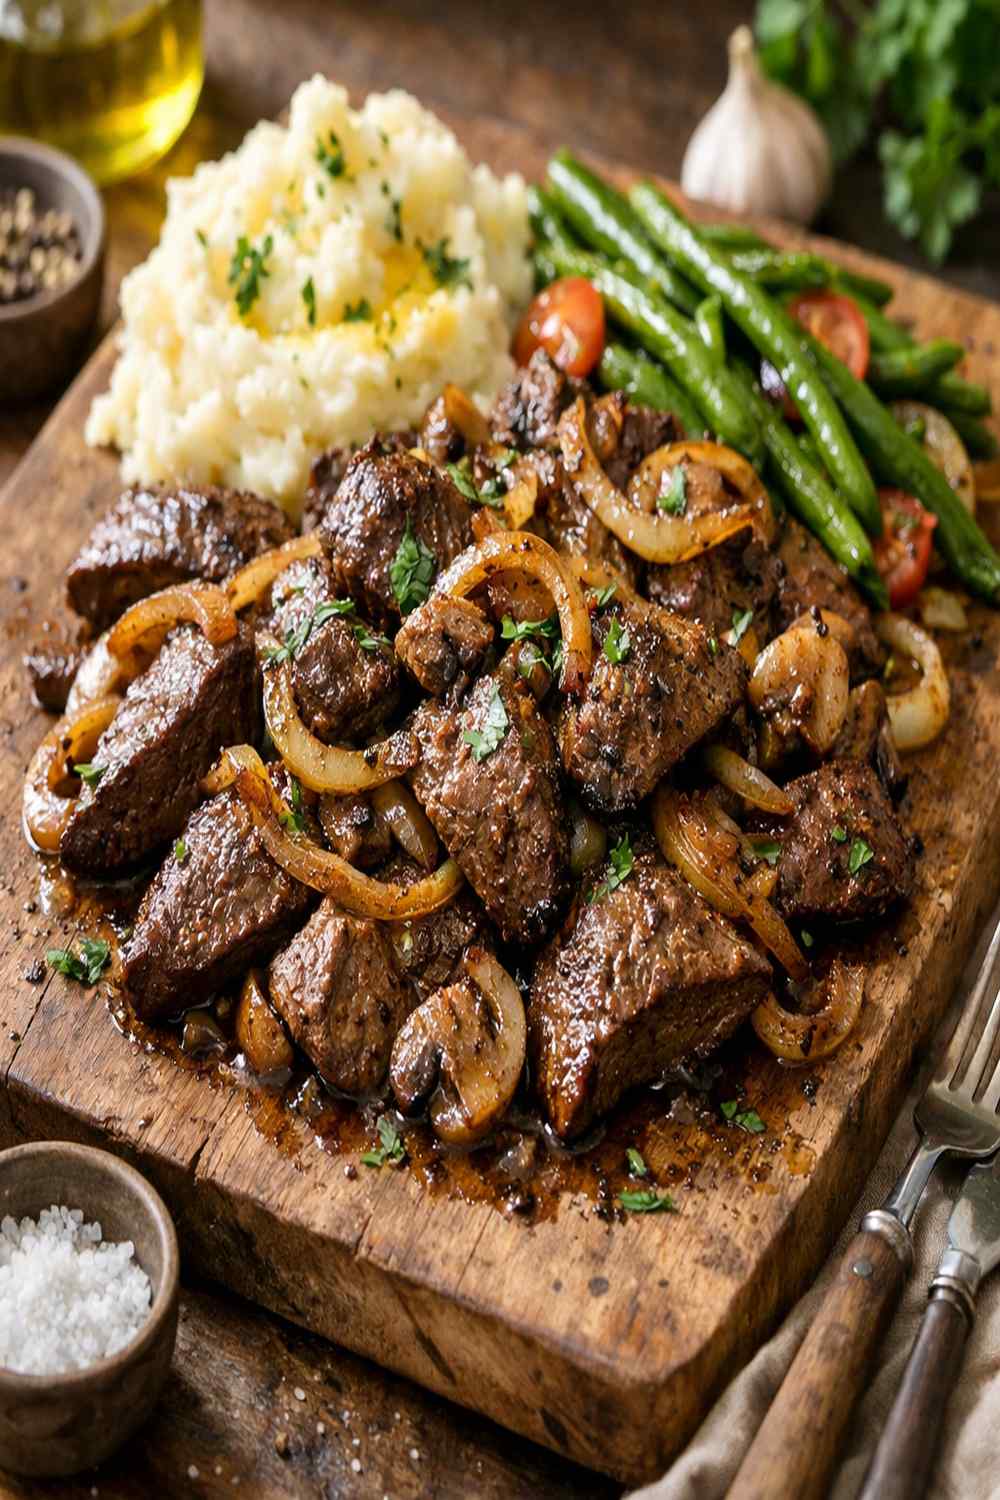

Ingredients
Method
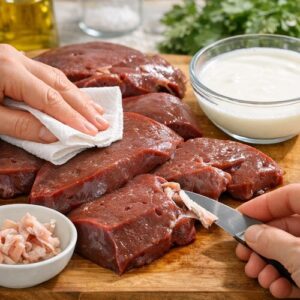
Step 1: Prepare and Soak Your Liver in Buttermilk
- Start by gently rinsing your liver under cool running water and patting it completely dry with paper towels. Trim away any obvious connective tissue or green-tinged areas (which indicate bile). Slice the liver into strips that are about ½-inch thick—this is crucial because thinner pieces will overcook instantly, while thicker pieces won't cook through properly. Now place your liver strips into a bowl or resealable container and pour the buttermilk over them, making sure every piece is submerged. Cover and refrigerate for at least 10 minutes, but ideally 30-45 minutes. This window is where the magic happens: the lactic acid in the buttermilk is enzymatically breaking down tough muscle proteins while the dairy fat is coating the liver, which will protect it from moisture loss. Don't skip this step thinking you're saving time—those 30 minutes transform the final texture from potentially rubbery to genuinely tender.
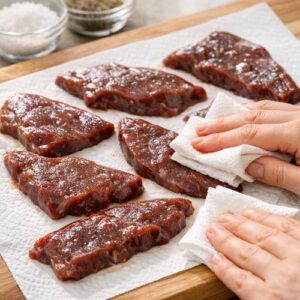
Step 2: Pat Dry and Season Properly
- After soaking, remove the liver from the buttermilk and place strips on a clean paper towel. Pat them very thoroughly until they're completely dry on the surface—any excess moisture will create steam in the pan, which prevents browning. Discard the buttermilk. Now season both sides generously with kosher salt and freshly ground black pepper. I add a tiny pinch of smoked paprika too, because it adds a complexity that makes people ask what your secret ingredient is. The salt isn't just for flavor here—sodium chloride actually denatures the myosin proteins on the surface, creating better browning conditions and helping the meat retain moisture internally.
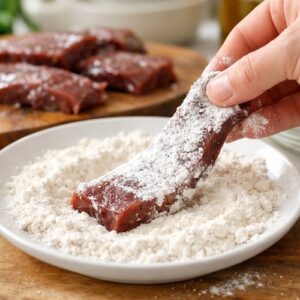
Step 3: Dredge in Flour for the Perfect Crust
- Pour your flour onto a shallow plate or into a small bowl. Working with one strip at a time, dredge each piece of liver in the flour, coating both sides evenly, then shake off any excess. The flour creates what's called a "crust" that will brown beautifully in the hot pan. This isn't a thick breading—you're just creating a thin, delicate coating. This layer, when it hits the heat, undergoes the Maillard reaction: amino acids and sugars interact at high temperatures to create complex, savory flavors and that golden-brown color that signals to your brain that this food is going to taste incredible.
Step 4: Sear the Liver Over Medium-High Heat
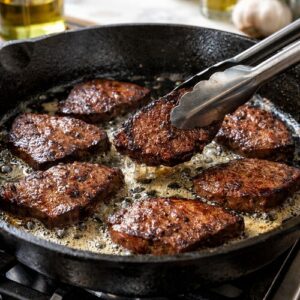
- Place a large cast iron or stainless steel skillet over medium-high heat and add the butter. Let it melt completely and foam slightly—this takes about 1-2 minutes. Once the butter is foaming and smells nutty, you're ready. Working carefully, place your flour-dredged liver strips into the pan. Do not move them. Let them sear undisturbed for exactly 3 minutes. You're looking for a deep golden-brown color on the underside. Flip each strip and cook for another 3 minutes on the second side. The internal temperature should reach 160°F (use an instant-read thermometer), but honestly, you'll know it's done when the exterior is mahogany brown and the interior is no longer bright red—a soft pink inside is absolutely fine and actually desirable, as it keeps the meat tender. Remove the liver to a clean plate and cover loosely with foil to keep it warm.
Step 5: Build the Aromatic Base
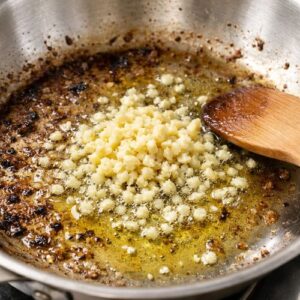
- Don't wash that pan! Pour in the olive oil and reduce the heat to medium. Add your minced garlic and cook for 45 seconds to 1 minute until fragrant but not brown. Browning garlic makes it bitter, so timing here matters. Now add your ribbon-sliced onions and cook, stirring occasionally, for 8-10 minutes. What's happening is the natural sugars in the onion (fructose, glucose, and sucrose) are caramelizing through the Maillard reaction, developing deep, sweet, savory flavors. The onions should transform from crisp and white to silky, translucent, and golden brown. This is the supporting player that makes your entire dish sing—don't rush it.
Step 6: Bring It All Together
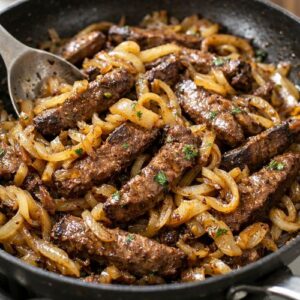
- Once your onions are caramelized and soft, return the liver strips to the pan and toss gently to combine. Cook everything together for 1 additional minute, just enough to warm the liver through and marry the flavors. The residual heat from the pan will ensure the liver stays tender without overcooking. Taste and adjust seasonings if needed. Serve immediately while the liver is still warm.
Notes
- Use fresh liver from a trusted source - Liver quality matters enormously because any off-flavors are magnified. I source mine from a local butcher who can tell me exactly when the liver was processed. Fresh liver has a deep burgundy color; if it's grayish or has any off smell, pass on it. Trust your senses.
- Temperature control is everything - The difference between tender liver and rubbery liver often comes down to heat management. Medium-high heat is your target; too high and the exterior burns while the interior stays cool, too low and you never get that beautiful crust. Use a cast iron skillet because it maintains consistent heat better than other materials.
- Don't skip the rest period - After searing, letting the liver rest under foil for 2-3 minutes allows the proteins to relax and retain moisture. This is the same principle as resting a steak, and it's just as important.
- Pair with acidic elements - A squeeze of fresh lemon juice right before serving brightens the dish and cuts through the mineral intensity. Acidity actually helps your palate perceive savory flavors more clearly, which is why traditional liver and onions recipes often include vinegar or citrus.