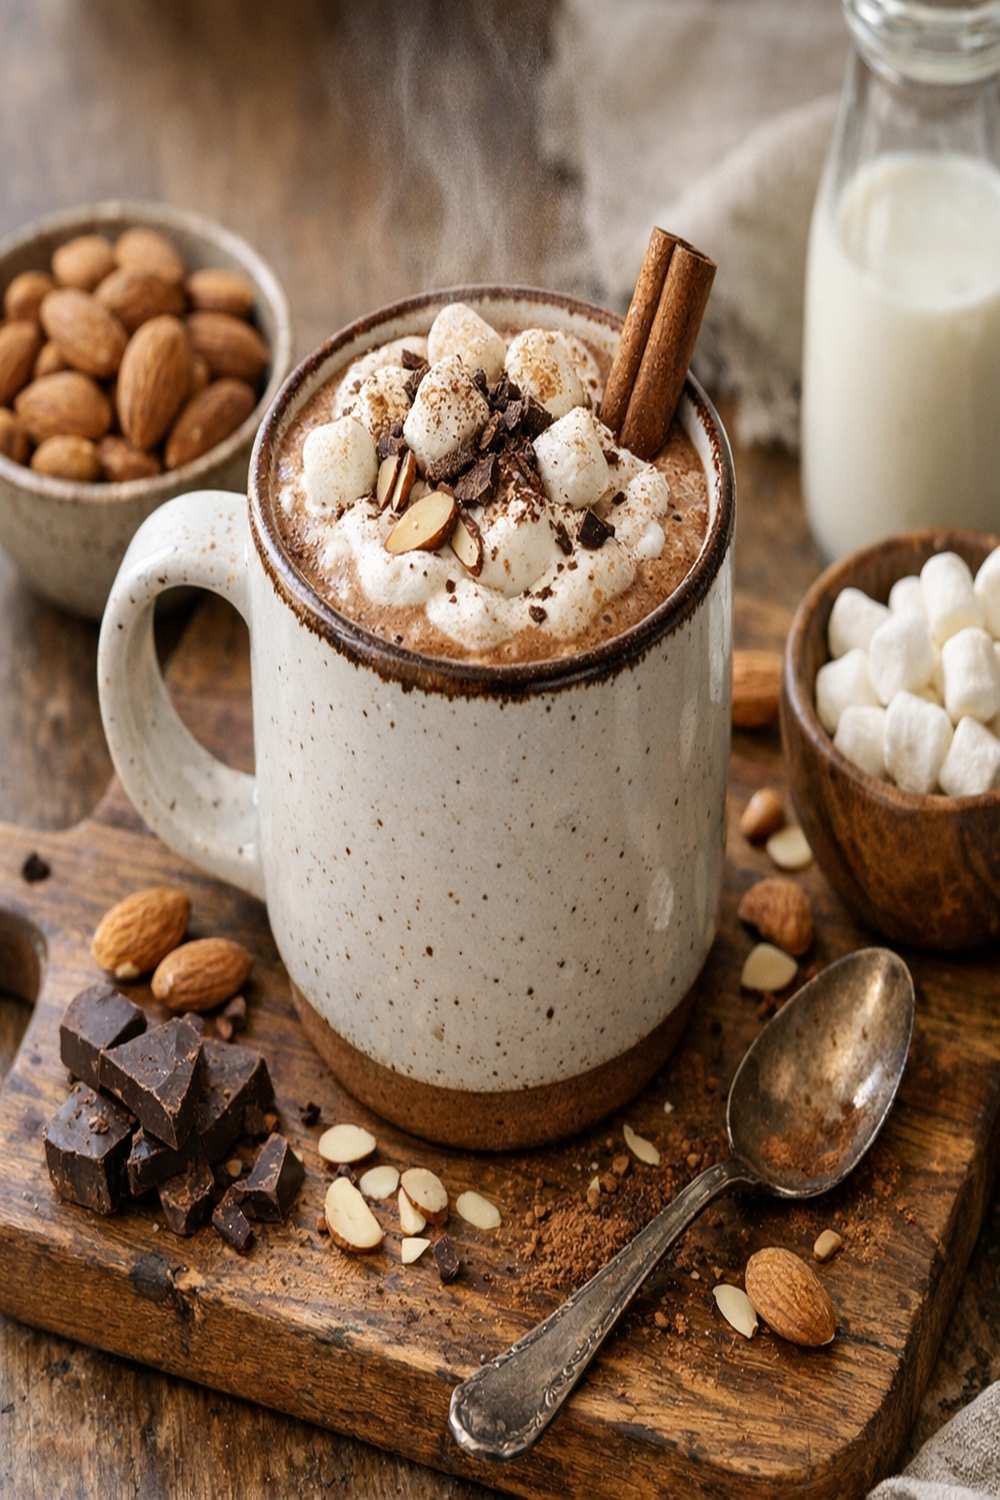

Ingredients
Method
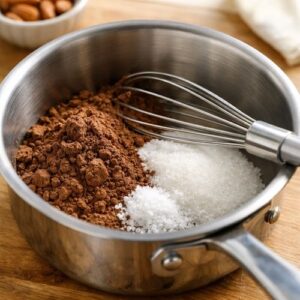
Step 1: Combine Your Dry Ingredients in a Small Saucepan
- Pour your unsweetened cocoa powder, sugar, and sea salt into a small saucepan. Whisk these together thoroughly before adding any liquid. This step is crucial because it distributes the salt evenly and breaks up any cocoa clumps that would otherwise hide in your finished drink. I usually use a small whisk, something my grandmother called "making sure every speck knows it's part of something bigger." Take about 30 seconds here—it matters.
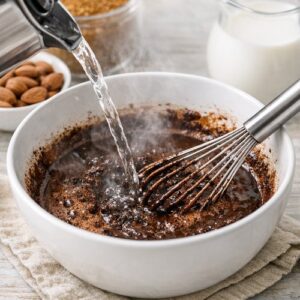
Step 2: Create Your Cocoa Paste with Boiling Water
- Slowly pour your boiling water into the cocoa mixture while whisking continuously. This is where the magic starts. Don't pour all the water at once—add it gradually in three or four additions, whisking between each pour. You're creating a smooth, thick paste that looks almost like wet sand. This paste is where all your cocoa flavor lives. If you rush this step or add water too quickly, you'll end up with lumps and separated cocoa that won't fully dissolve. Keep whisking until the mixture is completely smooth and has a glossy sheen. This usually takes about two minutes. The texture should be thick and uniform—no grainy spots, no streaks of dry cocoa powder. Your grandmother would have called this "whisking until it sings," and honestly, there's something meditative about it.
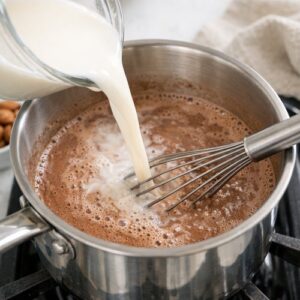
Step 3: Slowly Add Your Almond Milk Over Medium Heat
- Place your saucepan over medium heat. Now comes the patience part: slowly pour in your unsweetened almond milk while whisking constantly. Add the almond milk gradually—about a quarter cup at a time—continuing to whisk between additions. This prevents separation and ensures the cocoa powder fully incorporates instead of floating on top. As you add more almond milk, the mixture will thin out and become lighter in color. Keep whisking, keep moving your whisk in smooth, deliberate motions. You're not trying to create bubbles or foam; you're creating a unified, creamy drink. This is where many home cooks stumble—they get impatient and dump all the milk in at once, resulting in a separated, broken-looking drink.
Step 4: Whisk in the Vanilla Extract
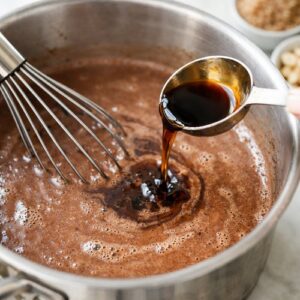
- Once all your almond milk has been incorporated and the mixture is relatively smooth, remove the saucepan from direct heat for just a moment. Add your vanilla extract and whisk it through completely. The residual heat will slightly warm the vanilla and help it distribute evenly throughout the drink. Vanilla is the secret that makes people say, "There's something special about this"—don't skip it.
Step 5: Return to Heat and Simmer Gently
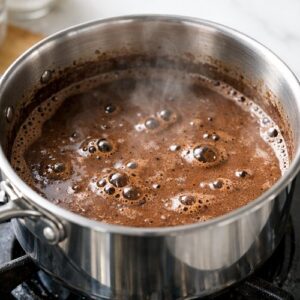
- Put the saucepan back over medium heat and let everything simmer gently for one to two minutes. You're looking for small, lazy bubbles coming up from the bottom—not a rolling boil, which would scald the almond milk and create that burnt, slightly acrid taste. During this minute or two, whisk occasionally to keep everything moving. This final heating ensures your drink is hot enough to sip immediately but not so hot that it damages the delicate almond milk proteins.
Step 6: Pour and Serve Immediately
- Pour your hot cocoa into four generous mugs, dividing it equally so everyone gets the full experience. Serve it right away while it's at that perfect temperature—hot enough to warm your hands, hot enough to steam slightly, but not so hot that you can't sip it comfortably. This is the moment when you pause, breathe in the aroma, and remember why you're making this for yourself or your loved ones.