Ingredients
Method
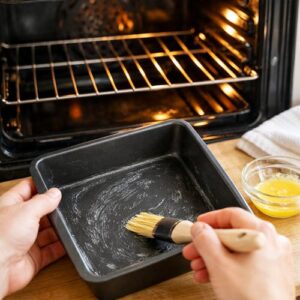
Step 1: Prepare Your Workspace and Oven
- Start by positioning your oven rack to the middle position and preheating your oven to 350°F (175°C). While it's warming up, grease a 6x6-inch square baking pan with a light coating of butter or cooking spray. Line the bottom with parchment paper if you're feeling extra careful—this makes removal easier and prevents sticking. Make sure you have room temperature eggs ready. This matters more than you might think. Cold eggs won't whip to proper volume, and you need that airiness to create the cake's structure. I take mine out about 30 minutes before I start cooking.
Step 2: Melt Your Chocolate Gently
- This is where patience becomes your ingredient. Place your chocolate chips in a microwave-safe bowl. Microwave in 30-second intervals, stirring between each interval, until the chocolate is completely melted and smooth. This usually takes between 60-90 seconds total, depending on your microwave's power. Alternatively, you can use a double boiler method—place chocolate over a bowl of barely simmering water, stirring occasionally until silky. This method takes longer but gives you more control and reduces the risk of overheating the chocolate, which can make it grainy and bitter. Once melted, set the chocolate aside to cool for 5-10 minutes. You want it warm but not hot—it should feel comfortable to touch on the outside of the bowl. If it's too hot, it'll cook your egg yolks when you fold them in. If it's too cool, it won't incorporate smoothly.

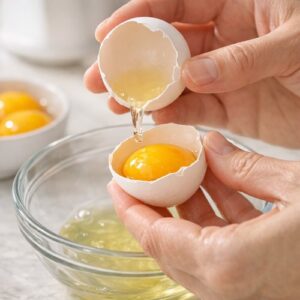
Step 3: Separate Your Eggs With Precision
- Now comes the technical part that makes all the difference. Separate your eggs carefully, keeping the yolks completely free from any white. Even a tiny bit of yolk will prevent your whites from reaching proper volume—fats and proteins don't play nicely together when you're trying to create air bubbles. I use the shell-to-shell method: crack an egg, pour the yolk between the two shell halves, letting the white drip into a bowl below. It's less wasteful than other methods and gives you better control. Transfer the yolk to a separate small bowl. Place your egg whites in a completely clean, dry mixing bowl. Even a trace of grease will sabotage your meringue. Some folks use a copper bowl for this step, which creates an even more stable foam—a lovely touch if you have one.
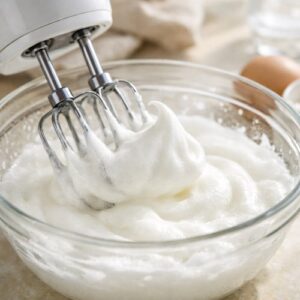
Step 4: Whip Your Egg Whites to Medium Peaks
- Using an electric mixer on medium-high speed, beat your egg whites until they transform from a clear liquid into a thick, pale foam. You're looking for medium peaks—when you lift the beater, the peaks should stand up but gently fold over at the tips. This usually takes 3-4 minutes, depending on your mixer's power. Don't overbeat. If you go too far, you'll end up with dry, separated egg whites that look grainy. Once you hit medium peaks, you're done. The whites should look like fluffy clouds—gorgeous and full of promise. This is the moment I always pause and appreciate what's happening. Those billions of tiny air bubbles are about to become the structure of your cake. It's pure food science and pure magic all at once.
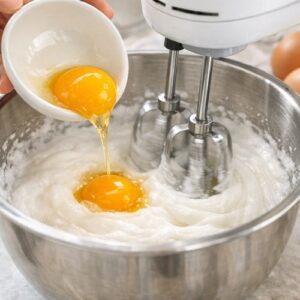
Step 5: Incorporate the Yolks One at a Time
- With the mixer still running on medium speed, add your egg yolks one at a time, waiting about 20-30 seconds between each addition. This allows each yolk to fully incorporate before you introduce the next one. As you add the yolks, the mixture will initially look a bit broken or separated—don't panic. This is completely normal. Keep beating, and it will gradually come back together into a glossy, pale yellow mixture. The whole process, from first yolk to fully incorporated last yolk, takes about 2-3 minutes. You'll know it's ready when the mixture is completely smooth and shiny, with no visible streaks of white. This is your emulsion, and it's beautiful.
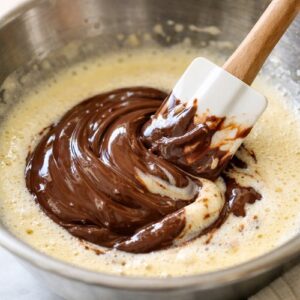
Step 6: Fold In the Melted Chocolate
- Here's where your gentle touch matters most. Pour your cooled melted chocolate into the egg mixture. Using a rubber spatula, gently fold—don't stir, don't beat—the chocolate into the eggs. A fold is different from a stir. You're moving the spatula down through the middle of the mixture, across the bottom, up the side, and over the top, rotating the bowl as you go. This keeps all those beautiful air bubbles intact while evenly distributing the chocolate. After about 8-10 folds, your batter should be uniformly chocolate-colored and smooth. Stop folding once you see no white streaks. Overmixing at this stage deflates those precious air bubbles and results in a denser cake.
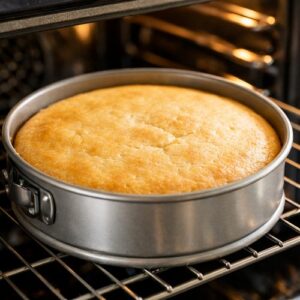
Step 7: Bake Until Just Set
- Pour your batter into your prepared pan, using your spatula to smooth the top gently. Place in your preheated 350°F oven for 28-32 minutes. The exact time depends on your oven's personality, so I suggest checking at the 25-minute mark. You're looking for a cake that's set around the edges but still has a slight jiggle in the very center when you gently shake the pan. A toothpick inserted near the center should come out with some moist crumbs clinging to it—not completely clean, and definitely not raw batter. The top should look set and might have some small cracks—this is normal and actually desirable. It means you've created that magical fudgy center we're after.
Step 8: Cool Completely Before Serving
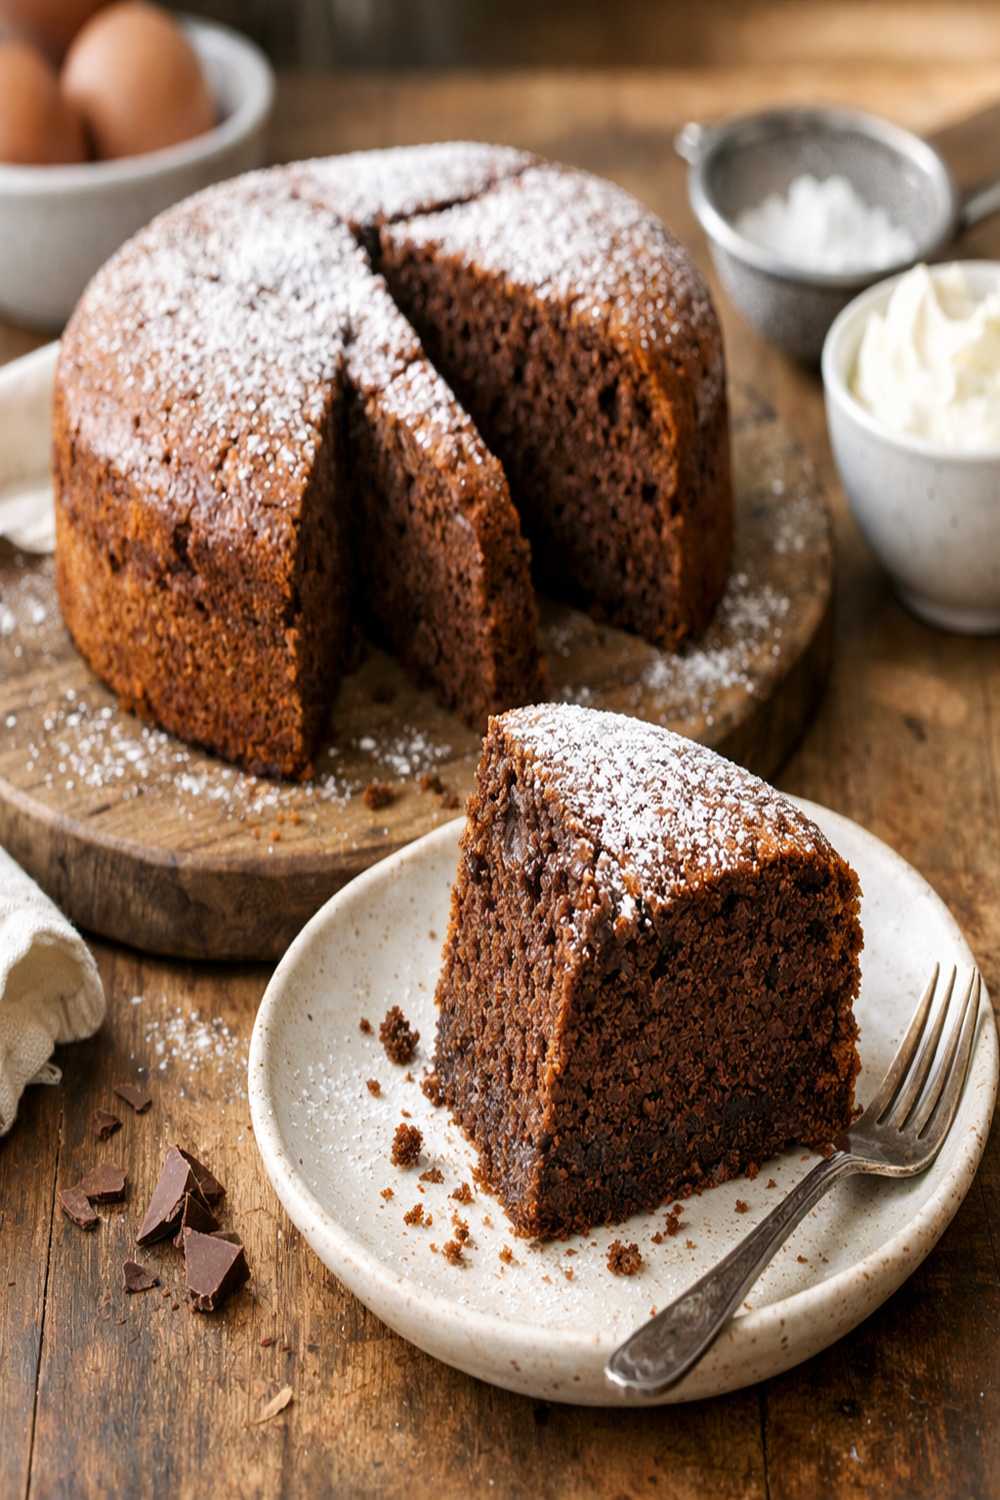
- Remove the cake from the oven and let it cool completely in the pan. This takes at least 1-2 hours at room temperature, though you can speed this by placing it in the refrigerator for 30-45 minutes. As it cools, it firms up considerably. The center, which seemed almost mousse-like when hot, becomes more cake-like while maintaining that gorgeous fudgy texture. Once cooled, you can invert the cake onto a serving plate, slice it into squares, or keep it in the pan for easy serving. If you'd like to add frosting or a ganache on top, this is the perfect time. Some folks dust it with cocoa powder or powdered sugar for a refined finish.

Notes
- Quality chocolate makes an enormous difference - Use chocolate you actually enjoy eating on its own. If you wouldn't eat it as a bar, don't use it in your cake. The difference between good chocolate and mediocre chocolate is immediately apparent in this recipe with so few ingredients hiding the flavor.
- Don't skip separating the eggs properly - This is genuinely the hardest part of the recipe, but it's non-negotiable. Any yolk contamination prevents proper whipping. If you accidentally get yolk in your whites, start over with a fresh egg white.
- Use room temperature eggs - Cold eggs won't whip to proper volume, and you'll end up with a denser cake. Plan ahead and let your eggs sit out for 30 minutes.
- Have all ingredients prepped before you start - Since this comes together quickly, get your chocolate melted, eggs separated, and oven preheated before you begin the actual mixing. There's no time to scramble once you've whipped those egg whites.
- Don't open the oven door repeatedly - Every time you open the door, you release heat and disrupt the baking process. Peek through the window after 25 minutes, and trust the timing from there.
- Invest in an accurate oven thermometer - Many home ovens run hot or cold without the owner knowing. An inexpensive oven thermometer is invaluable for this recipe, where precise temperature matters.