Ingredients
Method
Step 1: Preheat the Oven
- First things first: preheat your oven to 350°F. I usually set a timer to ensure my oven reaches the right temperature while I prepare everything.
Step 2: Prepare the Baking Pan
- Grab a 9x9-inch baking pan. You have the option to grease it lightly with oil or spray it with nonstick cooking spray. If you like easier cleanup, consider lining the bottom and sides with parchment paper. Trust me; it saves a lot of hassle!
Step 3: Combine Wet Ingredients
- In a mixing bowl, crack that large egg open. Add 1/4 cup of purified water and 1/3 cup of canola oil. Then, pour in a teaspoon of vanilla extract. Whisk them together until the mixture becomes smooth and slightly frothy. This process brings a little air into the mix, making the brownies nice and fluffy.
Step 4: Incorporate the Brownie Mix
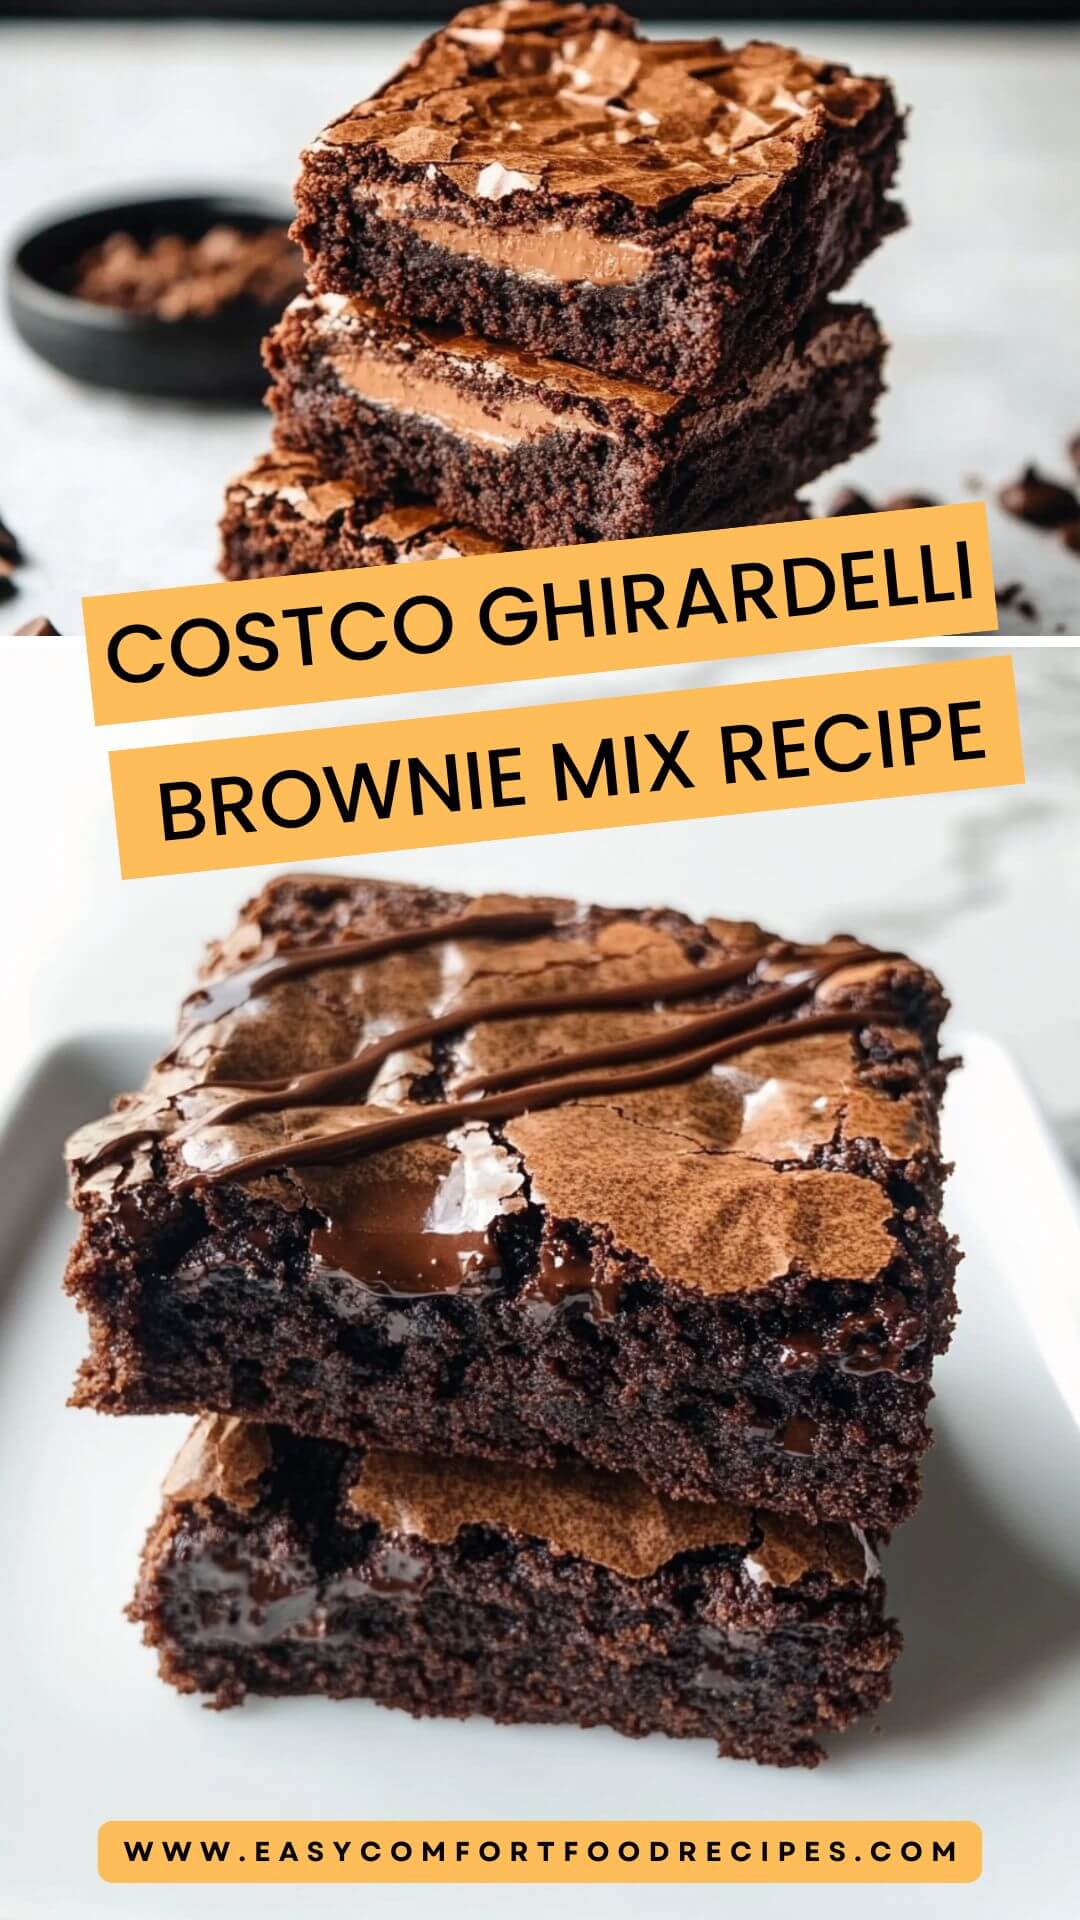
- Next, dump the entire 18-ounce package of Ghirardelli Brownie Mix into your wet mixture. Using a spatula or wooden spoon, stir gently. You want to combine the ingredients without overmixing. A few lumps are completely fine; they will bake away.
Step 5: Pour and Spread
- Once the batter comes together, transfer it into your prepped baking pan. Pour it in and use the spatula to spread it evenly. This ensures that every corner gets that rich chocolate goodness!
Step 6: Bake!
- Pop the pan into your preheated oven and bake for 28-30 minutes. The time varies slightly depending on how thick your batter is and the oven you’re using. Keep an eye on it! A toothpick inserted in the center should come out with a few moist crumbs—nothing wet or gooey should cling to it.
Step 7: Cool Down
- Once they’re out of the oven, let the brownies cool in the pan for about 10 minutes. Then lift them out (if you used parchment) to cool completely on a wire rack. Patience is key here. Those warm brownies can be tempting, but they’ll be gooey and hard to cut if you dive in too soon.
Notes
- Use high-quality chocolate chips: For an extra chocolatey kick, add 1 cup of chocolate chips. You'll be glad you did!
- Mix-ins: Don’t hesitate to toss in nuts, coconut, or caramel bits. It’s all about what you enjoy.
- Storage: If there's any left (which is rare), keep them in an airtight container to maintain moisture.
- Serving suggestion: A big scoop of vanilla ice cream on a warm brownie? It’s bliss on a plate!
- Great for gifting: Cut them into squares, place in a decorative box, and you have a thoughtful gift for neighbors or friends.