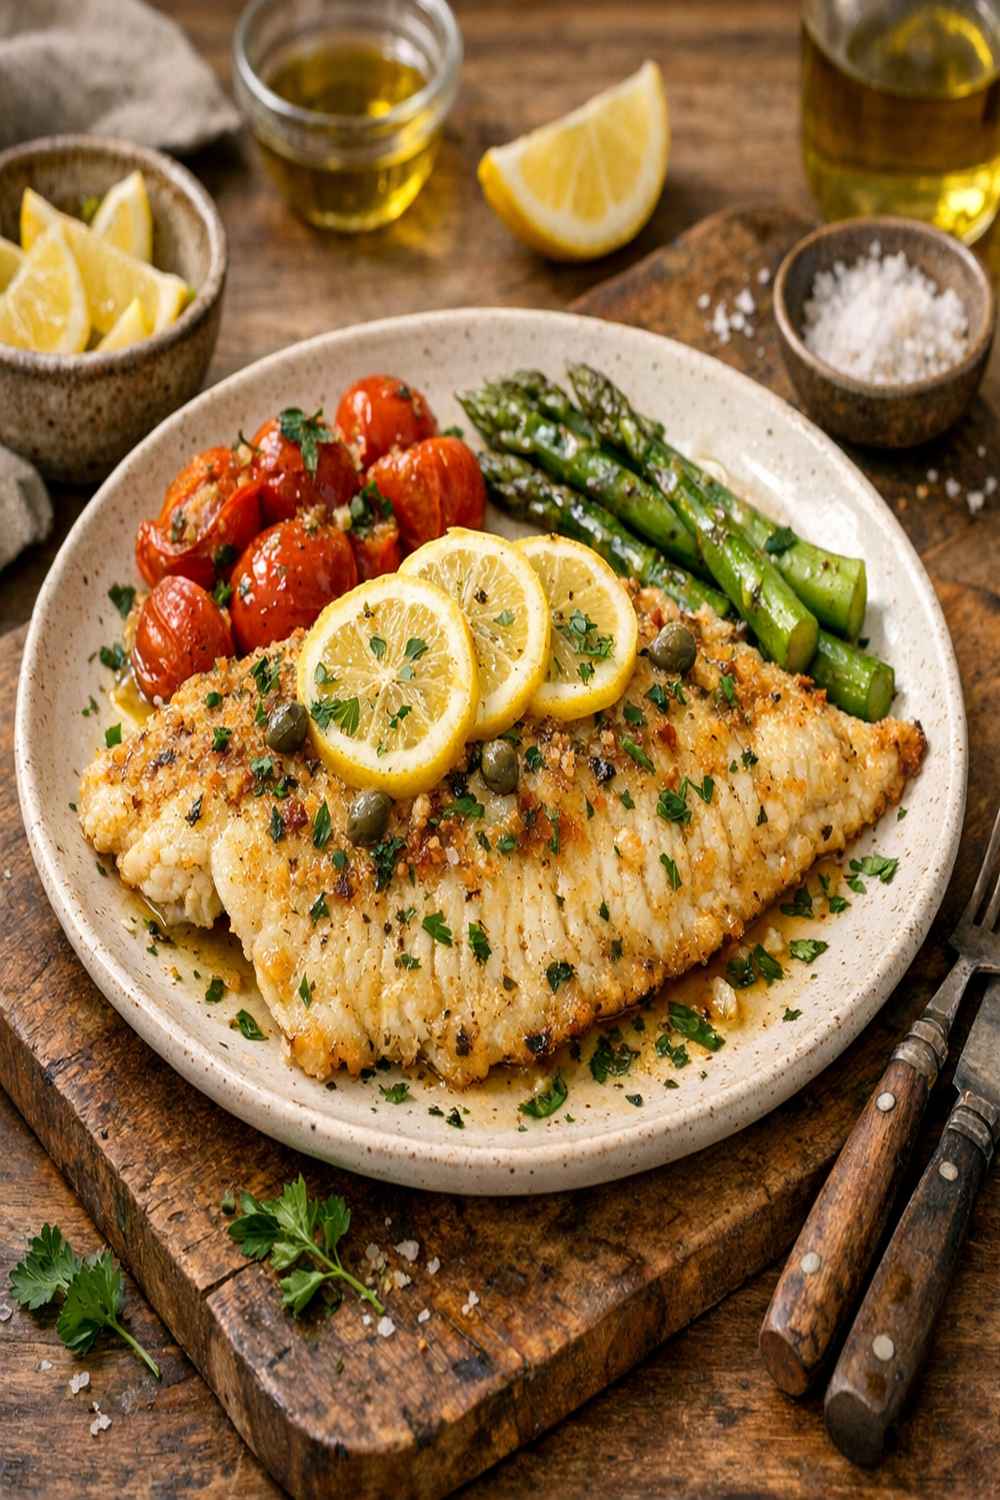

Ingredients
Method
Step 1: Prep Your Workspace and Get Your Oven Ready
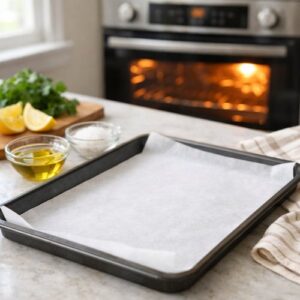
- First things first—preheat your oven to 400 degrees Fahrenheit (that's about 204 degrees Celsius if you're outside the States). While it heats, line a rimmed baking sheet with parchment paper or spray it lightly with cooking spray. This step takes 30 seconds but saves you 10 minutes of cleanup, trust me. For all dietary versions: Use the same oven temperature and baking sheet setup.
Step 2: Pat Your Flounder Completely Dry
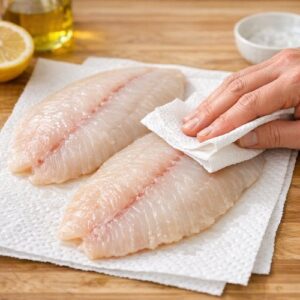
- This is the most important step that most home cooks skip. Remove your flounder fillets from the refrigerator and place them on a clean paper towel. Pat them completely dry on both sides—use a fresh paper towel if needed. When fish is wet, steam creates moisture that prevents browning and creates a mushy texture instead of that delicate, flaky finish we're after. For all dietary versions: This step never changes. Moisture is the enemy of texture, regardless of your dietary needs.
Step 3: Create Your Flavor-Building Oil Mixture
- In a small bowl, whisk together your melted butter (or your dietary substitute), olive oil, and fresh lemon juice. Whisk vigorously for about 30 seconds—you're not trying to emulsify it, but you do want to combine the flavors so they coat the fish evenly. For vegan versions: If you're using coconut oil, warm it slightly so it's pourable, then whisk the same way. For dairy-free versions with ghee: Ghee has a higher smoke point, so it creates an even more golden finish than butter.
Step 4: Brush the Fish With Your Oil Mixture
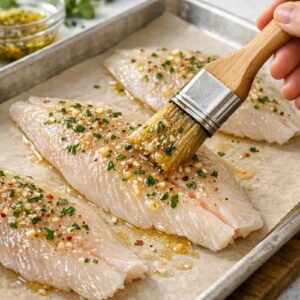
- Place your dried flounder fillets on the prepared baking sheet, spacing them about an inch apart. Using a pastry brush (or even a clean kitchen brush), brush the butter-oil mixture onto the top of each fillet. Then carefully flip each fillet and brush the underside. You want a thin, even coating on both sides. This is what creates that beautiful golden color and keeps the fish moist inside. For all dietary versions: This step stays the same. The oil coating is what makes or breaks the final texture.
Step 5: Mix Your Seasoning Blend
- In another small bowl, whisk together your smoked paprika, garlic powder, sea salt, and freshly ground black pepper. Take a moment to smell this mixture—that's the aroma of a restaurant-quality fish dinner about to happen. For gluten-free versions: Double-check that your spice bottles don't list any gluten-containing additives or anti-caking agents that might contain wheat. Most pure spices are gluten-free, but it's worth verifying your specific brands.
Step 6: Season Both Sides Generously
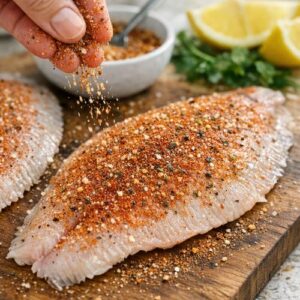
- Now sprinkle your seasoning mixture over both sides of each flounder fillet. Don't be shy here—fish benefits from bold seasoning, and the paprika adds both color and a subtle smokiness that pairs beautifully with the delicate fish. I typically use about 1/4 teaspoon of the seasoning blend per fillet. For all dietary versions: The seasoning stays exactly the same. The spices are where the flavor magic lives, and they work across every dietary adaptation.
Step 7: Bake Your Flounder to Perfection
- Transfer your baking sheet to the preheated 400-degree oven. Set a timer for 10 minutes, then check the fish's progress. You're looking for the thickest part of the fillet to flake easily when tested with a fork. The internal temperature should reach 140 degrees Fahrenheit for optimal moisture (some prefer 145 degrees if they like it firmer, but 140 is where the fish stays most tender). Total cooking time is usually 12-15 minutes, depending on the thickness of your fillets. For all dietary versions: Use the same cooking time and temperature. Flounder cooks quickly because it's a lean, delicate fish.
Step 8: Garnish and Serve Immediately
- Remove the baking sheet from the oven and let it rest for 2 minutes. Sprinkle fresh chopped parsley over the top if you like (it's optional but adds a fresh color and bright flavor that complements the smoked paprika beautifully). Serve immediately while the fish is still hot and the edges are crispy. For all dietary versions: Everything stays the same. Fresh herbs work beautifully across every diet.