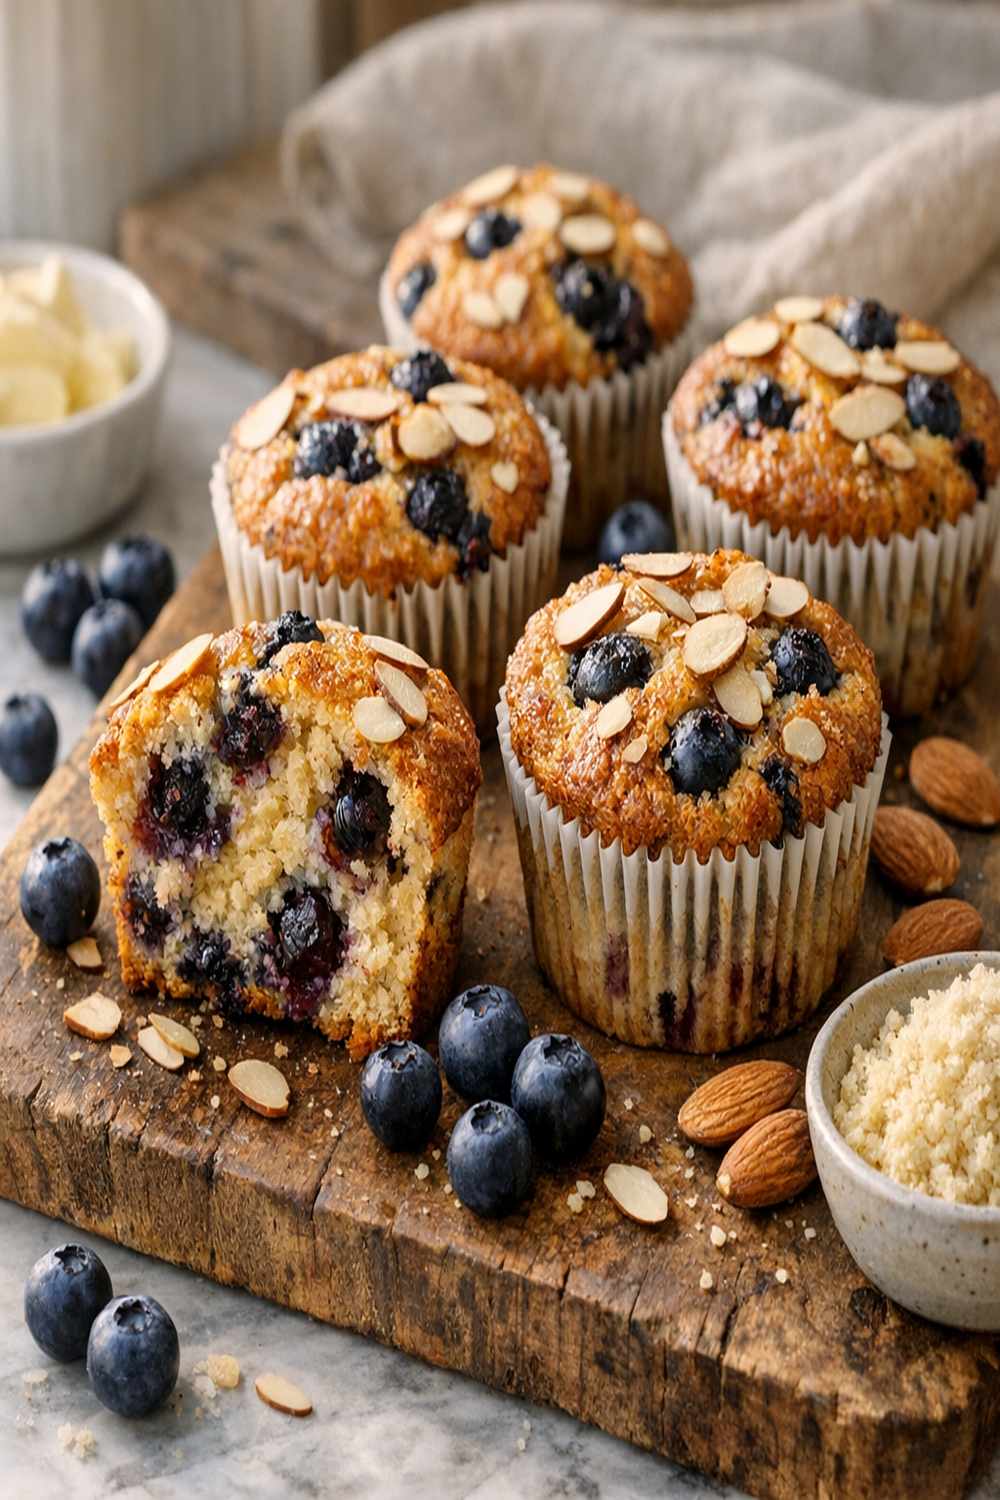

Ingredients
Method
Step 1: Prepare Your Workspace and Gather Everything
- Before you start mixing, preheat your oven to 350°F (175°C). Line a standard 12-cup muffin tin with parchment liners or grease it lightly with coconut oil. I prefer parchment because it prevents sticking and makes cleanup seamless. While your oven heats, gather all your ingredients and place them at room temperature—this is non-negotiable with almond flour recipes. Cold ingredients won't incorporate smoothly, and you'll end up with dense, gritty muffins instead of the tender crumb we're after.

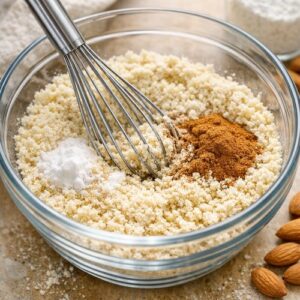
Step 2: Combine Your Dry Ingredients
- In a medium mixing bowl, whisk together the almond flour, baking soda, salt, and cinnamon. Spend about 30 seconds on this—you want the leavening agents distributed evenly so your muffins rise uniformly. This step prevents you from biting into a dense spot in the center that some people get with almond flour baking. I always use a whisk rather than a spoon because it aerates the flour slightly, giving you better lift in the oven.
Step 3: Create Your Wet Base
- In a separate large bowl, whisk together the eggs, honey, melted coconut oil, and milk until fully combined. The mixture should look smooth and slightly glossy, taking about 45 seconds of whisking. This is where the magic happens—the emulsification of egg and oil creates an ultra-moist batter that stays tender even days later. Here's my professional tip: don't skip the whisking step or combine everything in one bowl. Almond flour needs the moisture and fat to hydrate properly, and doing this separately ensures even distribution.

Step 4: Fold the Dry Into the Wet
- Pour your dry mixture into the wet ingredients and gently fold together using a rubber spatula—not a mixer, and definitely not vigorous stirring. Fold slowly, scraping from the bottom and turning the bowl as you go, until you see no more dry flour streaks. This should take about 15-20 gentle folds. Overmixing develops gluten (yes, even though there's no gluten, the protein structure can still toughen), and you'll end up with dense, crumbly muffins.
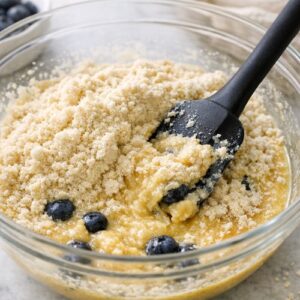
Step 5: Add Your Blueberries With Purpose
- Fold in the fresh blueberries gently, using just 5-6 folds to distribute them throughout without crushing them. If you're using frozen blueberries, toss them lightly in a tablespoon of almond flour before folding them in—this prevents them from sinking to the bottom and keeps their color from bleeding into the batter.

Step 6: Fill Your Muffin Cups Evenly
- Using a cookie scoop or tablespoon, divide the batter evenly among the 12 muffin cups, filling each about two-thirds full. The batter will be thicker than traditional cake batter—that's exactly right. Each muffin should get roughly 3 tablespoons of batter. Even distribution means even baking, and you'll avoid some muffins drying out while others stay underbaked.

Step 7: Bake With Attention to Doneness
- Place your tin in the preheated 350°F oven and bake for 22-25 minutes. Here's the critical part: start checking at 20 minutes by inserting a toothpick into the center of the largest muffin. It should come out with just a few moist crumbs clinging to it—not wet batter, but not completely dry either. Almond flour muffins continue cooking slightly as they cool, so slightly underbaked is better than overbaked. Your muffins are done when the tops are golden brown and spring back slightly when you touch them gently. The edges should pull away from the tin just slightly.

Step 8: Cool Before Transferring
- Remove from the oven and let the muffins rest in the tin for exactly 5 minutes. This time is crucial—it lets the structure set without cooling so much that they stick. After 5 minutes, carefully transfer each muffin to a wire cooling rack. They'll finish cooling over the next 30 minutes, and during this time they'll firm up to the perfect texture.