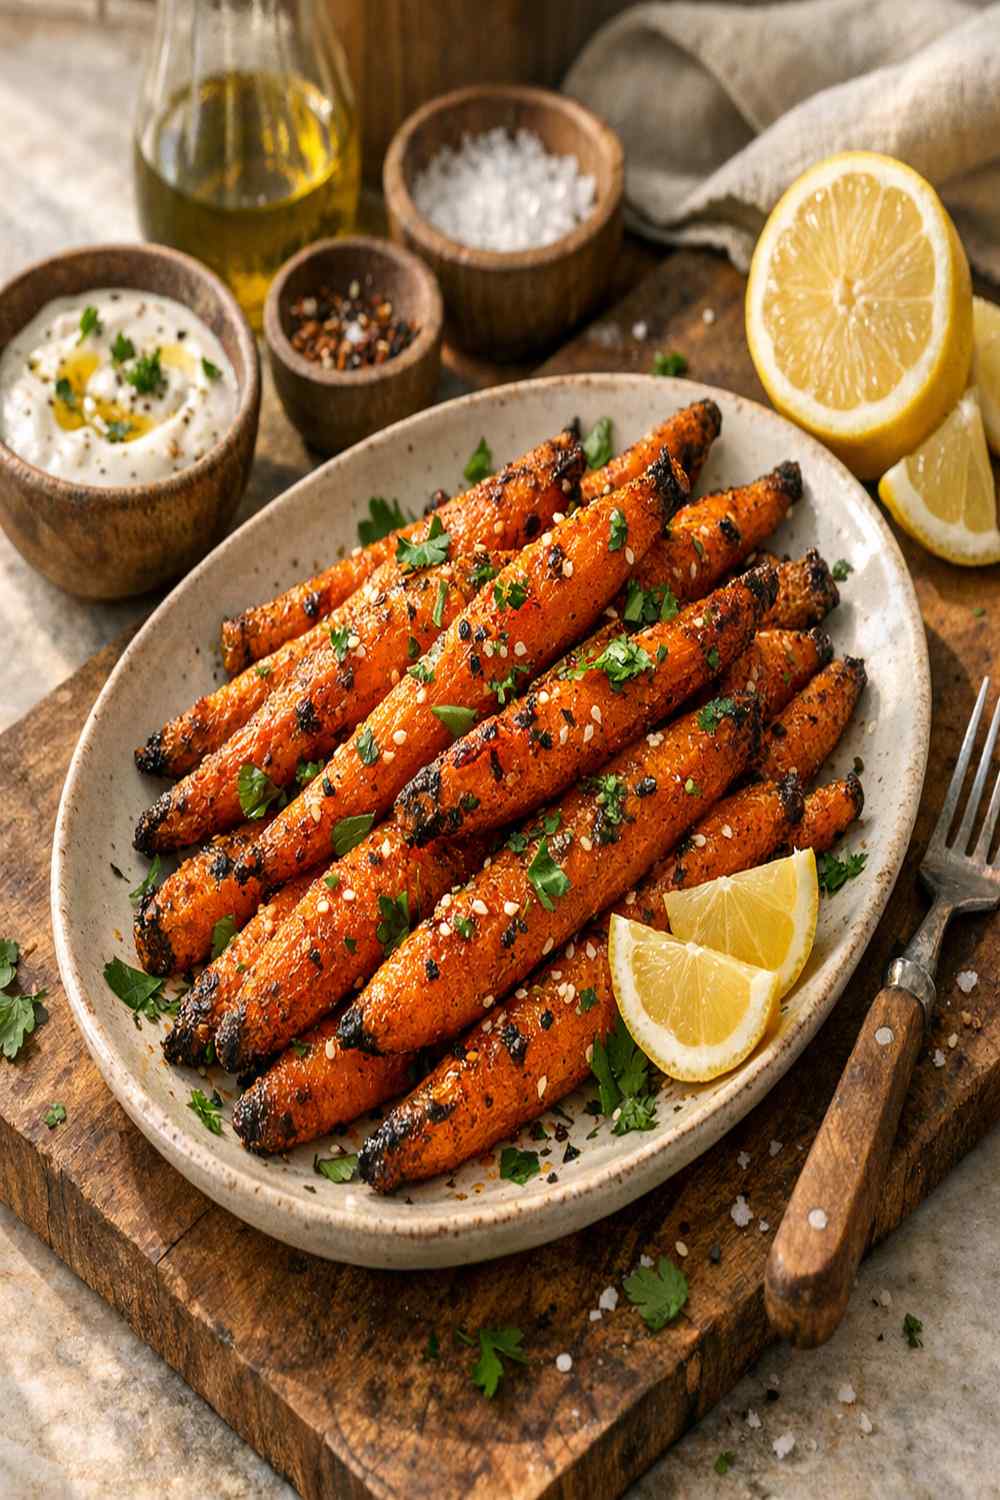

Ingredients
Method
Step 1: Prepare Your Carrots with Care
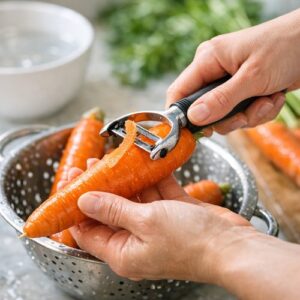
- Start by rinsing your carrots under cool running water and rubbing them gently with a clean cloth to remove any dirt. I like to use a vegetable peeler to remove the thin outer skin—this takes maybe three minutes and creates a more refined presentation. If you're making these for a casual family dinner, leaving the skin on is perfectly fine and adds extra fiber. Cut your carrots into consistent sizes: either 2-inch chunks (which will be tender and slightly creamy inside) or ¼-inch matchsticks (which will have more caramelized surface area). Uniform sizing is critical because it ensures even cooking—you don't want some pieces still crunchy while others are falling apart. Make-Ahead Tip: You can cut and prepare your carrots up to 24 hours in advance. Store them in an airtight container in the refrigerator with a damp paper towel to keep them from drying out. This is perfect if you're prepping the day before a dinner party.
Step 2: Season Your Carrots Thoroughly
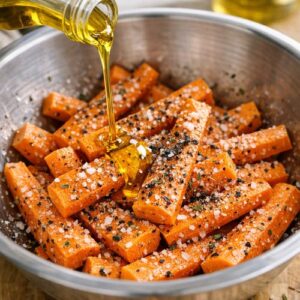
- Place your prepared carrots in a medium mixing bowl. Pour the 2 tablespoons of olive oil over them, then sprinkle with the sea salt, black pepper, Italian seasoning, and garlic powder if using. Using a rubber spatula or wooden spoon, toss everything together until each piece of carrot is evenly coated with oil and seasonings. Don't skip this step or rush through it—proper coating is what creates that beautiful caramelization and ensures every bite tastes consistent. From a nutritional perspective, that olive oil is doing important work beyond flavor. It's helping your body absorb the beta-carotene and other fat-soluble vitamins present in carrots. Without the fat, these nutrients pass right through your system without being utilized.
Step 3: Preheat Your Air Fryer Properly
- Set your air fryer to 350°F and let it preheat for about 3 minutes. This step matters more than many people realize. A properly preheated air fryer immediately begins the Maillard reaction—that chemical process that creates browning and deepens flavor. If you skip preheating or skip it on a cold machine, your carrots will steam instead of roast, and you'll lose that gorgeous caramelization that makes this dish special.

Step 4: Add Carrots and Cook with Intention
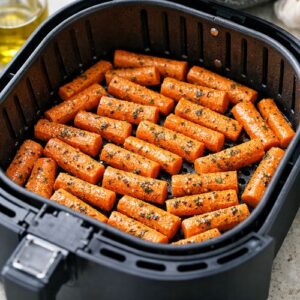
- Transfer your seasoned carrots into your air fryer basket in a single layer. Don't overcrowd—the carrots need air circulation to cook properly. If you have more carrots than will fit comfortably, you'll cook them in two batches, and that's perfectly fine. Set the timer for 10 minutes. After 5 minutes, pause the air fryer and give the basket a good shake. This helps rotate the carrots so they brown evenly on all sides. Then let them finish cooking for the final 5 minutes. The shake is important because air fryers cook by circulating hot air, and gravity pulls some pieces to the bottom of the basket. That shake ensures every carrot piece gets equal exposure to the heat.
Step 5: Check for Doneness and Achieve Your Preferred Texture
- When the timer sounds, carefully open your air fryer basket and inspect your carrots. They should be fork-tender and have golden-brown edges. If you prefer them more caramelized with extra crispy edges, you can extend the cooking time by another 2-3 minutes. If you prefer them softer, they're ready as-is. The best test is to pierce one with a fork—there should be no resistance, and the inside should be creamy and sweet.

Step 6: Transfer and Rest Before Serving
- Using tongs or a slotted spoon, transfer your finished carrots to a serving platter or bowl. Let them rest for about 2 minutes. This brief resting period allows the exterior to set slightly and the flavors to integrate. Taste one piece and adjust seasoning if needed—sometimes I add a tiny pinch more salt or a squeeze of fresh lemon juice to brighten the flavors.

Notes
- Overcrowding the Air Fryer Basket - This is the number-one mistake I see. People want to cook everything at once, so they pile carrots into the basket. What happens is steam builds up instead of that dry heat circulating, and you end up with steamed carrots instead of roasted ones. Work in batches. It takes five extra minutes and makes a world of difference in the final texture.
- Skipping the Halfway Shake - Those five minutes in, shake the basket. This single action ensures even browning and prevents the bottom pieces from burning while the top pieces stay pale. It's the difference between good roasted carrots and truly stunning ones.
- Not Adjusting for Carrot Size Variation - If you have carrots of wildly different thicknesses, cut the thick ones in half lengthwise so they cook in the same timeframe as thinner ones. Uneven cooking creates some pieces that are perfect and others that are either crunchy or mushy. Consistency matters.
- Under-Seasoning Because You're Worried About Sodium - A little salt actually enhances the natural sweetness of carrots and brings all the flavors forward. The ½ teaspoon per serving in this recipe is actually quite modest and necessary for flavor development. Don't skip it.