If I had to pick a dish that complements homemade Rice Krispie Treats, it would have to be a refreshing Italian Pasta Salad. Picture this: vibrant vegetables, firm pasta, and a zesty dressing coming together in a cool, hearty dish. It’s an ideal match for the chewy sweetness of Rice Krispie Treats.
The salad offers that crunch and depth that balance perfectly with the gooey texture of the treats. And hey, both can be made in less time than it takes to watch a sitcom episode!

I still remember the first time I made homemade Rice Krispie Treats. I was about ten years old, standing on a stool to reach the kitchen counter, trying not to spill melted marshmallows everywhere. The moment those marshmallows went into the cereal, it felt like magic.
Today, I’ll take you on a journey through this nostalgic recipe, sharing not just how to make these delightful treats, but also tips and fun twists to elevate them.
You Might Also Like These Recipes!
- Cherry Cheesecake Lush Dessert Recipe
- Coconut Cream Pie Recipe
- Cream Cheese Stuffed Mushrooms Recipe
What Are Homemade Rice Krispie Treats?
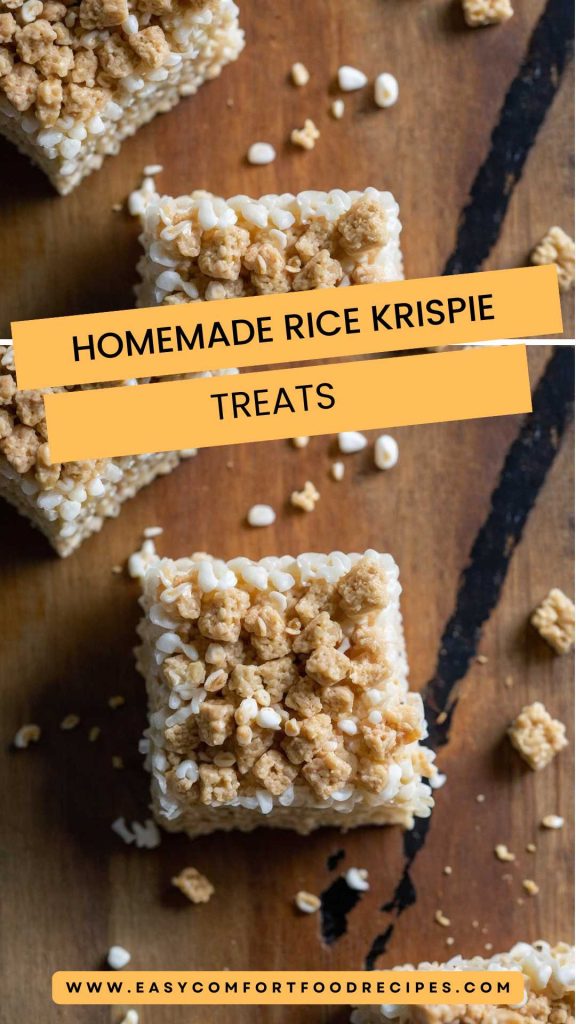
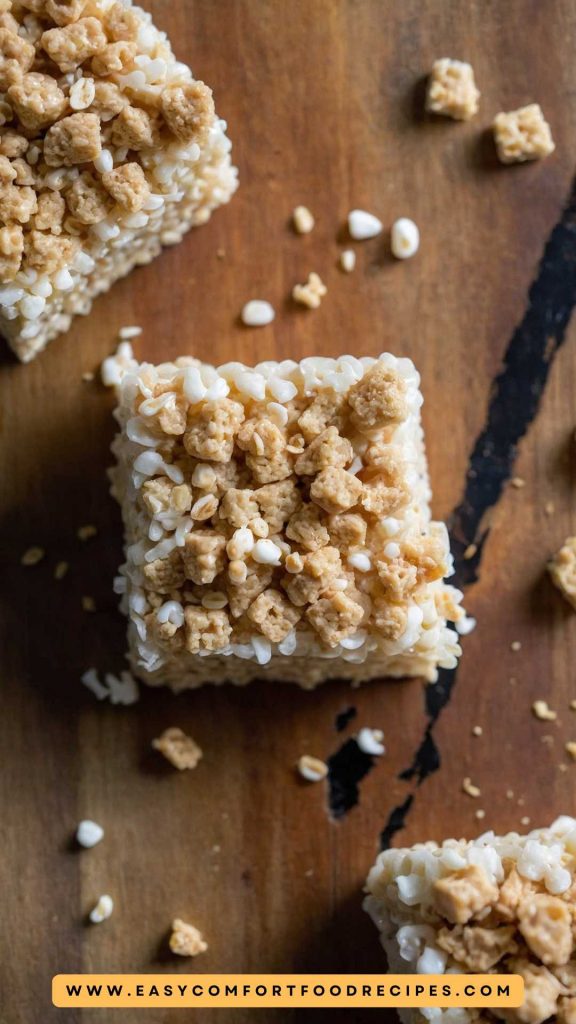
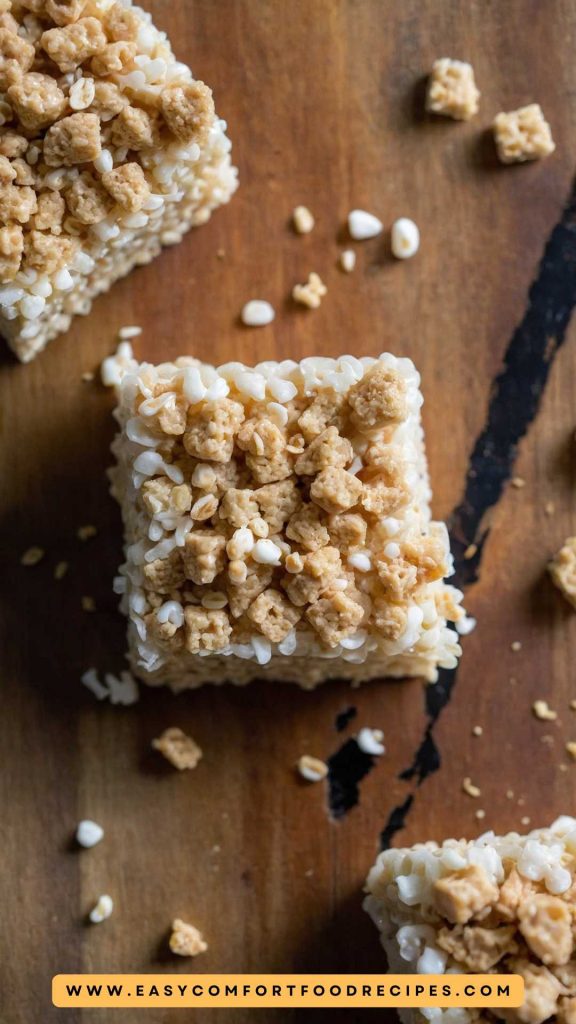
Homemade Rice Krispie Treats are an iconic dessert made primarily from crispy rice cereal, marshmallows, and butter. They’re sweet, chewy, and incredibly easy to make. They hold a special place in many of our hearts, whether as a childhood snack or as a fun treat for gatherings. Plus, they’re customizable, so you can add your own flair!
The Ingredients
To whip up these treats, here’s what you’ll need:
9 cups (270g) crispy rice cereal: This gives the treats their signature crunch.
3/4 cup (170g; 12 Tbsp) unsalted European-style butter: This type of butter adds richness.
Two 10-ounce bags (566g; 11 heaping cups) mini marshmallows: Soft and fresh marshmallows are essential for that gooeyness.
Pinch of fine sea salt: A little salt balances the sweetness.
1/2 teaspoon pure vanilla bean extract: This enhances the flavor.
1/4 teaspoon ground cinnamon (optional): Adds warmth and depth.
1/2 teaspoon almond extract (optional): It provides a subtle sweetness.
How to Make Homemade Rice Krispie Treats
Making these treats can be a delightful family activity. Let’s dive into the step-by-step process, so grab your ingredients and let’s start!
Step-by-Step Directions
Step 1: Gather Your Supplies
First and foremost, gather all your ingredients and supplies. You’ll need a large pot, a spatula, a 9×13 inch baking dish, and maybe a candy thermometer if you’re feeling fancy. Okay, let’s get started!
Step 2: Melt the Butter
In a large pot over medium-low heat, melt your butter. As it melts, keep stirring to prevent it from browning. You want it just melted, without a hint of color. This step helps create a beautifully smooth base for your marshmallows.
Step 3: Add the Marshmallows
Once the butter is fully melted, add in the mini marshmallows. Make sure to keep stirring continuously. The marshmallows will slowly melt into a gooey mixture. This part always reminds me of my childhood. Watching those fluffy clouds turn into a mixture of sweetness!
Step 4: Add Flavorings
When the marshmallows are fully melted, it’s time to add the sea salt, vanilla extract, and any optional extracts like almond or cinnamon. Stir well until everything is combined and smooth. Smelling the marshmallow concoction? That’s your cue to feel excited!
Step 5: Mix with the Cereal
Now, remove the pot from the heat. Gently fold in your crispy rice cereal. Make sure every piece is evenly coated with the marshmallow mixture. Use a spatula sprayed lightly with cooking spray to prevent sticking. The aroma would make anyone swoon!
Step 6: Press and Set
Transfer the mixture to your prepared baking dish. Even it out with your spatula, pressing it down gently but firmly. You want your treats to hold together. Once smooth, let it set at room temperature. It usually takes about 30 minutes—if you can wait that long!
Step 7: Cut and Serve
After it has set, cut into squares. Enjoy your delicious homemade Rice Krispie Treats! You might want to hide them from family members who might eat them all in one sitting.

Notes
Here are some tips to ensure your Rice Krispie Treats come out perfectly every time:
Use Fresh Ingredients: Ensure that your marshmallows are fresh for optimal gooeyness.
Don’t Overheat: Keep the heat low to avoid burning the butter and marshmallows.
Patience is Key: Allow the treats to set completely before cutting.
Be Creative: Add sprinkles or chocolate chips for an extra flair!
Keep It Light: Don’t pack the Rice Krispie mixture too tightly in the pan to preserve that chewy texture.
Storage Tips
To store your Rice Krispie Treats, place them in an airtight container at room temperature for up to a week. If your home is humid, you might want to keep them in the fridge. Just remember, the fridge can dry them out a bit, so allow them to come back to room temperature before enjoying.
Nutrition Information
Each Rice Krispie Treat (assuming you cut them into 24 pieces) contains about:
Calories: 90
Total Fat: 3.5g
Saturated Fat: 2.5g
Cholesterol: 10mg
Sodium: 120mg
Total Carbohydrates: 14g
Sugars: 8g
Protein: 1g

Serving Suggestions
S’mores Style: Sandwich a piece of chocolate between two Rice Krispie Treats. Toast the chocolate lightly for a delectable twist.
Ice Cream Topping: Cut them into small pieces and sprinkle over ice cream. The gooeyness is a delightful contrast to cold ice cream.
Chocolate Drizzled: Melt some chocolate and drizzle over your treats for an elegant touch.
Pack in Lunch Boxes: They make for a sweet treat in kids’ lunchboxes. They are fun and portable!
Fantastic Birthday Favors: Wrap them individually in colored plastic wrap for a festive birthday gift. Kids love them!
What Other Substitutes Can I Use in Homemade Rice Krispie Treats?
If you’re looking to mix things up, consider these substitutes:
Crispy Rice Alternatives: You can use puffed corn or other cereals if you’re looking for a gluten-free option.
Marshmallow Fluff: If you don’t have mini marshmallows, you can use marshmallow fluff, about 1.5 cups.
Nut Butter: Swap half the butter for peanut butter or almond butter for a nutty flavor.
Flavored Extracts: Experiment with different extracts like peppermint or coconut to give your treats a fun twist.
Add-Ins: Toss in dried fruits, nuts, or chocolate chips to elevate the flavor and texture.
Conclusion
Homemade Rice Krispie Treats are a nostalgic favorite, easy to make, and endlessly customizable. They’re a hit at parties, snack time, or any day when you want a bit of sweetness.
Whether you enjoy them plain, decked out with chocolate, or served alongside a cool Italian Pasta Salad, there’s no wrong way to enjoy these treats. Give them a try, and unleash your inner child. Happy cooking!
You Might Also Like These Latest Recipes!
- Honey Butter Roasted Carrots Recipe
- Seasoned Baked Potato Wedges Recipe
- Classic Green Bean Casserole Recipe

Homemade Rice Krispie Treats – Easy Comfort Food Recipes
Description
I still remember the first time I made homemade Rice Krispie Treats. I was about ten years old, standing on a stool to reach the kitchen counter, trying not to spill melted marshmallows everywhere. The moment those marshmallows went into the cereal, it felt like magic.
Today, I’ll take you on a journey through this nostalgic recipe, sharing not just how to make these delightful treats, but also tips and fun twists to elevate them.
Ingredients
Instructions
Step 1: Gather Your Supplies
-
First and foremost, gather all your ingredients and supplies. You’ll need a large pot, a spatula, a 9x13 inch baking dish, and maybe a candy thermometer if you’re feeling fancy. Okay, let’s get started!
Step 2: Melt the Butter
-
In a large pot over medium-low heat, melt your butter. As it melts, keep stirring to prevent it from browning. You want it just melted, without a hint of color. This step helps create a beautifully smooth base for your marshmallows.
Step 3: Add the Marshmallows
-
Once the butter is fully melted, add in the mini marshmallows. Make sure to keep stirring continuously. The marshmallows will slowly melt into a gooey mixture. This part always reminds me of my childhood. Watching those fluffy clouds turn into a mixture of sweetness!
Step 4: Add Flavorings
-
When the marshmallows are fully melted, it’s time to add the sea salt, vanilla extract, and any optional extracts like almond or cinnamon. Stir well until everything is combined and smooth. Smelling the marshmallow concoction? That’s your cue to feel excited!
Step 5: Mix with the Cereal
-
Now, remove the pot from the heat. Gently fold in your crispy rice cereal. Make sure every piece is evenly coated with the marshmallow mixture. Use a spatula sprayed lightly with cooking spray to prevent sticking. The aroma would make anyone swoon!
Step 6: Press and Set
-
Transfer the mixture to your prepared baking dish. Even it out with your spatula, pressing it down gently but firmly. You want your treats to hold together. Once smooth, let it set at room temperature. It usually takes about 30 minutes—if you can wait that long!
Step 7: Cut and Serve
-
After it has set, cut into squares. Enjoy your delicious homemade Rice Krispie Treats! You might want to hide them from family members who might eat them all in one sitting.
Nutrition Facts
Servings 20
- Amount Per Serving
- % Daily Value *
- Total Fat 3.5g6%
- Saturated Fat 2.5g13%
- Cholesterol 10mg4%
- Sodium 120mg5%
- Total Carbohydrate 14g5%
- Sugars 8g
- Protein 1g2%
* Percent Daily Values are based on a 2,000 calorie diet. Your daily value may be higher or lower depending on your calorie needs.
Note
Here are some tips to ensure your Rice Krispie Treats come out perfectly every time:
Use Fresh Ingredients: Ensure that your marshmallows are fresh for optimal gooeyness.
Don’t Overheat: Keep the heat low to avoid burning the butter and marshmallows.
Patience is Key: Allow the treats to set completely before cutting.
Be Creative: Add sprinkles or chocolate chips for an extra flair!
Keep It Light: Don’t pack the Rice Krispie mixture too tightly in the pan to preserve that chewy texture.


