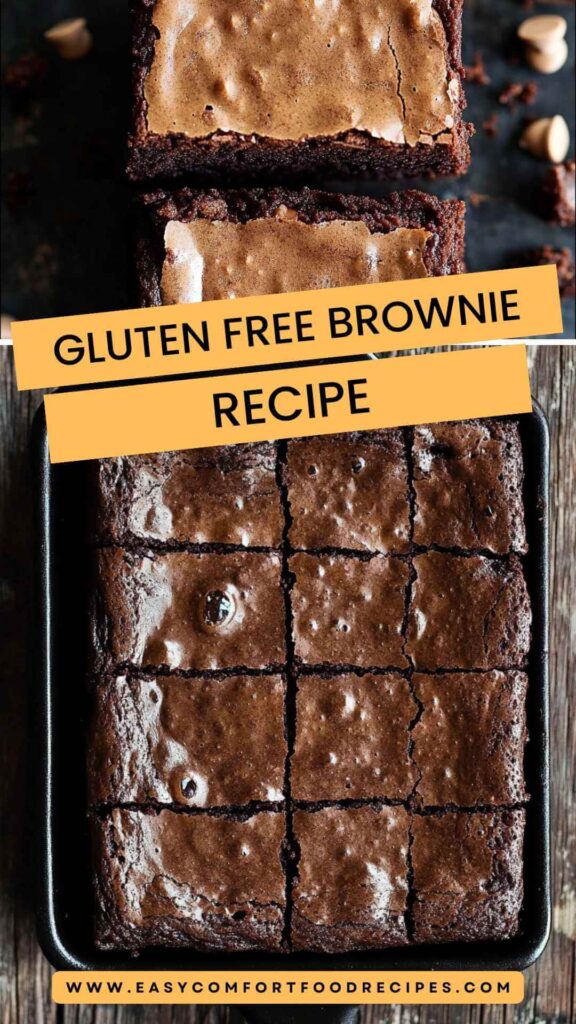
Who doesn't love biting into a rich, fudgy brownie? For me, brownies are not just a dessert; they are a delightful experience. And let me tell you, serving these gluten-free brownies alongside a scoop of creamy vanilla ice cream creates pure bliss.
Imagine warm, decadent chocolate melting into cold ice cream. It’s like a match made in heaven.
As a food enthusiast, I’ve ventured into countless recipes, but gluten-free brownies truly stand out. Let's dive into what makes them special.
What is Gluten-Free Brownie?
Gluten-free brownies are a delicious alternative for those avoiding gluten. Traditional brownies use wheat flour, but for gluten-free varieties, you can substitute with specialized gluten-free flour blends. The result?
A dessert that is every bit as delightful without that pesky gluten, making it accessible for those with celiac disease or gluten sensitivities.
When I first experimented with gluten-free baking, I was skeptical. Would they be just as flavorful? Spoiler alert: they were!
The Ingredients
Baking gluten-free brownies requires a few key ingredients. Here’s what I use:
- 1/3 cup unsweetened dark cocoa powder
- 1 tablespoon of molasses
- 1/2 teaspoon flaky sea salt
- 3/4 cup fine granulated sugar
- 1/2 cup packed light brown sugar
- 1/2 cup high-quality semi-sweet chocolate chips
- 1 cup of semi-sweet chocolate chunks
- 10 tablespoons unsalted butter
- 2 large eggs + 1 additional egg yolk
- 1 teaspoon pure vanilla extract
- 1/2 teaspoon finely ground espresso powder
- 3/4 cup gluten-free 1:1 baking flour
How to Make Gluten-Free Brownies?
Before we jump into the nitty-gritty steps, it's crucial to understand that making gluten-free brownies doesn’t mean sacrificing flavor or texture. Their rich, decadent nature remains intact, trust me. Let's gear up for a tasty journey!
Step-by-Step Directions
Step 1: Preheat the Oven
Before anything else, preheat your oven to 350°F (175°C). If you don’t do this first, you risk not having that perfect brownie texture. Grease a square baking pan or line it with parchment paper for easy removal later.
Step 2: Mix the Dry Ingredients
In a large mixing bowl, combine the gluten-free flour, cocoa powder, espresso powder, and sea salt. This not only blends the flavors but ensures an even distribution of dry ingredients.
Step 3: Melt Butter and Chocolate
In a microwave-safe bowl, melt the unsalted butter and half of the chocolate chips. Heat in short bursts, stirring in between until smooth. Let it cool slightly.
Step 4: Combine Sugar and Eggs
In a separate bowl, mix together the granulated sugar, brown sugar, and eggs. Whisk them until the mixture is pale and fluffy. The eggs help trap air, giving your brownies a nice lift.
Step 5: Mix in the Chocolate Mixture
Add the slightly cooled chocolate and butter mixture to the egg and sugar mixture. Stir in the molasses and vanilla extract. This creates a luscious batter that smells heavenly.
Step 6: Fold in Dry Ingredients
Slowly fold the dry mixture into the wet ingredients. Be gentle. You want it just combined. Overmixing can lead to tough brownies.
Step 7: Add Remaining Chocolate Chips
Finally, toss in the rest of the chocolate chips and chocolate chunks. Oh, the joy! This step ensures every bite is packed with chocolate deliciousness.
Step 8: Bake
Pour the brownie batter into your prepared pan. Spread it out evenly and pop it into the oven. Bake for about 20 to 25 minutes. Check for doneness by inserting a toothpick. If it comes out with a few moist crumbs, they are perfect.
Step 9: Cool and Slice
Once you've baked to perfection, let the brownies cool in the pan for about 10 minutes. Then, transfer them to a wire rack to cool completely before slicing. Patience is a virtue—trust me on this. The smell will entice you to dig in right away!
Notes
Here are my top five tips to ensure your brownies turn out fantastic every time:
- Quality Chocolate Matters: Use high-quality chocolate for the best flavor. Don’t skimp on it!
- Check Expiration Dates: Gluten-free flours can sometimes expire faster. Always check.
- Room Temperature Eggs: Room temperature eggs blend better for a smoother batter.
- Don’t Overmix: Be gentle when mixing to avoid dense brownies.
- Let Them Cool: I know it's hard, but waiting for them to cool will yield better texture.
Storage Tips
Proper storage helps keep your brownies fresh. Here’s how to do it:
- Room Temperature: Store brownies tightly wrapped at room temperature for up to 4 days.
- Refrigeration: If you prefer a fudgier texture, store in the fridge for up to a week.
- Freezing: Wrap individual pieces in plastic wrap and foil. They can be frozen for up to 3 months. Thaw them at room temperature when ready to enjoy.
Serving Suggestions
To elevate your gluten-free brownie game, here are some delightful ideas:
- Serve with Vanilla Ice Cream: The classic combo—warm brownies with cold ice cream is unbeatable. Each warm bite accompanied by melting ice cream is pure indulgence.
- Top with Whipped Cream: A dollop of homemade whipped cream adds a lightness that balances the chocolate richness.
- Drizzle with Caramel Sauce: Adding a sweet caramel drizzle elevates the dessert. It’s sticky goodness on chocolate delight.
- Pair with Fresh Berries: Fresh raspberries or strawberries bring a tart contrast. It is refreshing and makes the dessert feel lighter.
- Add a Dusting of Powdered Sugar: A sprinkle of powdered sugar on top gives a beautiful finish and sweetness.
What Other Substitutes Can I Use in Gluten-Free Brownies?
If you don't have certain ingredients on hand or want to switch things up, consider these substitutes:
- Coconut Flour: This is a low-carb alternative. Use only 1/4 cup, as it absorbs more moisture.
- Almond Flour: A great choice, giving a nutty flavor. Substitute 1:1 for the gluten-free flour, but you may need to increase the liquid slightly.
- Applesauce for Butter: Using half applesauce for half of the butter keeps it moist and adds natural sweetness.
- Maple Syrup for Sugar: This sweetener can replace granulated sugar. Use 1/2 the amount, but reduce the liquids in the recipe.
- Flaxseed Meal for Eggs: To make your brownies vegan, combine 1 tablespoon of flaxseed meal with 2.5 tablespoons of water. Let it sit until gooey and then add it to your mix.
Conclusion
Baking gluten-free brownies has become one of my favorite activities. The process is not just about creating delicious treats, but it’s also about sharing and enjoying moments with loved ones.
With the right ingredients and approach, you can whip up a batch that's wonderfully indulgent.
So whether you’re gluten-free by choice or necessity, I hope this recipe brings joy to your kitchen. Grab your apron, gather your ingredients, and start baking! You’ll appreciate the effort when you take that first, blissful bite. Enjoy!
You’ll also like the following recipes!