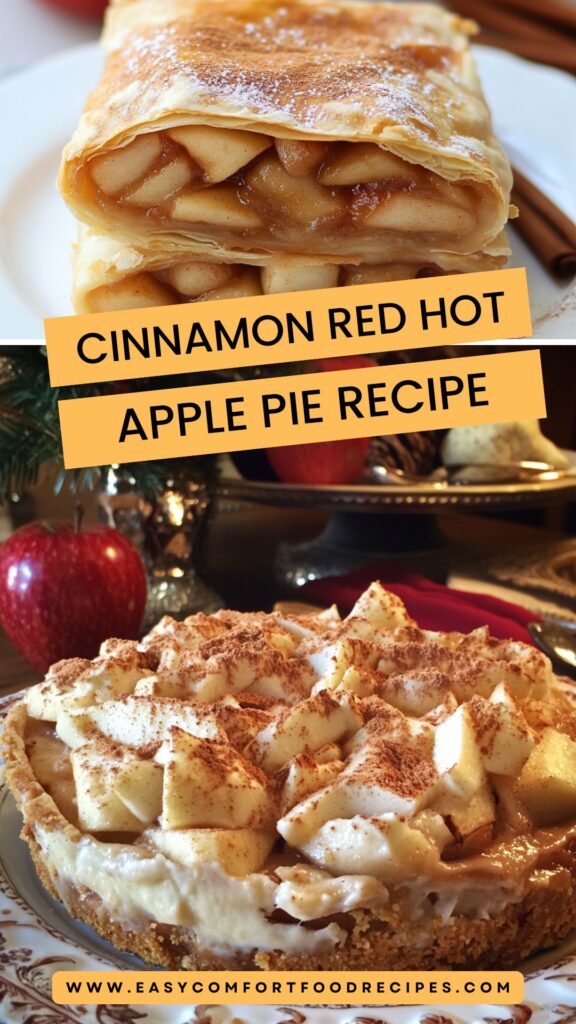
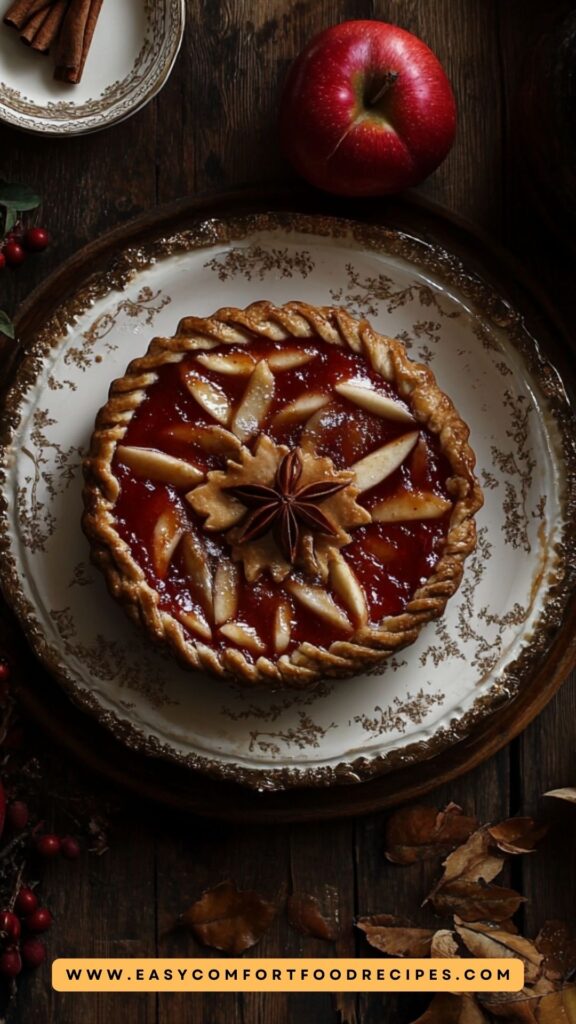
You know that heartwarming feeling when you walk into a home and the scent of freshly baked pie dances around you? It’s like a hug for your senses.
When I think of desserts that embody both nostalgia and excitement, one recipe stands at the top of my list: cinnamon red hot apple pie. It’s the perfect treat for any gathering, especially when served warm with a scoop of vanilla ice cream.
Just imagine the sweet, cinnamon-spiced goodness paired with the creamy decadence of ice cream. It’s a match made in dessert heaven.

What is Cinnamon Red Hot Apple Pie?
This pie is a playful twist on the classic apple pie. You get the familiar flavors of tart Granny Smith apples, but with an unexpected punch from cinnamon-flavored red-hot candies.
The candies melt during baking, creating a unique flavor that enhances the apples and adds a hint of sweetness. You may think, “Candies in pie? Really?” Trust me, the result is a delightful blend of spicy and sweet that feels both comforting and adventurous.
The Ingredients
Before we dive into the preparation process, here’s what you’ll need:
- Pastry for Double-Crust Pie
- 4 Granny Smith apples, peeled and cut into thin slices
- 1 tablespoon unsalted butter
- 1/3 cup raw honey
- 1 tablespoon freshly squeezed lemon juice
- 1 tablespoon cinnamon-flavored red-hot candies
- 1 teaspoon ground cinnamon
- 1/2 teaspoon nutmeg
- 1 tablespoon brown sugar
- 2 teaspoons whole milk
How to Make Cinnamon Red Hot Apple Pie?
Making this pie is a delightful journey. With each step, you’re closer to a stunning dessert that will impress everyone at your table. Let’s get to it!

Step-by-Step Directions
Step 1: Prepare the Pastry
First things first, whether you’re going with a pre-made crust or whipping up your own, you’ll want to roll out the dough. If you’re making your own, be sure to chill the dough beforehand for that perfect flaky texture! You want it to be thin enough to fit a 9-inch pie pan with some overhang for crimping later.
Step 2: Preheat the Oven
Preheat your oven to 425°F (220°C). This high temperature is key for baking that crust to a beautiful golden brown while ensuring the filling cooks perfectly.
Step 3: Slice the Apples
Grab those lovely Granny Smith apples. Peel them and cut them into thin slices. The thinner, the better. You want them to cook evenly and soak up all those wonderful spices and flavors. Place the slices in a large bowl.
Step 4: Add the Flavorings
To the bowl of apples, add the raw honey, freshly squeezed lemon juice, ground cinnamon, nutmeg, brown sugar, and the cinnamon-flavored red-hot candies. Toss everything together gently but thoroughly. Ensure each apple slice is coated in the sweet, spicy goodness. It’s also a nice time to taste the mixture – who doesn’t want to make sure it’s delicious, right?
Step 5: Make the Pie
Carefully layer the apple mixture into the bottom crust. Dot the top with small chunks of unsalted butter. This adds another level of richness. Once your apples are piled like a delightful mountain, cover it with the top crust. Be sure to cut slits in the top to allow steam to escape. Crimp the edges to seal that fruity goodness in.
Step 6: Brush with Milk
Using a pastry brush, lightly coat the crust with the whole milk. This gives it that gorgeous golden-brown appearance when it bakes. Do not skip this step—it’s key for visual appeal.
Step 7: Bake
Place your pie on a baking sheet (in case of drips) and slide it into the preheated oven. Bake for 15 minutes at 425°F. Then, reduce the heat to 350°F (175°C) and continue to bake for an additional 30-35 minutes. You want the crust to be golden and the apples tender.
Step 8: Cool and Serve
When the pie is done, let it cool on a wire rack for at least an hour. This cooling time helps the filling set, ensuring every slice holds together beautifully.
Notes
Here are some tips that will take your pie to the next level:
- Chill the Dough: A chilled dough helps create a flaky crust.
- Tart Apples: Use Granny Smith for their tartness and firmness.
- Try Different Candies: Mix in a few other candies for unique flavors.
- Bake on a Sheet: Prevent any mess by placing a sheet under your pie in the oven.
- Serve Warm: It’s at its best when served just slightly warm.
Storage Tips
Store any leftover pie in the fridge, covered with plastic wrap. It will stay fresh for about 3-4 days. If you want to keep it longer, consider freezing the pie. Wrap it tightly in aluminum foil or freezer-safe wrap. It can last for up to three months in the freezer. Thaw it in the fridge before reheating.
Serving Suggestions
Here are five ways to elevate your pie experience:
- Serve with Vanilla Ice Cream: The creamy texture contrasts beautifully with the warm pie. It’s the classic pairing that never disappoints.
- Drizzle Caramel Sauce: If you want to add a touch of indulgence, a warm caramel drizzle adds sweetness that combine perfectly with the spices.
- Pair with Coffee or Tea: A warm winter beverage makes a cozy pairing. Think spiced chai or a rich, dark roast coffee.
- Add a Dollop of Whipped Cream: Light and airy, whipped cream plays beautifully with the dense filling. It’s a fresh addition that lightens up each bite.
- Churn Into Ice Cream: Yes, this pie can be blended into a delectable ice cream. Bake the pie, cool it completely, and blend frozen chunks into your favorite vanilla ice cream base for a treat that’s out of this world.
What Other Substitutes Can I Use in Cinnamon Red Hot Apple Pie Recipe?
- Other Apple Varieties: Instead of Granny Smith, try Honeycrisp or Fujis for a different flavor profile. They’ll provide a sweeter or crunchier texture.
- Maple Syrup for Honey: If you prefer maple’s deep flavor, substitute an equal amount of maple syrup instead of honey. It adds an interesting twist.
- Leave Out the Candies: If you’re not keen on red-hots or prefer a pure apple flavor, just skip them altogether and add an extra teaspoon of cinnamon.
- Gluten-Free Crust: For a gluten-free version, you can use store-bought gluten-free pie crust, or make your own using almond or coconut flour.
- Vegan Butter: If you’re aiming for a dairy-free or vegan version, swap unsalted butter for a vegan variety. It will work just as well.

Conclusion
There you have it—a delightful cinnamon red hot apple pie recipe that’s sure to become a favorite in your household. It blends tradition with a fun twist, bringing together the best feels of nostalgia and adventure.
Whether you’re sharing with family or impressing friends, this pie will bring smiles and warmth. Now go ahead; fire up that oven and create your own delicious memories!

Cinnamon Red Hot Apple Pie Recipe – Easy Comfort Food Recipes
Description
You know that heartwarming feeling when you walk into a home and the scent of freshly baked pie dances around you? It’s like a hug for your senses.
When I think of desserts that embody both nostalgia and excitement, one recipe stands at the top of my list: cinnamon red hot apple pie. It’s the perfect treat for any gathering, especially when served warm with a scoop of vanilla ice cream.
Just imagine the sweet, cinnamon-spiced goodness paired with the creamy decadence of ice cream. It’s a match made in dessert heaven.
Ingredients
Instructions
Step 1: Prepare the Pastry
-
First things first, whether you’re going with a pre-made crust or whipping up your own, you’ll want to roll out the dough. If you’re making your own, be sure to chill the dough beforehand for that perfect flaky texture! You want it to be thin enough to fit a 9-inch pie pan with some overhang for crimping later.
Step 2: Preheat the Oven
-
Preheat your oven to 425°F (220°C). This high temperature is key for baking that crust to a beautiful golden brown while ensuring the filling cooks perfectly.
Step 3: Slice the Apples
-
Grab those lovely Granny Smith apples. Peel them and cut them into thin slices. The thinner, the better. You want them to cook evenly and soak up all those wonderful spices and flavors. Place the slices in a large bowl.
Step 4: Add the Flavorings
-
To the bowl of apples, add the raw honey, freshly squeezed lemon juice, ground cinnamon, nutmeg, brown sugar, and the cinnamon-flavored red-hot candies. Toss everything together gently but thoroughly. Ensure each apple slice is coated in the sweet, spicy goodness. It’s also a nice time to taste the mixture – who doesn’t want to make sure it’s delicious, right?
Step 5: Make the Pie
-
Carefully layer the apple mixture into the bottom crust. Dot the top with small chunks of unsalted butter. This adds another level of richness. Once your apples are piled like a delightful mountain, cover it with the top crust. Be sure to cut slits in the top to allow steam to escape. Crimp the edges to seal that fruity goodness in.
Step 6: Brush with Milk
-
Using a pastry brush, lightly coat the crust with the whole milk. This gives it that gorgeous golden-brown appearance when it bakes. Do not skip this step—it’s key for visual appeal.
Step 7: Bake
-
Place your pie on a baking sheet (in case of drips) and slide it into the preheated oven. Bake for 15 minutes at 425°F. Then, reduce the heat to 350°F (175°C) and continue to bake for an additional 30-35 minutes. You want the crust to be golden and the apples tender.
Step 8: Cool and Serve
-
When the pie is done, let it cool on a wire rack for at least an hour. This cooling time helps the filling set, ensuring every slice holds together beautifully.
Nutrition Facts
Servings 8
- Amount Per Serving
- Calories 111kcal
- % Daily Value *
- Total Fat 3.9g6%
- Saturated Fat 1.2g6%
- Cholesterol 1mg1%
- Sodium 79mg4%
- Total Carbohydrate 19g7%
- Dietary Fiber 2g8%
- Sugars 11g
- Protein 1g2%
* Percent Daily Values are based on a 2,000 calorie diet. Your daily value may be higher or lower depending on your calorie needs.
Note
- Chill the Dough: A chilled dough helps create a flaky crust.
- Tart Apples: Use Granny Smith for their tartness and firmness.
- Try Different Candies: Mix in a few other candies for unique flavors.
- Bake on a Sheet: Prevent any mess by placing a sheet under your pie in the oven.
- Serve Warm: It’s at its best when served just slightly warm.


