If you’re gearing up for a holiday celebration, think about what can complement your Christmas tree brownies. A cup of hot cocoa or a spiced apple cider pairs wonderfully. Alternatively, keep things refreshing with a minty iced tea.
Ice cream or whipped cream can add a delightful creaminess. Consider a fruit platter on the side, bringing a burst of flavor and color to your spread. Let’s make the holiday season bright and delicious!

What is the Christmas Tree Brownies Recipe?
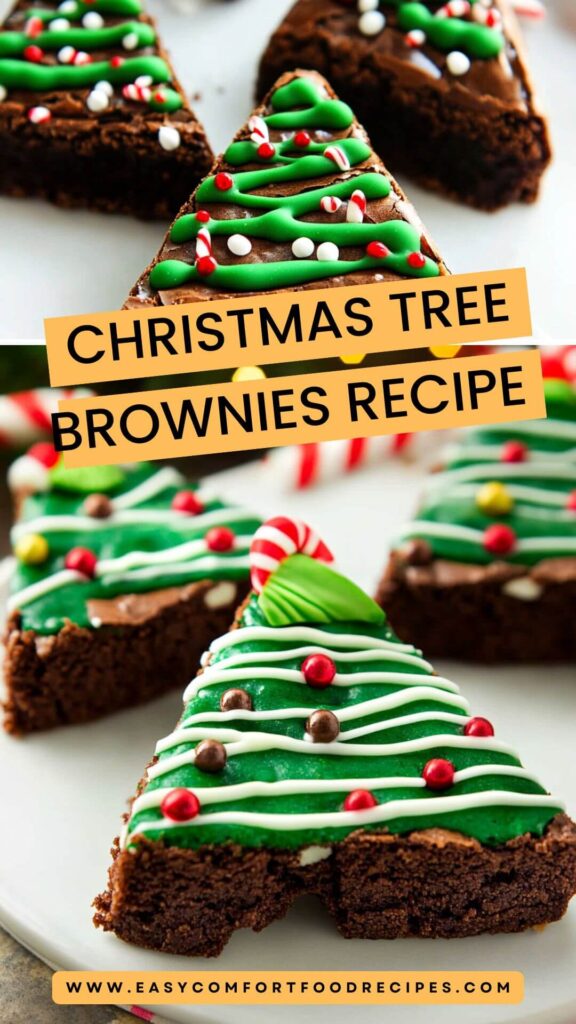
Christmas tree brownies are decadent chocolate treats that are cut into festive tree shapes. Each brownie is rich and fudgy, topped with a bright green frosting that mimics the look of a decorated Christmas tree. They are fun to make, especially during the holiday season, and can be customized with various toppings, making them perfect for both kids and adults alike.
What Makes This Recipe Different from Other Christmas Tree Brownies?
What sets my Christmas tree brownies apart is not just their festive appearance but also their flavor and texture. The base is made from a rich chocolate brownie that offers a melt-in-your-mouth experience. It’s enhanced with a dash of peppermint extract in the frosting, giving that traditional holiday flavor without overwhelming sweetness. Plus, the use of both rainbow sprinkles and crushed candy canes captures the spirit of festive decoration.
How Does It Taste Like?
Take a bite, and you’ll be greeted with a soft, rich brownie that’s chocolatey and sweet. The frosting adds a fun twist with its creamy texture and refreshing minty kick. The weight of the brownie, combined with the crunch from the toppings, creates an explosion of flavors and textures. It’s a holiday treat that’s not just about looking good; it’s also delicious enough to keep you coming back for more.
Ingredients You’ll Need to Make This Dish
Here’s what you’ll need to whip up these festive brownies:
Brownie Ingredients:
- 1/2 cup unsalted butter (at room temperature)
- 1 teaspoon pure vanilla extract
- 4 large eggs
- 8 ounces semisweet chocolate morsels
- 1 1/2 cups granulated cane sugar
- 1/2 teaspoon fine sea salt
- 3/4 cup all-purpose flour
- 1/4 cup cocoa powder (for extra chocolate flavor)
- Nonstick cooking spray
Decoration Ingredients:
- 2 cups vibrant green frosting
- 1/2 teaspoon peppermint extract
- 16 gold star-shaped sprinkles (or similar candies)
- 16 mini candy canes (crushed or whole)
- 1/3 cup colorful rainbow sprinkles

Step by Step Instructions
Step 1: Prepare Your Baking Dish
Start by preheating your oven to 350°F (175°C). Grease a 9×13 inch baking pan with nonstick cooking spray. This helps the brownies release easily once baked.
Step 2: Melt the Chocolate and Butter
In a large saucepan, melt the unsalted butter along with the semisweet chocolate morsels over low heat, stirring constantly. Be careful not to burn the chocolate. Once melted and smooth, remove it from the heat and let it cool slightly.
Step 3: Combine Sugar and Eggs
In a mixing bowl, whisk together the granulated cane sugar, eggs, and vanilla extract. It’s important to mix until the mixture looks slightly pale. This helps to incorporate air and improve the texture.
Step 4: Mix in the Chocolate
Gradually add the chocolate and butter mixture to the egg mixture. Stir gently until combined. You want to ensure that everything is combined without overmixing.
Step 5: Add Dry Ingredients
Sift in the all-purpose flour, cocoa powder, and sea salt. Gently fold everything together until just combined. A few lumps are perfectly fine; you don’t want to overwork the batter.
Step 6: Bake the Brownies
Pour the brownie batter into your prepared pan. Spread it evenly with a spatula and pop it into the oven. Bake for about 25-30 minutes or until a toothpick inserted in the center comes out with a few moist crumbs. Let the brownies cool completely in the pan.
Step 7: Frost the Brownies
Once cooled, prepare your green frosting. Mix the frosting with peppermint extract for that holiday flavor. Spread it generously over the brownies.
Step 8: Cut and Decorate
Using a tree-shaped cookie cutter, cut the brownies into festive tree shapes. Decorate each brownie with star-shaped sprinkles, crushed candy canes, and rainbow sprinkles. Feel free to get creative!
Tips & Tricks On Making Christmas Tree Brownies
- Use Quality Chocolate: A high-quality semisweet chocolate can elevate the flavor significantly.
- Cool Completely: Ensure your brownies are cooled completely before frosting. This prevents the frosting from melting.
- Experiment with Frosting: Try using white chocolate or cream cheese frosting for a different twist.
- Fun Shapes: If you don’t have a tree cutter, use a regular knife to create triangles.
- Storage Tip: These brownies are perfect to make ahead. Store them in an airtight container at room temperature for up to 4 days.
How Do I Store This Dish?
Store your Christmas tree brownies in an airtight container at room temperature for up to four days. If you’re trying to keep them fresh for longer, you can refrigerate them. Just bring them back to room temperature before serving to maintain that fudgy texture.
What Other Substitutes Can You Use in Christmas Tree Brownies?
- Butter: You can substitute unsweetened applesauce for a healthier option. It will reduce the fat while maintaining moisture.
- Flour: If you want to make gluten-free brownies, go for almond flour or a gluten-free all-purpose flour blend.
- Sugar: Consider using coconut sugar or maple syrup for a different sweetness profile.
- Peppermint Extract: For a chocolate-only flavor, skip the peppermint and use vanilla extract or almond extract instead.
- Frosting Color: Instead of green, feel free to use white frosting colored with food coloring or red frosting for a different festive option.

Conclusion
Christmas tree brownies are more than just a dessert; they are an embodiment of holiday cheer. Creating these brownies is not only easy, but it also adds a festive touch to your celebrations. Whether you enjoy them at a holiday party or alongside your family on Christmas Eve, they are sure to be a hit.
This recipe stands out with its rich chocolate flavor, festive decorations, and just the right touch of peppermint. Whether you’re a seasoned baker or trying your hand at desserts for the first time, these brownies are the perfect way to spread joy. So roll up your sleeves, gather your ingredients, and let’s celebrate the sweetness of the season together!
You’ll also like the following recipes!
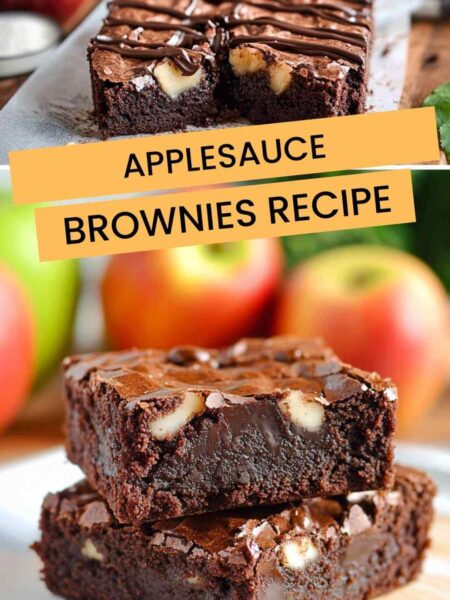
- Applesauce Brownies Copycat Recipe
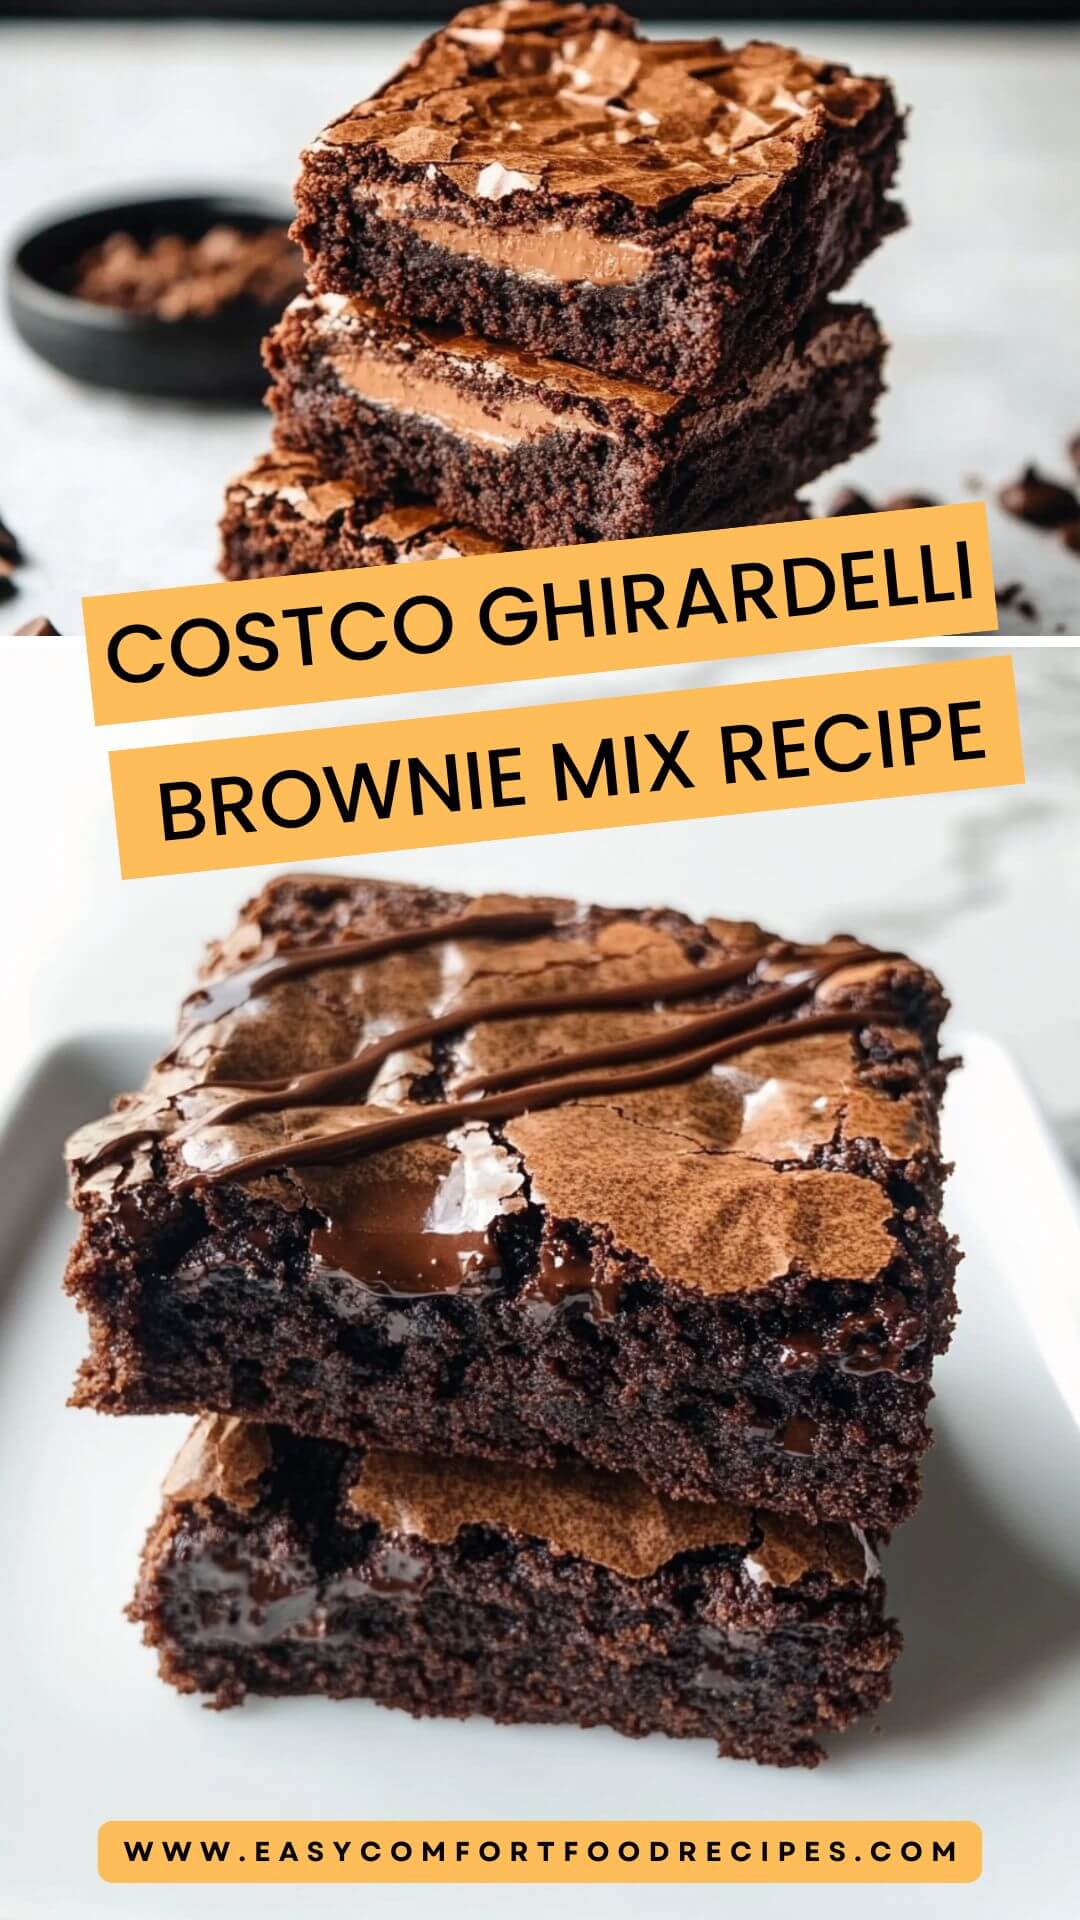
- How to Make Ghirardelli Chocolate Brownie
- Best Nutella Brownie Recipe

Christmas Tree Brownies Recipe – Easy Comfort Food Recipes
Description
Christmas is a time for joy, laughter, and sweet treats. One such treat that can light up any gathering is the Christmas tree brownies. Imagine serving a dessert that not only satisfies your sweet tooth but also adds a decorative touch to your table. These brownies are layered with flavors and topped with vibrant green frosting, making them a delightful centerpiece.
As a registered dietitian and food enthusiast, I love creating fun dishes that are easy to prepare. My personal journey in the culinary world started small—whipping together simple meals at home. But over time, my passion turned into something much greater. Today, I’m sharing my recipe for Christmas tree brownies, which are bound to bring smiles and cheer.
Ingredients
Brownie Ingredients
Decoration Ingredients
Instructions
Step 1: Prepare Your Baking Dish
-
Start by preheating your oven to 350°F (175°C). Grease a 9x13 inch baking pan with nonstick cooking spray. This helps the brownies release easily once baked.
Step 2: Melt the Chocolate and Butter
-
In a large saucepan, melt the unsalted butter along with the semisweet chocolate morsels over low heat, stirring constantly. Be careful not to burn the chocolate. Once melted and smooth, remove it from the heat and let it cool slightly.
Step 3: Combine Sugar and Eggs
-
In a mixing bowl, whisk together the granulated cane sugar, eggs, and vanilla extract. It’s important to mix until the mixture looks slightly pale. This helps to incorporate air and improve the texture.
Step 4: Mix in the Chocolate
-
Gradually add the chocolate and butter mixture to the egg mixture. Stir gently until combined. You want to ensure that everything is combined without overmixing.
Step 5: Add Dry Ingredients
-
Sift in the all-purpose flour, cocoa powder, and sea salt. Gently fold everything together until just combined. A few lumps are perfectly fine; you don’t want to overwork the batter.
Step 6: Bake the Brownies
-
Pour the brownie batter into your prepared pan. Spread it evenly with a spatula and pop it into the oven. Bake for about 25-30 minutes or until a toothpick inserted in the center comes out with a few moist crumbs. Let the brownies cool completely in the pan.
Step 7: Frost the Brownies
-
Once cooled, prepare your green frosting. Mix the frosting with peppermint extract for that holiday flavor. Spread it generously over the brownies.
Step 8: Cut and Decorate
-
Using a tree-shaped cookie cutter, cut the brownies into festive tree shapes. Decorate each brownie with star-shaped sprinkles, crushed candy canes, and rainbow sprinkles. Feel free to get creative!
Nutrition Facts
Servings 16
- Amount Per Serving
- Calories 251kcal
- % Daily Value *
- Total Fat 13.7g22%
- Saturated Fat 6.8g34%
- Trans Fat 0.7g
- Cholesterol 55mg19%
- Sodium 119mg5%
- Total Carbohydrate 30g10%
- Dietary Fiber 2g8%
- Sugars 25g
- Protein 3g6%
* Percent Daily Values are based on a 2,000 calorie diet. Your daily value may be higher or lower depending on your calorie needs.
Note
- Use Quality Chocolate: A high-quality semisweet chocolate can elevate the flavor significantly.
- Cool Completely: Ensure your brownies are cooled completely before frosting. This prevents the frosting from melting.
- Experiment with Frosting: Try using white chocolate or cream cheese frosting for a different twist.
- Fun Shapes: If you don’t have a tree cutter, use a regular knife to create triangles.
- Storage Tip: These brownies are perfect to make ahead. Store them in an airtight container at room temperature for up to 4 days.