Picture this: you’re about to dive into a thick slice of whole grain toast, just waiting to be adorned with something delightful. What’s spreading across that toast, making each bite perfect? That’s right, homemade almond butter!
It’s a dream come true for any nut butter enthusiast. Just a dab leaves your taste buds dancing and your stomach satisfied. I adore it on toast, alongside apple slices, or even right off the spoon—because why not?
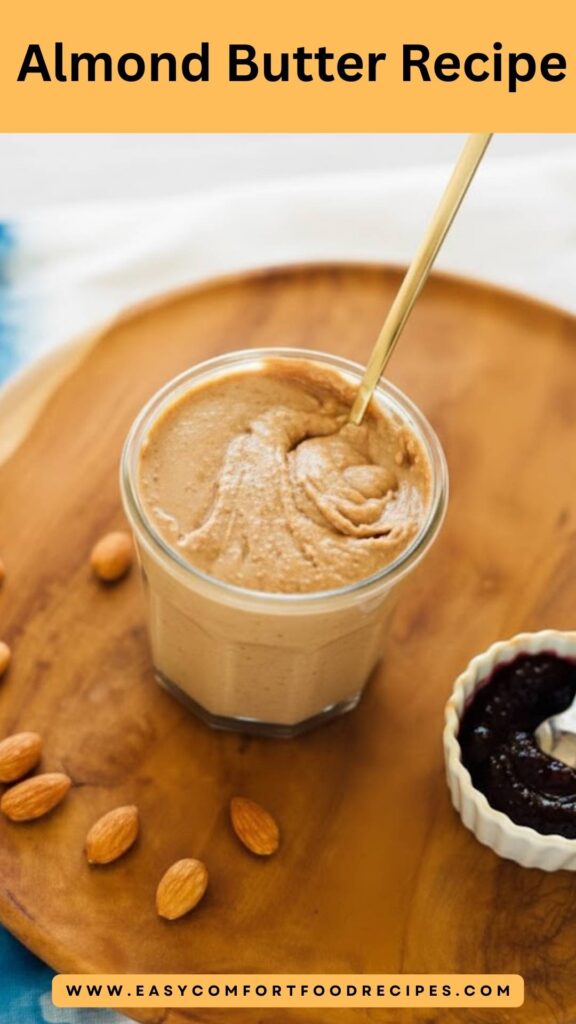
Almond butter is a creamy, nutritious spread made from roasted almonds. This delightful concoction serves as a fantastic alternative to peanut butter, bringing a unique flavor and a wealth of health benefits.
Trust me, making almond butter from scratch is not only easier than you might think, but it also allows you to dictate the flavor, texture, and ingredients.
This almond butter recipe revolves around just a few simple ingredients that, when combined with a little bit of patience and love, turn into a luscious condiment. This spread can elevate your breakfast, snack time, and even desserts. There’s something satisfying about knowing you’ve whipped up such a tasty ingredient from scratch, don’t you agree?
Why You'll Love this almond butter recipe?
Why do people rave about almond butter? First, the taste! It’s naturally sweet with a hint of earthiness, making it versatile enough to pair with sweet and savory dishes alike. Second, it’s made from whole almonds, which means it’s rich in healthy fats, protein, and vitamin E. Plus, the best part? You can customize it! Craving a little spice? A dash of cinnamon will do. Want it sweeter? A swirl of maple syrup can transform the experience. It’s guilt-free indulgence at its finest.
The Ingredients
Here's what you'll need to make your very own almond butter:
- 16 ounces (3 cups) raw almonds
- ¼ teaspoon salt
- Optional: ¼ teaspoon ground cinnamon
- Optional: ½ teaspoon vanilla extract
- Optional: 2 tablespoons honey or agave syrup
- Optional: 1 tablespoon coconut oil (adds richness and creaminess)
Ingredients From : cookieandkate.com
How to make almond butter recipe?
Making almond butter is not just straightforward; it's also rather therapeutic. You'll blend, scrape, and watch as the transformation happens right before your eyes. Follow my steps, and soon you’ll be enjoying a nutty, creamy delight that’s perfect for snacking.
Step-by-step directions
Step 1: Preheat and Prep
Preheat your oven to 350°F (175°C). This step is essential for toasting the almonds to bring out their natural oils and flavors. Spread the raw almonds evenly across a large, rimmed baking sheet. You want them to be in a single layer for even toasting.
Step 2: Toast the Almonds
Pop the almonds in the oven and set a timer for 10 minutes. Halfway through—around the five-minute mark—give them a good stir. You want to ensure they're toasted evenly, avoiding burnt bits. When they’re golden and fragrant, take them out and let them cool until they're just warm, not hot—about 10 minutes will do!
Step 3: Blend the Almonds
Transfer the warm almonds to your high-speed blender or food processor. Now, brace yourself for some noise! Start blending. It can take a bit of time before you see magic happen—first, they’ll turn to flour, then form into a nut ball against the sides. Don’t rush to open that lid just yet; slow and steady wins the race here. Stop occasionally to scrape down the sides—you want everything to join the party.
Step 4: Patience is Key
Once you’re at the nut ball stage, keep blending. It might feel like they’ll never turn creamy, but trust the process. If the mixture heats up too much, stop to let it cool for a few moments. Your patience will reward you with a beautifully creamy consistency.
Step 5: Add Flavor
When your almond butter reaches that dreamy, velvety texture, it's time to blend in your add-ins. Toss in the salt for a pleasant flavor boost, and if you’re feeling adventurous, sprinkle in cinnamon, vanilla extract, or your liquid sweetener of choice—honey or agave syrup. Blend until everything is well incorporated, adjusting the sweetness to your taste.
Step 6: Cool and Store
After blending, let your homemade almond butter cool to room temperature. Then, transfer it into a mason jar or any airtight container. Seal it tightly and store your nutty treasure in the fridge.
Tips & Tricks
- Choose Quality Almonds: Opt for high-quality raw almonds for the best flavor.
- Avoid Overheating: If the mixture gets too hot, it can separate. So let it cool a bit before continuing to blend.
- Experiment with Add-ins: Spice things up with nutmeg or even cocoa powder for a unique twist.
- Use a Good Blender: A high-speed blender is essential for the creamy consistency. If using a food processor, it may take longer.
- Mix It Up: Try different nuts or a combination of nuts to create custom butters!
Can I store almond butter recipe?
Absolutely! Store your almond butter in an airtight container, and it will last for about 2 weeks in the fridge. If you want, you can keep it in a cool pantry for shorter periods, but the fridge extends its freshness. Just be sure to give it a good stir before using, as natural separation can occur.
What can I serve with almond butter recipe?
Here are some delicious ways to enjoy your homemade almond butter:
- On Toast: Spread on whole grain or gluten-free toast for a hearty breakfast.
- With Apples or Bananas: Slice fresh fruit and dip in almond butter for a quick snack.
- In Smoothies: Add a tablespoon to your morning smoothie for a creamy texture and nutritious boost.
- On Pancakes or Waffles: Drizzle over breakfast favorites for extra flavor and richness.
- In Oatmeal: Mix into your bowl of oatmeal for a satisfying creaminess.
What other substitute can I use in almond butter recipe?
Adjust the almond butter recipe to suit your tastes with these alternatives:
- Cashew Butter: Swap in cashews for a creamier and milder flavor.
- Peanut Butter: If you prefer peanuts, use them instead of almonds—but note it won’t be almond butter!
- Sunflower Seed Butter: A nut-free option perfect for schools or those with nut allergies.
- Walnut Butter: For a unique flavor, walnuts can be blended following the same steps.
- Pumpkin Seed Butter: A nutritious alternative with a lovely green hue and rich flavor.
Conclusion
Homemade almond butter is not just a delicious spread but also a creative and easy way to upgrade your pantry staples. With minimal ingredients and steps, you can enjoy the richness and health benefits it brings to your diet.
Whether it finds a home on your morning toast or in a smoothie, this almond butter recipe will surely become a staple in your kitchen. Give it a whirl, and you’ll quickly see why homemade is the way to go!
Almond butter is a creamy, nutritious spread made from roasted almonds. This delightful concoction serves as a fantastic alternative to peanut butter, bringing a unique flavor and a wealth of health benefits.
Ingredient
Here's what you'll need to make your very own almond butter:
- 16 ounces raw almonds (3 cups)
- ¼ teaspoon salt
- Optional: ¼ teaspoon ground cinnamon
- Optional: ½ teaspoon vanilla extract
- Optional: 2 tablespoons honey or agave syrup
- Optional: 1 tablespoon coconut oil (adds richness and creaminess)
Instructions
Step 1: Preheat and Prep
1
Preheat your oven to 350°F (175°C). This step is essential for toasting the almonds to bring out their natural oils and flavors. Spread the raw almonds evenly across a large, rimmed baking sheet. You want them to be in a single layer for even toasting.
Step 2: Toast the Almonds
2
Pop the almonds in the oven and set a timer for 10 minutes. Halfway through—around the five-minute mark—give them a good stir. You want to ensure they're toasted evenly, avoiding burnt bits. When they’re golden and fragrant, take them out and let them cool until they're just warm, not hot—about 10 minutes will do!
Step 3: Blend the Almonds
3
Transfer the warm almonds to your high-speed blender or food processor. Now, brace yourself for some noise! Start blending. It can take a bit of time before you see magic happen—first, they’ll turn to flour, then form into a nut ball against the sides. Don’t rush to open that lid just yet; slow and steady wins the race here. Stop occasionally to scrape down the sides—you want everything to join the party.
Step 4: Patience is Key
4
Once you’re at the nut ball stage, keep blending. It might feel like they’ll never turn creamy, but trust the process. If the mixture heats up too much, stop to let it cool for a few moments. Your patience will reward you with a beautifully creamy consistency.
Step 5: Add Flavor
5
When your almond butter reaches that dreamy, velvety texture, it's time to blend in your add-ins. Toss in the salt for a pleasant flavor boost, and if you’re feeling adventurous, sprinkle in cinnamon, vanilla extract, or your liquid sweetener of choice—honey or agave syrup. Blend until everything is well incorporated, adjusting the sweetness to your taste.
Step 6: Cool and Store
6
After blending, let your homemade almond butter cool to room temperature. Then, transfer it into a mason jar or any airtight container. Seal it tightly and store your nutty treasure in the fridge.
Nutrition Facts
Servings 2
Amount Per Serving
Calories200kcal
% Daily Value *
Total Fat14.2g22%
Saturated Fat1.1g6%
Sodium36.6mg2%
Protein6g12%
* Percent Daily Values are based on a 2,000 calorie diet. Your daily value may be higher or lower depending on your calorie needs.
Note
- Choose Quality Almonds: Opt for high-quality raw almonds for the best flavor.
- Avoid Overheating: If the mixture gets too hot, it can separate. So let it cool a bit before continuing to blend.
- Experiment with Add-ins: Spice things up with nutmeg or even cocoa powder for a unique twist.
- Use a Good Blender: A high-speed blender is essential for the creamy consistency. If using a food processor, it may take longer.
- Mix It Up: Try different nuts or a combination of nuts to create custom butters!
Kathleen Looney is a Texas-based registered dietitian and the creator of Easy Comfort Food Recipes, where she shares simple, hearty dishes that bring warmth and joy to the table. Combining her love for Southern classics and Tex-Mex flavors, Kathleen creates approachable recipes that balance indulgence and nutrition. Her passion lies in helping home cooks prepare comforting, soul-satisfying meals that nourish both body and spirit.